How to add fonts to Inkscape (Quick and easy guide)
A design program is not complete without an extensive list of fonts to choose from. Even those designers who devote themselves almost exclusively to drawings know the importance of having the right letters for certain cases. The problem is that most of the default galleries do not include enough eye-catching options, so additional fonts must be installed that meet the requirements of the artists. Inkscape, an open-source design software, does not escape this problem, but luckily, the process to solve it is easy. Keep reading to learn how to add fonts to Inkscape.
It would be logical to think that because it is an open-source program, the Inkscape base file includes many fonts to choose from. The reality is that its gallery is based on that of the operating system, so that if you want to use something more artistic, you must download it separately.
Having to install Inkscape fonts does not mean that the program is not excellent in its work. It offers a complete editor for scalable vector graphics, a format used to create designs based on simple shapes that do not lose quality regardless of their size. This makes Inkscape ideal for immense size designs, or for print jobs.
If you are a constant user of the software, you will be interested in adding fonts to Inkscape. Most of the fonts that you download will be able to be installed automatically on your system, although some will require a somewhat more complex process to be able to use them. Below, we explain the different ways to install fonts.
How to add fonts to Inkscape – Windows
Using the installation wizard
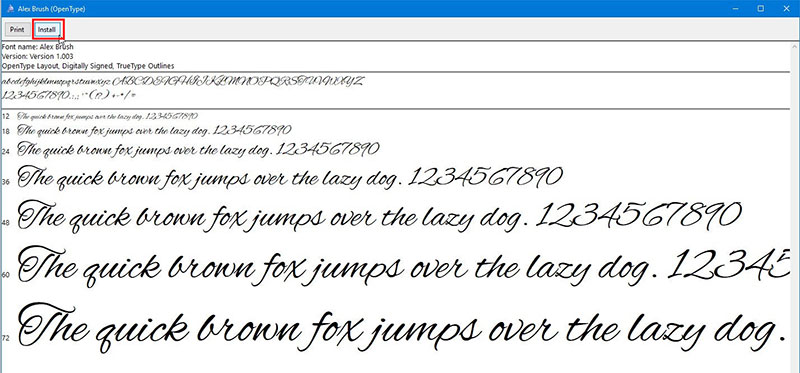
Windows, by default, can detect TTF type fonts to install them automatically using a wizard. Before continuing with the process, it is recommended to close open programs, since the font will be installed throughout the system.
Get the Inkscape fonts you want
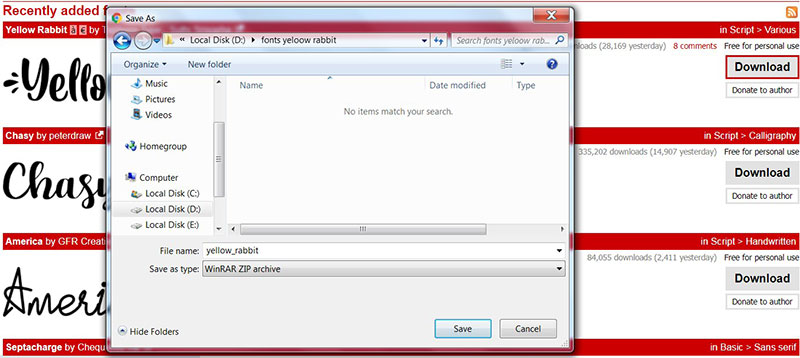
The first step is simply to download the font you want to install. If you don’t know exactly what font you need, you can always search in pages that collect different fonts. There are many free Windows fonts available, but there are also premium options that will give you higher quality and quantity of characters.
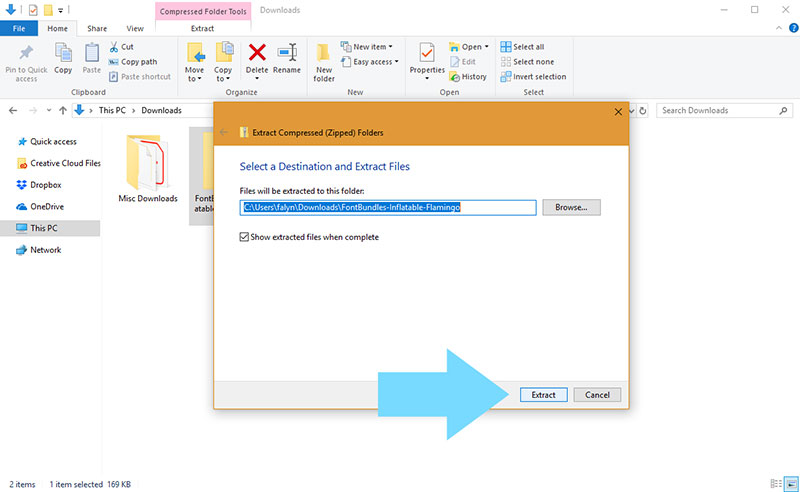
Please note that the file you download is probably compressed in ZIP or RAR format. Before you can use it, you must unzip it with some software such as WinRAR.
Determine which file to install
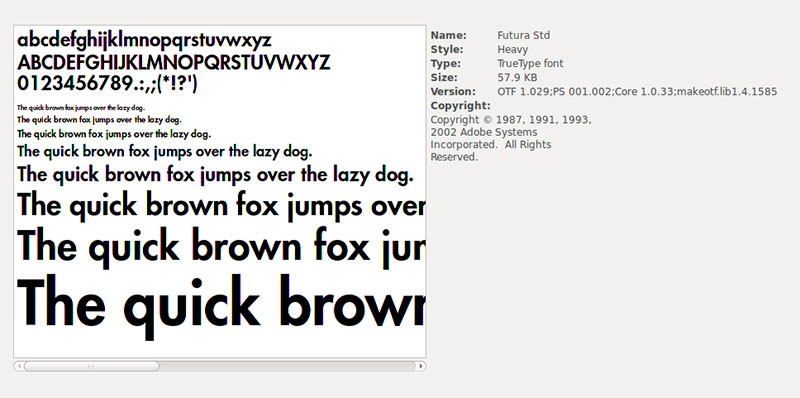
Once unzipped, you will find a folder with multiple files. In this, you must identify which is the font file to be able to install it. The most common file type is TFF (which is identified by Windows), but you can also find them in other formats like OTF, EOT, WOFF, or SVG.
Open the installation wizard
Select all the files you want to install to speed up the process. On anyone, right-click and look for the “Install” option. Make sure this option has a shield drawing, which means you will be doing the process with administrator rights. If the shield does not appear, hold the Shift and K keys when right-clicking.
Within the installation wizard, you will find an option that says “Install for all users.” By clicking “Install”, the process should be complete. If this is not the case, there may be a conflict with the path where the fonts are located. This can be fixed by moving the unzipped folder to another path and then repeating the installation process.
Run Inkscape
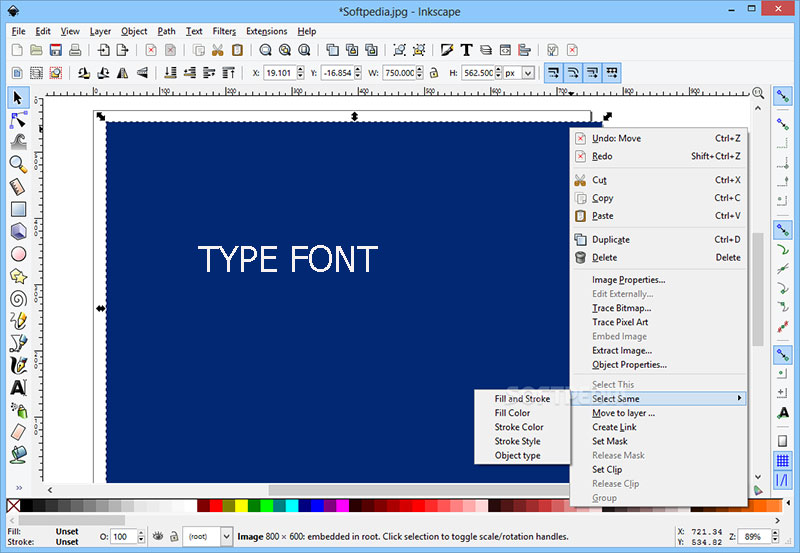
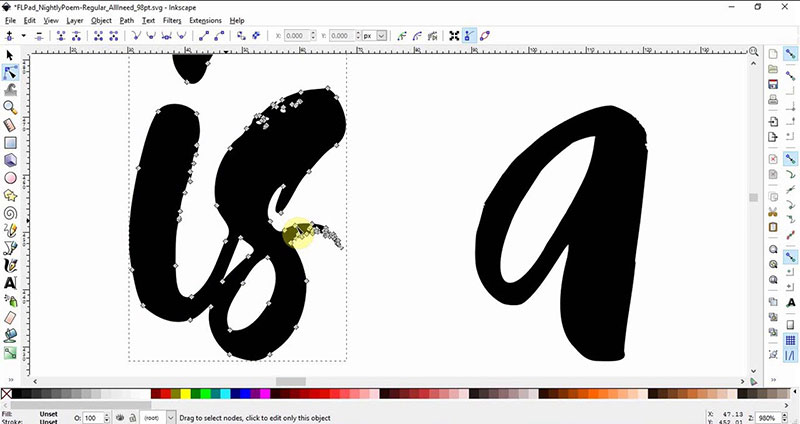
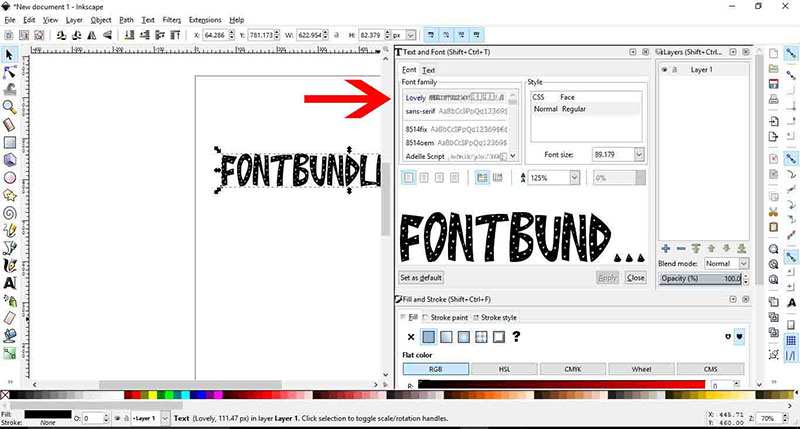
Now run Inkscape (or any program that allows you to enter text) and check if the new characters were correctly installed. These should appear normally in the Font list.
From the Windows installation folder
Another way in which you can add a font to Inkscape is by a manual way, simply dragging the files that you want to install in the Windows fonts folder. Again, remember to close all open programs for the changes to take effect.
Open Control Panel
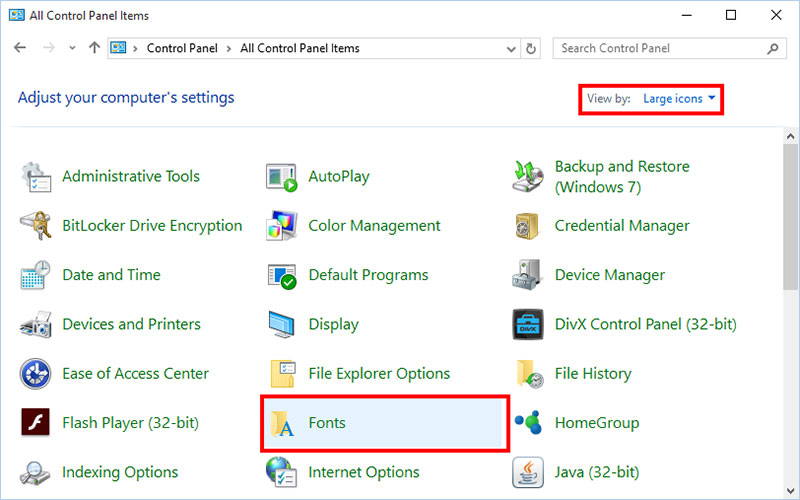
With the file you want to install already downloaded and unzipped, you’ll need to find the Windows Fonts folder. The fastest way is from the Control Panel in the Start menu. The Start menu is the Windows symbol that is in the lower left.
Find where to save fonts
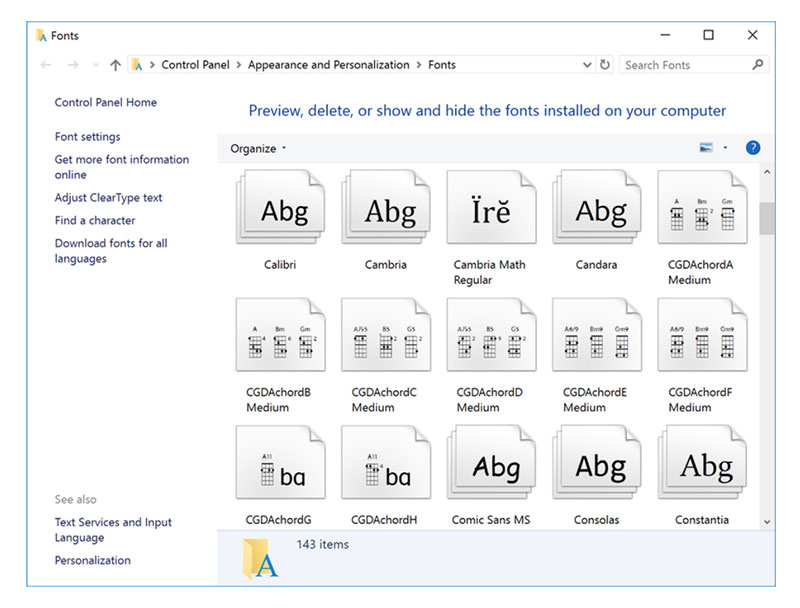
In the Control Panel, you must click on the “Appearance and Personalization” sub-menu. Here you should find an option called “Fonts”. A window will open where you will see all the fonts installed on the PC.
Copy and Paste the new files
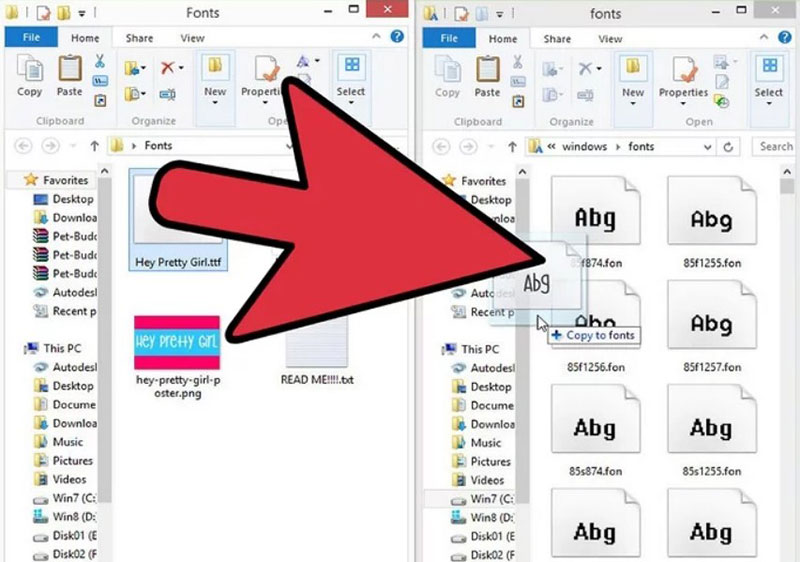
Leave the “Fonts” tab open aside and look again for the place where you unzipped the Inkscape fonts you downloaded. Find files that are TFF, OTF, WOFF, SVG, or OET. Select any of them depending on your case using the right mouse button. Press the “Copy” or “Cut” option to add it to the clipboard.
Go back to the “Fonts” tab and anywhere in the folder right-click to bring up a drop-down menu. Select the “Paste” option to place your new font.
Verify installation
To verify that everything has been installed properly, start Inkscape or any similar program that allows you to create texts. When creating text, the font you installed should appear in the font selection box.
How to add fonts to Inkscape – Mac
For a single user
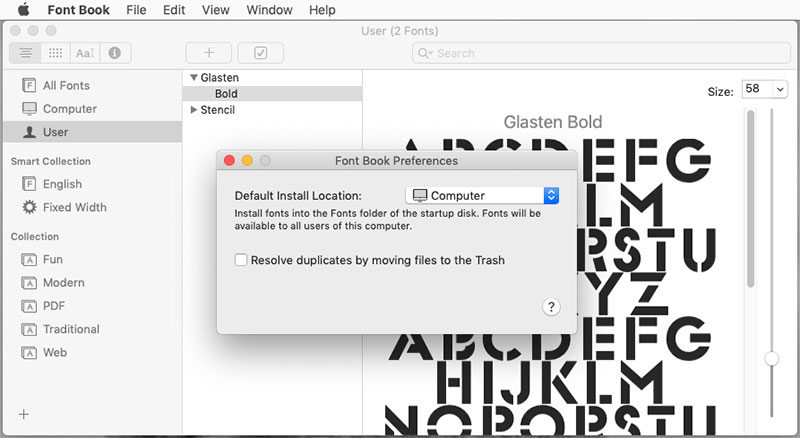
You can perform a manual installation for each of the Mac computer users if you want to place the fonts only to certain users. This is done by selecting the root directory that has the name of the corresponding user.
From this user, you must enter the “Library” folder and then “Fonts”. Just drag and drop the file you want to install into this folder.
If you don’t find the folder manually, this is because the operating system has it hidden. In these cases, from the “Finder” window use the “Go” option to find the folder. Don’t delete anything from that folder or it could corrupt other fonts.
How to add fonts to Inkscape using Font Book
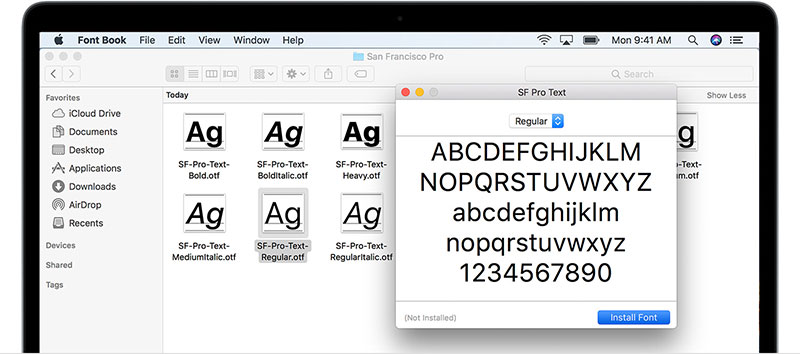
Mac also has its installer. The Font Book utility will open when you double-click a compatible file. From there you can see a preview of your fonts for Inkscape, in addition to finding all the fonts installed on the system. Just press the “Install” button.
How to find the font and use its special characters in Inkscape
Now that you have the new font installed, you can start using all of its features from Inkscape. To find it within the program, all you have to do is create any text, select it, and look in the font option (in the upper left corner) for the characters.
You have the option to scroll through the entire list until you find the font, or you can use the search engine found in the drop-down menu.
Some characters in the Windows font directory include special letters with more complex PUA-encoded designs. If you downloaded a compatible file, then you can use these “special characters” in Inkscape. If the font you installed does not have this encoding, the special character menu will not show you anything.
If you enjoyed reading this article on how to add fonts to Inkscape, you should read these as well:
- How to add fonts to FireAlpaca (FireAlpaca fonts guide)
- The Amazon font. What font does Amazon use? (Answered)
- The most popular newspaper fonts and alternatives you can use