How to Select, Merge & Delete Layers in Procreate
With a gamut of innovative features, Procreate has undeniably established itself as a leading choice for digital artists. Its layers feature, for example, offers an incredible depth of control, enabling artists to modify, rearrange, and adjust their work with exceptional precision.
However, if you’re new to the software or digital artistry in general, these advanced capabilities may seem daunting.
To aid you in this creative journey, we’re going to provide a comprehensive guide on how to select, merge, and delete layers in Procreate.
Selecting Layers in Procreate
Correctly selecting layers in Procreate is a fundamental skill that can substantially streamline your editing process. Follow these steps for a better understanding:
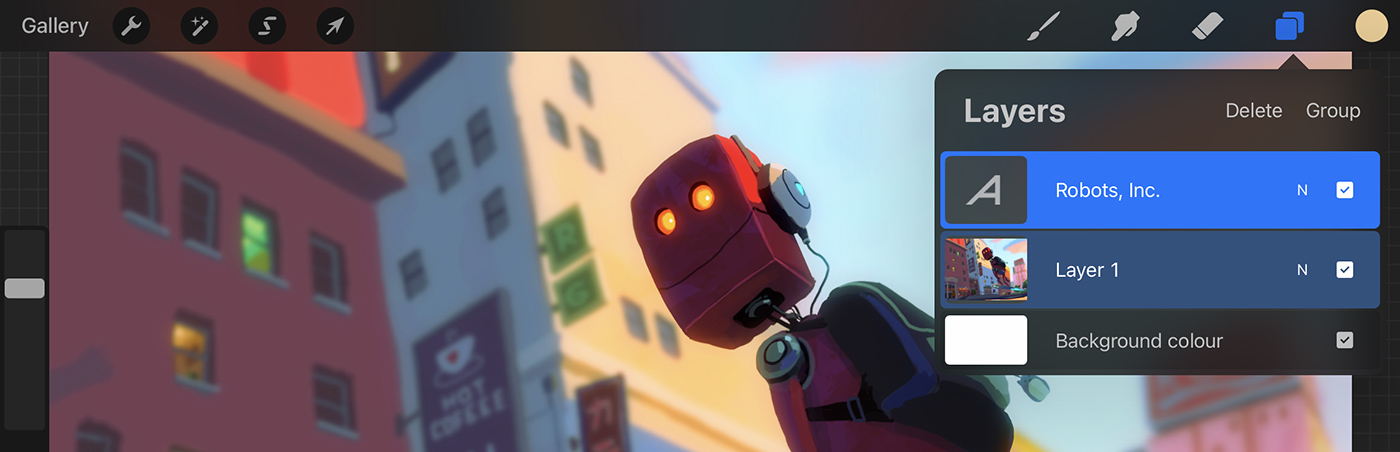
1. Opening the Layers Panel
On the top-right corner of your Procreate interface, you’ll find an icon that resembles two stacked squares. This is your gateway to the Layers panel. A single tap on this icon reveals all the layers of your current artwork.
2. Selecting a Single Layer
In the Layers panel, every layer represents a separate element of your artwork. To work on a specific element, you need to activate its corresponding layer. Simply tap the desired layer to select it. Once selected, a blue outline appears around the layer to denote it as the active one.
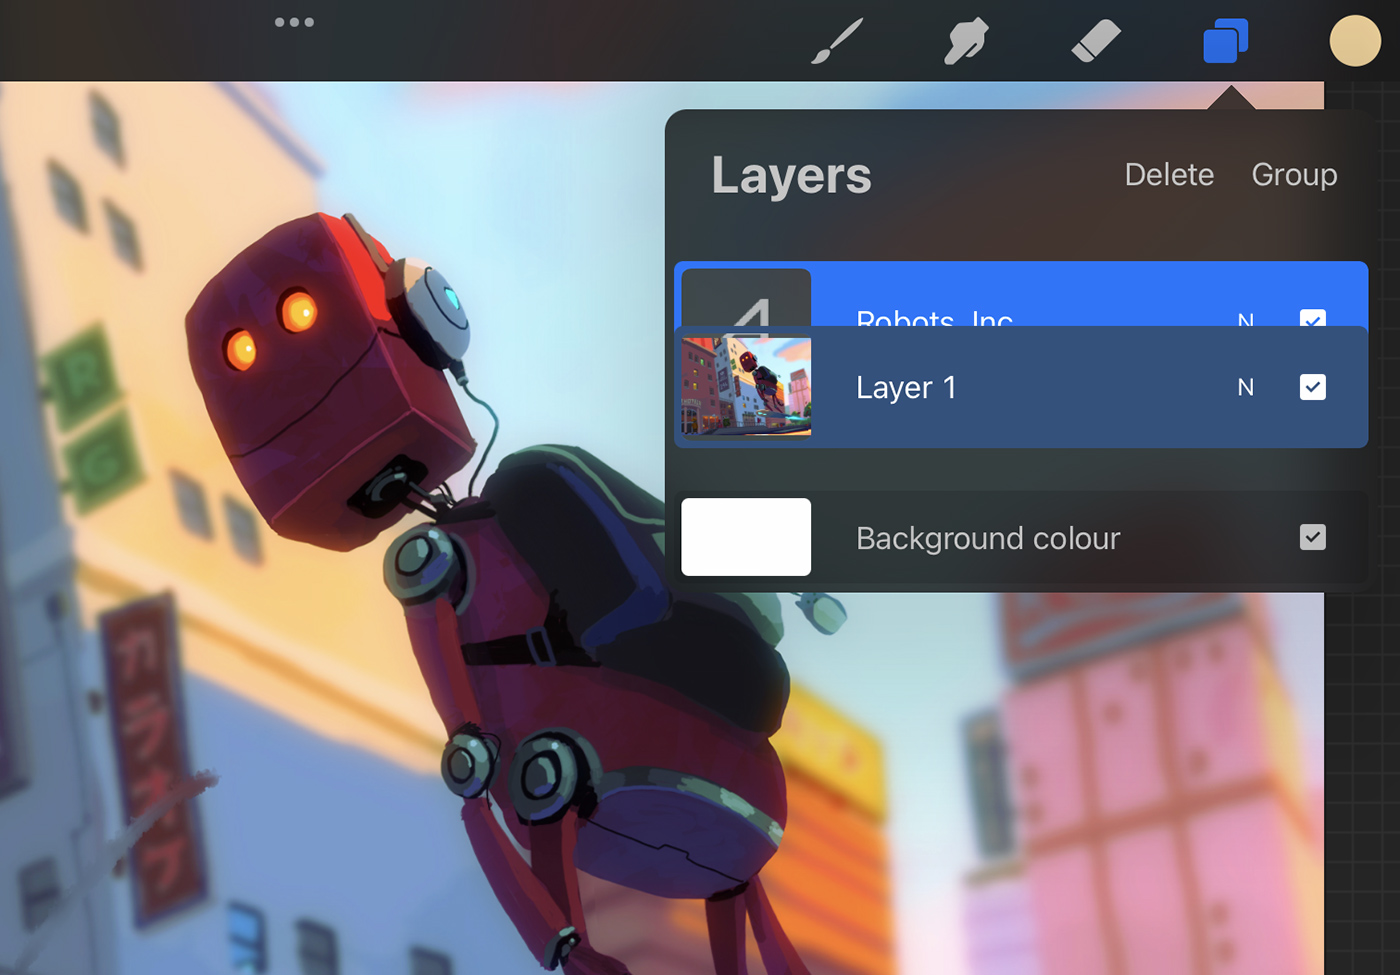
3. Selecting Multiple Layers
Procreate also allows you to work on several layers simultaneously. To select multiple layers, swipe right on each layer that you want to include in your selection.
Merging Layers in Procreate
Merging layers in Procreate is a strategic approach to combine elements in your artwork without losing their individual properties. This can help you maintain a simpler layer structure and reduce the file size. Here’s how you can merge layers:
1. Selecting Layers to Merge
Before you can merge layers, you first need to select them. Use the multiple selection process mentioned above to choose all the layers you intend to merge.
2. Merging Selected Layers
With your layers selected, gently pinch them together on your screen. This action will cause them to merge into one single layer, all while preserving the artwork from each individual layer.
3. An Alternative Approach: Flattening Layers
If you want to merge all the layers in your artwork into a single layer, you can use the “Flatten” option. You’ll find this at the top of your Layers panel. Be mindful, though, as this action is irreversible.
Deleting Layers in Procreate
Knowing how to delete layers in Procreate not only helps you keep an organized workspace but also aids in maintaining an optimum performance level of the app. Follow these steps to delete layers:
1. Selecting the Layer to Delete
First, identify the layer you wish to remove. Tap on it to select it.
2. Initiating the Deletion
To delete the selected layer, you need to swipe left on it. This action will unveil a few options, one of which is “Delete.”

3. Confirming the Deletion
As a safety measure, Procreate asks you to confirm the deletion. This prevents you from accidentally deleting a layer. To finalize the process, tap on “Delete” again.
Conclusion
Becoming proficient in layer management is a powerful step forward in mastering Procreate. By understanding how to select, merge, and delete layers, you equip yourself with the fundamental skills necessary to craft complex digital artwork. It’s time to explore these features and allow your creativity to flourish in new, exciting ways!