How to Download & Install Fonts on iPad
Tablets like the iPad are no longer just for consuming content; they’ve become a creator’s dream. Artists, writers, and designers are discovering the power of the iPad, using it to create stunning visual works right at their fingertips.
A common question amongst these creatives is: Can I use custom fonts on an iPad as I would on a desktop? The answer is a resounding yes! Installing custom fonts on your iPad opens up a world of typographic possibilities, letting your creativity truly shine.
In this guide, we’ll navigate the steps to downloading and installing custom fonts on your iPad. By unlocking this feature, you’ll bring a unique flair to your designs, whether you’re crafting captivating graphics or penning a compelling blog post. Ready to elevate your design game on the iPad? Let’s dive in!
Requirements
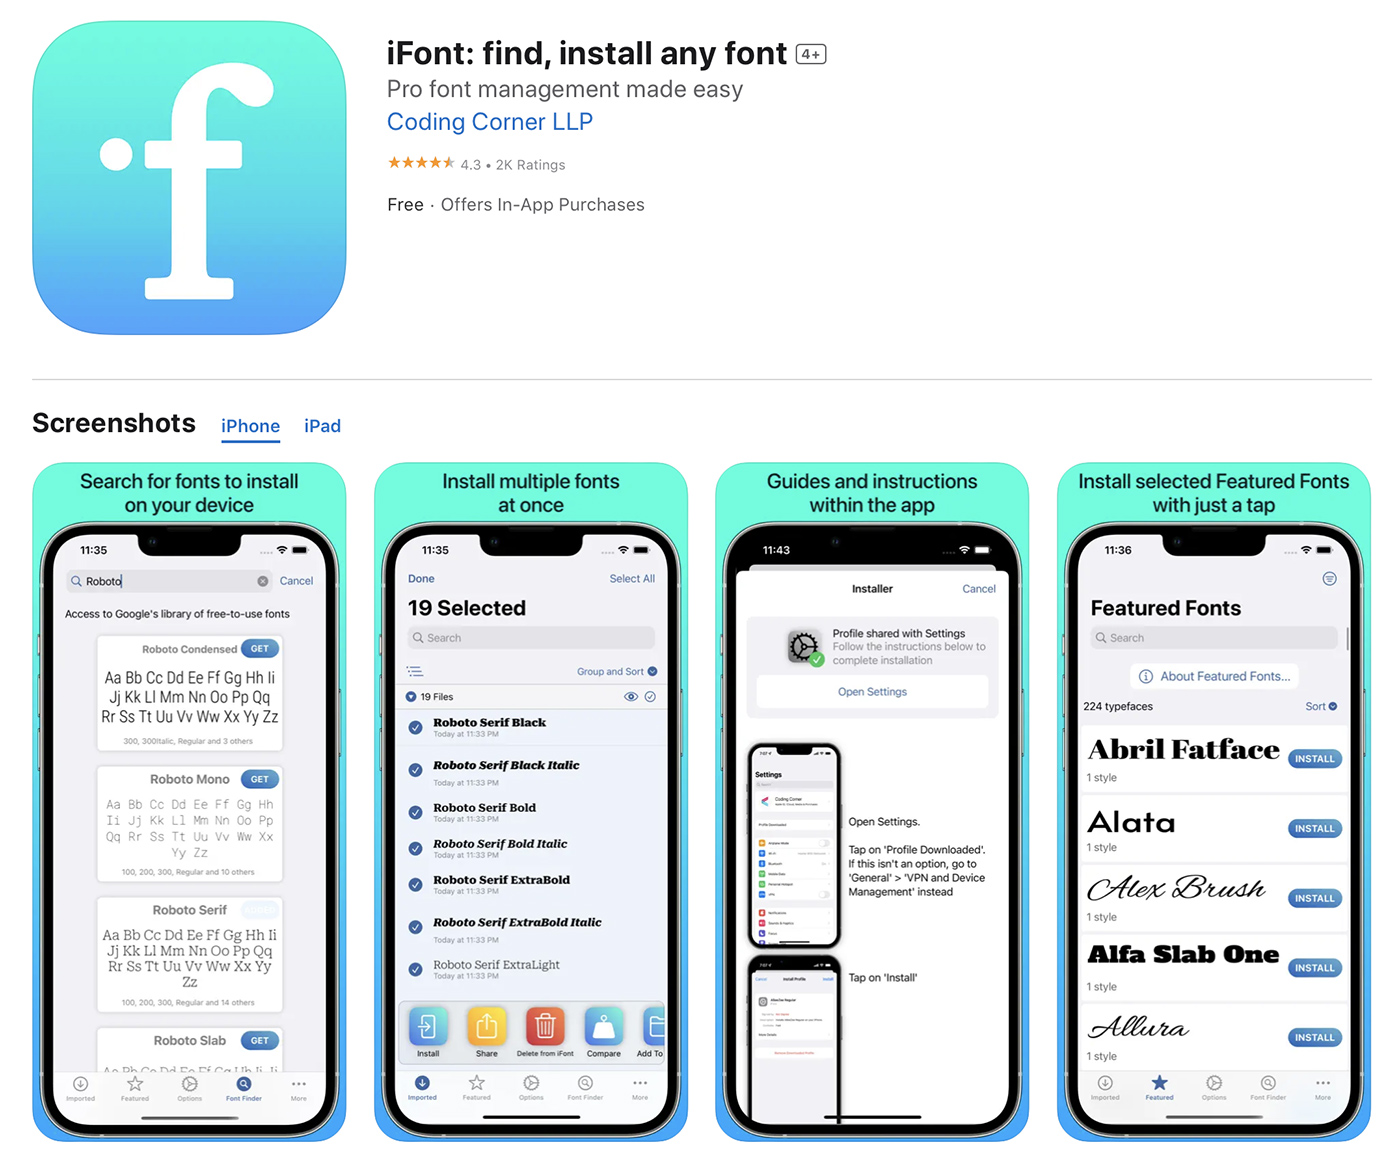
Before you begin, ensure you have the following: An iPad running iOS 13 or later, as it is the first version that introduced support for custom fonts, and a font installer app like iFont or AnyFont.
These apps are necessary because iOS does not allow you to install fonts directly from the internet. You can download iFont or AnyFont from the App Store.
Downloading Fonts
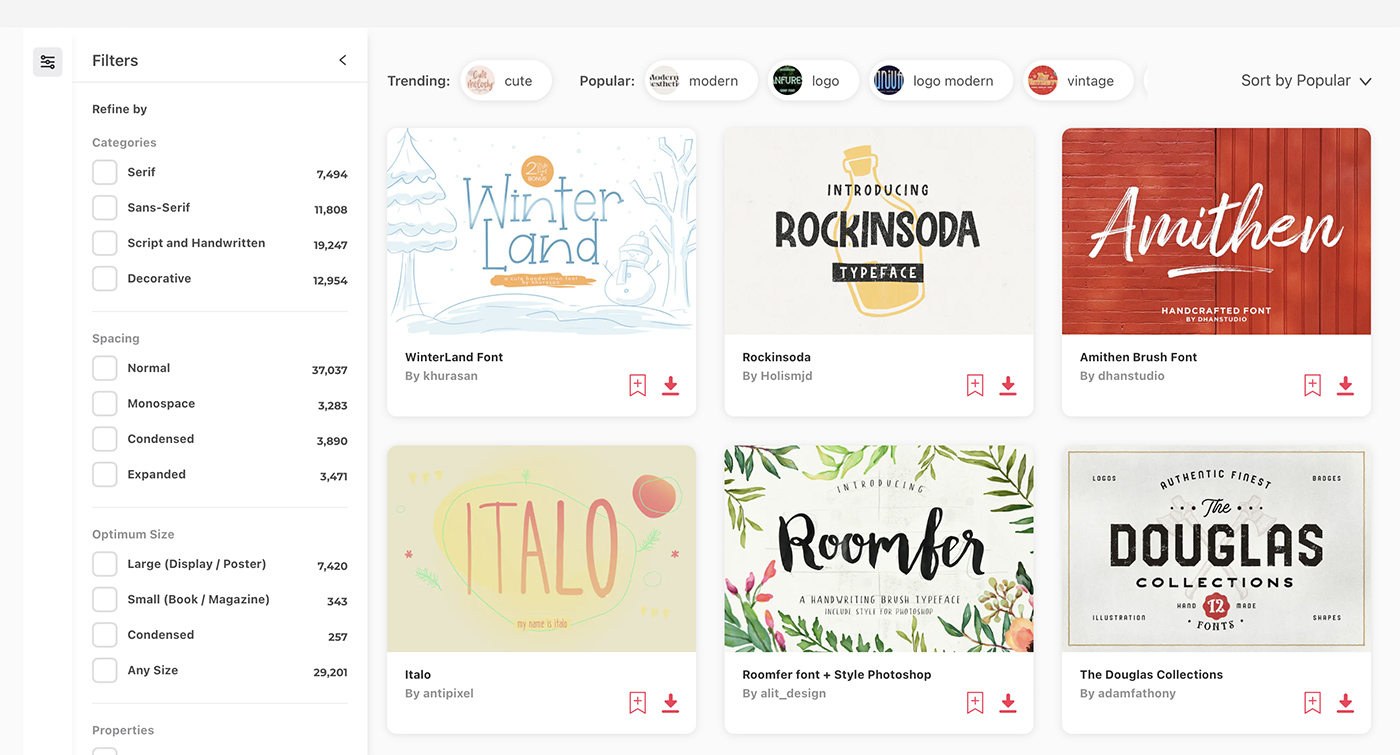
There are plenty of resources online where you can download fonts. Websites like Google Fonts, DaFont, or Font Squirrel offer a wide range of free fonts. Remember to respect the license agreement for any font you download. Some fonts may be free for personal use but require a purchase for commercial use.
- Open Safari (or any other web browser) on your iPad.
- Navigate to the website hosting the font you want to download.
- Once you’ve found a font you like, tap the ‘Download’ button. This will typically download a .zip file containing the font file and possibly some other files like a license agreement.
Unzipping the Font File
iOS has a built-in feature for unzipping files, which means you don’t need a separate app to do this.
- Open the Files app on your iPad.
- Navigate to your ‘Downloads’ folder.
- Tap on the .zip file you just downloaded. The file should automatically unzip, and you’ll see a new folder with the same name as the .zip file.
- Open this new folder to find your font file. It should end in .ttf or .otf.
Now that you’ve downloaded and unzipped your font file, you’re ready to install it! In the next section, we’ll show you how to do that.
Installing Fonts Using iFont
After you’ve downloaded and unzipped your font, you can use iFont to install it. Here are the steps to do that:
- Open iFont and tap on the ‘Files’ tab.
- Navigate to your ‘Downloads’ folder where you unzipped your font file.
- You’ll see your font file there. Tap on it.
- A screen will appear with a preview of the font and an ‘Import to iFont’ button. Tap that button.
- Your font is now imported into iFont, but it’s not installed yet. To install it, go to the ‘Imported’ tab, and you’ll see your font there.
- Tap on the ‘Install’ button next to the font. This will download a configuration profile which you need to install.
- A screen will appear telling you to open the Settings app to install the profile. Press the home button (or swipe up from the bottom if you have a newer iPad with no home button) to go to the home screen.
- Open the Settings app and tap on ‘Profile Downloaded’ at the top.
- Tap ‘Install’ in the top right corner.
- You’ll be asked for your iPad’s passcode. Enter it, and then tap ‘Install’ again.
- Your font is now installed and can be used in apps that support custom fonts!
Using Your Installed Fonts
Now that you’ve installed your font, you can use it in apps that support custom fonts, like Pages, Keynote, and Procreate. To use your font, open the app, and look for a ‘Fonts’ or ‘Text’ option in the toolbar. From there, you should be able to choose your newly installed font from a dropdown menu.
Please note that not all apps support custom fonts, and even those that do might not support all fonts. If you can’t find your font in an app, it’s likely that the app doesn’t support it.
Tips for Managing Fonts on iPad
Now that you know how to download and install fonts on your iPad, here are a few tips for managing your fonts:
Organizing Your Fonts
If you download and install a lot of fonts, it can quickly become hard to find the one you want. You can use folders in the Files app to organize your fonts. For example, you can create separate folders for serif fonts, sans-serif fonts, script fonts, and so on.
Deleting Fonts
If you no longer need a font or if you installed one by mistake, you can delete it. To do this, go to Settings -> General -> Fonts. You’ll see a list of all your installed fonts. Tap on the one you want to delete, and then tap ‘Remove’ on the next screen.
Respecting Font Licenses
As mentioned earlier, always respect the license agreement of the fonts you download. If a font is free for personal use, don’t use it for commercial projects without purchasing the appropriate license. This supports the designers who create these fonts and enables them to continue creating more.
With these tips and steps, you are well on your way to expanding your typographic options on the iPad! Enjoy the design freedom and keep exploring new fonts. Happy designing!