How to Record a Presentation on Google Slides
Recording a presentation can be an excellent way to share information asynchronously, ensure consistent delivery, or prepare for a virtual audience.
While Google Slides is a widely used tool for creating presentations, it does not have a built-in feature to record presentations directly. However, there are effective ways to record your Google Slides presentation, including narration, using various tools and techniques.
This guide will walk you through the process and share some best practices to ensure a professional and engaging recording.
Step 1: Preparing Your Google Slides Presentation
Ensure that your presentation is complete with all the necessary content, animations, and transitions. It’s important to rehearse and familiarize yourself with the flow of the presentation.
If you plan to include narration, use the speaker notes section at the bottom of each slide to jot down key points or a script for your presentation.
Step 2: Choosing a Screen Recording Tool
Since Google Slides does not natively support recording, you will need to use a screen recording tool.
Choose a screen recording tool that suits your needs. Popular options include Loom, ScreenPal, and OBS Studio. Many of these tools offer free versions with basic features.
Before recording your presentation, spend some time getting to know the screen recording software. Learn how to start and stop recording, how to include your webcam (if desired), and how to capture audio.
Step 3: Setting Up for Recording
Proper setup is crucial for a high-quality recording.
Check Your Microphone and Webcam
If you are including narration or a video of yourself, ensure that your microphone and webcam are working properly. Do a test recording to check the audio and video quality.
Eliminate Distractions and Interruptions
Record in a quiet, well-lit room. Turn off notifications and other potential interruptions on your computer to ensure a smooth recording.
Step 4: Recording Your Presentation
Now you’re ready to record your presentation.
1. Open Your Presentation
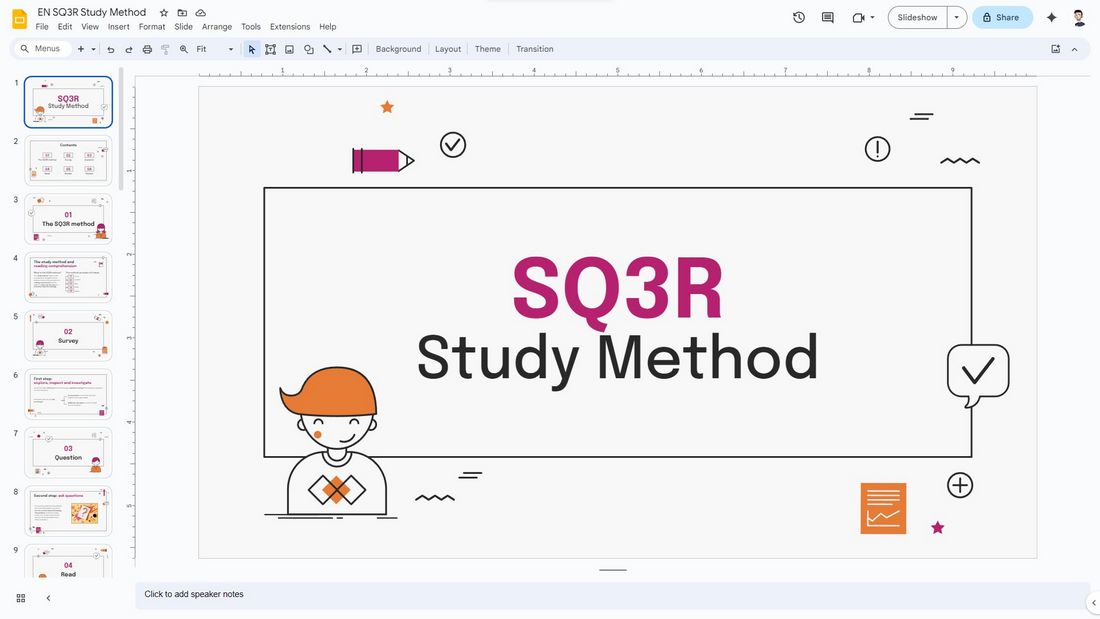
Launch your Google Slides presentation and open the screen recording tool. You may have to sign-in to your account, depending on which screen recording tool you use.
2. Start Recording
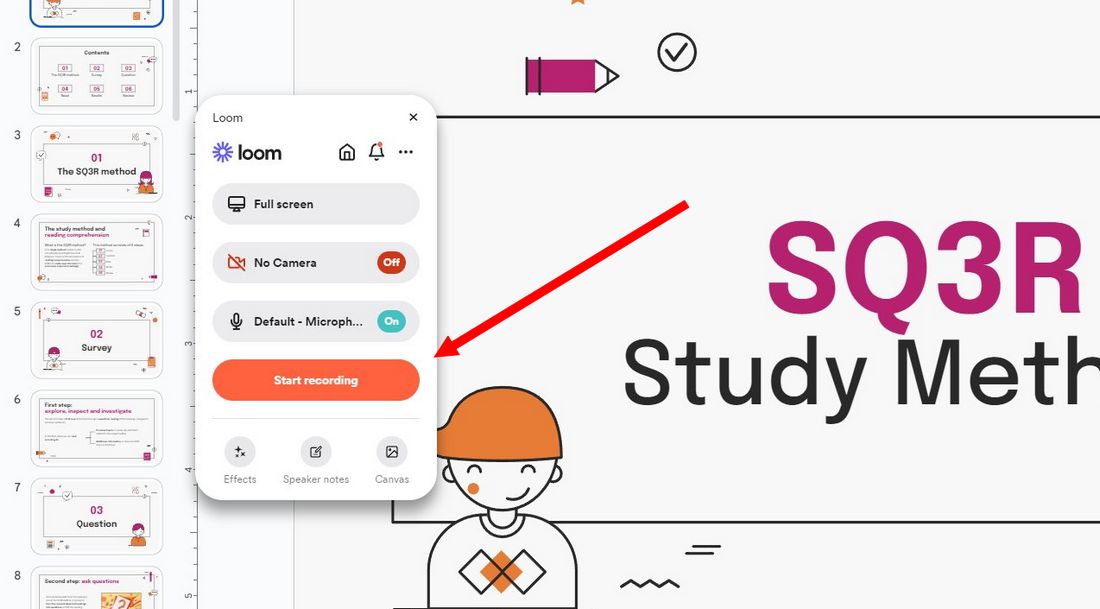
Begin the recording following the screen recorder’s instructions. For example, when you open Loom, it gives you an interface with several options for recording your presentation.
You can choose whether to record fullscreen or a specific window, include your webcam, and much more.
Once you hit the Start Recording button, it will even give you a countdown to begin the recording. But that feature is only available in Loom.
It’s usually a good practice to wait a few seconds before starting your presentation to ensure the recording captures everything.
3. Deliver Your Presentation
Go through your slides at a steady pace. Use your speaker notes as a guide, but try to sound natural and engaging.
4. End the Recording
Once you’ve reached the end of your presentation, pause for a few seconds and then stop the recording. Save the file in your preferred format and location.
Step 5: Editing and Sharing Your Recorded Presentation
After recording, you might want to edit your presentation for a polished look.
Edit the Recording
Use video editing software to trim the start and end of the recording, remove any mistakes, or add additional elements like music or text overlays.
Free video editing apps like Clipchamp and CapCut are perfect for these simple projects.
Share Your Presentation (Optional)
Upload your recorded presentation to a video-sharing platform like YouTube, Vimeo, or Google Drive, and share the link with your audience.
Some screen recording tools, like Loom, allow you to host your videos and share directly from the platform as well.
Tips for a Successful Google Slides Recording
1. Practice Makes Perfect
Before hitting the record button, practice your presentation several times. This will help you speak more fluently, maintain a good pace, and reduce the number of pauses or errors during the actual recording.
2. Control Your Speaking Volume and Speed
Speak clearly and at a moderate pace. Avoid speaking too quickly, as this can make it difficult for your audience to follow along. Also, modulate your voice to emphasize key points and keep the presentation dynamic.
3. Test Audio and Video Quality
Do a trial recording to check the audio and video quality. Make sure there’s no background noise, and the microphone is picking up your voice clearly. If using a webcam, check the lighting and camera angle.
4. Utilize Editing to Refine Your Presentation
Post-recording editing can significantly enhance the quality of your presentation. Use editing tools to trim unnecessary parts, correct errors, or add additional visual elements like captions or transition effects.
5. Be Conscious of File Size and Format
Larger video files can be difficult to share and may not be easily accessible to all audience members. Optimize your video for a smaller file size without significantly compromising quality. Also, choose a widely compatible video format like MP4.
6. Plan for Audience Questions
If your recorded presentation is part of a larger event, plan for a live Q&A session afterward or provide a way for viewers to submit questions, such as through a form or email.
In Conclusion
Recording a Google Slides presentation might seem daunting at first, but with the right tools and preparation, it can be a straightforward and rewarding process. By following these steps and best practices, you can create a professional and engaging presentation that resonates with your audience, regardless of where or when they view it.