How to Do a Voice Over on Google Slides: Tools & Tips
Eager to add a personal touch to your Google Slides presentation? Integrating a voice-over can significantly elevate your delivery, making it more engaging and accessible. But how does one navigate this process? It may seem complex, but with the right guidance, it’s actually a walk in the park.
Whether you’re new to Google Slides or have been using it for a while, this guide will serve as your roadmap. With comprehensive step-by-step instructions, we’ll unveil the process of adding a voice-over to your slides, helping you bring your presentations to life.
So, are you ready to lend your voice to your ideas? Let’s set sail on this journey and explore the dynamic world of voice-overs in Google Slides together! By the end, you’ll have a powerful new tool in your presentation toolkit.
Understanding Voice Overs
Voice overs in presentations are essentially audio narrations that accompany and explain the visual content on your slides. They are an effective way to connect with your audience, explain complex concepts, and add a personal touch to your presentation.
Using Google Slides’ Built-In Audio Insertion Feature
While Google Slides doesn’t have a direct voice over feature, it does allow you to insert audio files. This means you can record your voice over separately and then add the audio file to your slides. Here’s how:
- Record your voice over for each slide using a voice recording tool. You can use built-in tools on your device, like Voice Recorder on Windows or Voice Memos on macOS and iOS, or use online tools like Vocaroo.
- Save each audio file individually. It’s recommended to use an organized naming system, like ‘Slide1’, ‘Slide2’, and so on.
- Upload the audio files to your Google Drive.
- Open your Google Slides presentation. Select the slide you want to add the voice over to.
- Click on ‘Insert’ > ‘Audio’. This will open a window showing your Google Drive files.
- Select the relevant audio file for the slide. Once inserted, an audio icon will appear on your slide. You can click on this icon and adjust the settings, choosing whether the audio plays automatically, on click, or loops.
Repeat these steps for each slide you want to add a voice over to.
Using Screen Recording Tools
Another approach to adding voice overs to your Google Slides presentation is by using a screen recording tool. This method allows you to narrate your presentation in real time, creating a more dynamic and interactive experience for your audience. Here are some popular screen recording tools you can use:
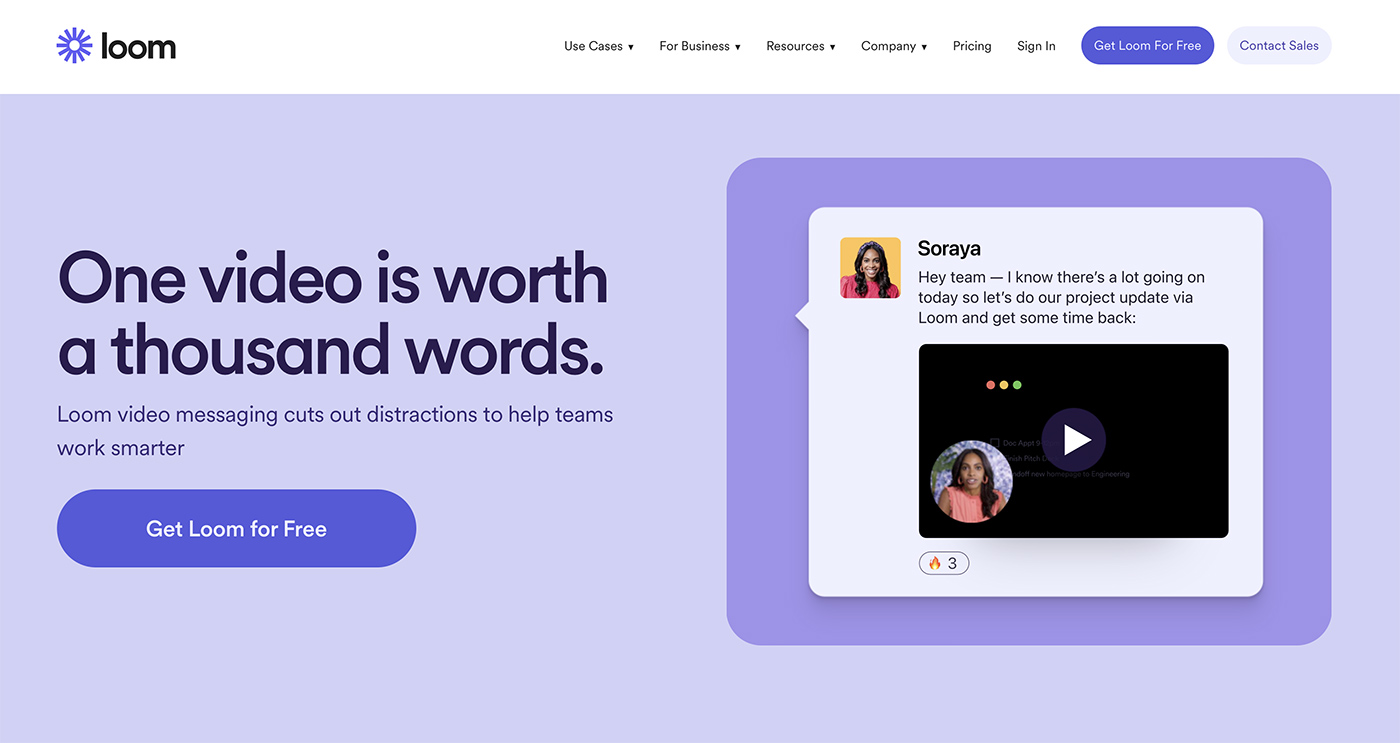
1. Loom
Loom is a user-friendly tool that allows you to record your screen, voice, and face simultaneously. You can use it to navigate through your Google Slides presentation while providing real-time narration. Here’s a simple guide:
- Download and install Loom on your computer.
- Open Loom and select ‘Screen + Cam’ to record both your screen and voice.
- Open your Google Slides presentation in Present mode.
- Start recording in Loom and navigate through your presentation as you provide your voice over.
- Once finished, you can edit the video in Loom, trimming any unwanted sections and adding callouts or captions as needed.
- Save the video and share it directly with your audience, or upload it to a video sharing platform like YouTube and embed the video into your Google Slides presentation.

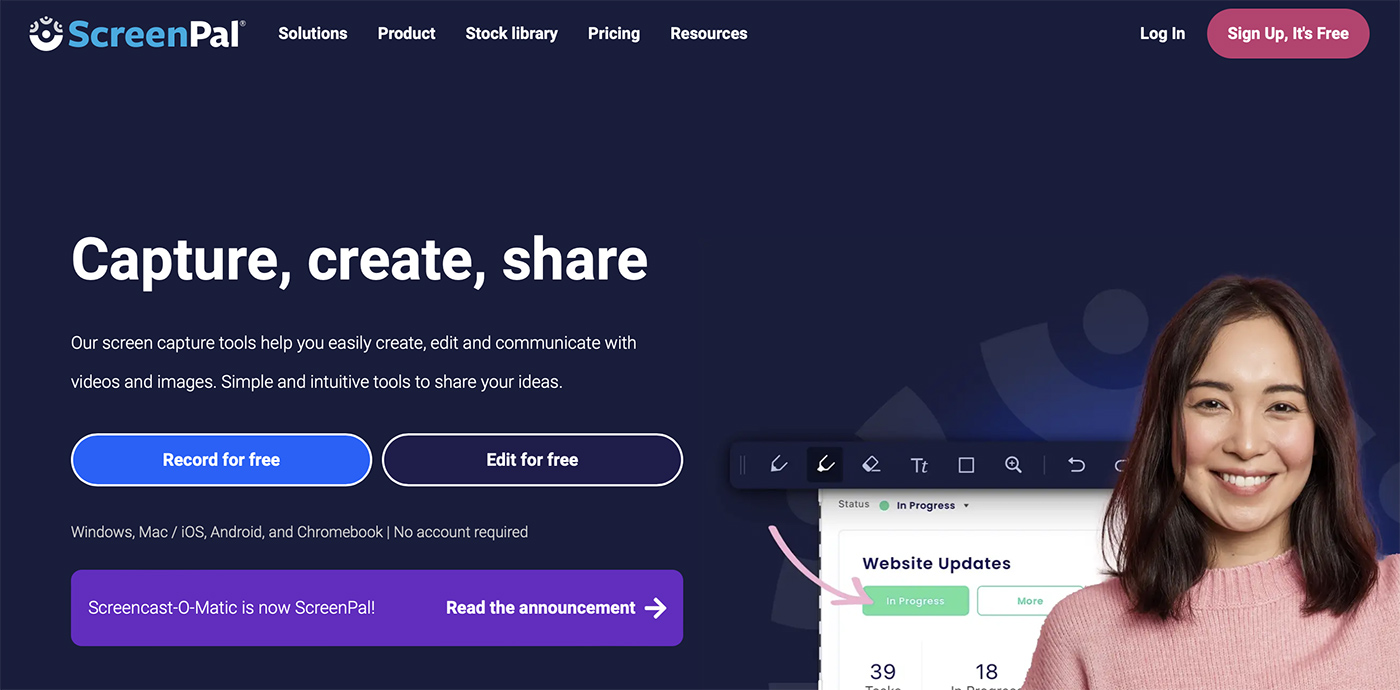
2. ScreenPal
ScreenPal is another great tool for recording voice overs. It offers a range of editing tools, including options to add captions, animations, and even a green screen effect. Follow these steps to use ScreenPal:
- Download and install ScreenPal on your computer.
- Open ScreenPal and select ‘Start Recording’.
- Choose the screen capture area and ensure the microphone is turned on for voice recording.
- Start the recording and go through your Google Slides presentation, narrating as you progress.
- After finishing the recording, you can use the video editor to add effects, trim parts of the video, or adjust the audio.
- Save your video and upload it to a platform like YouTube. Then, you can share the link or embed the video into your Google Slides presentation.

Using Professional Voice Over Software
If you’re looking for a more professional sound or need advanced editing options, consider using professional voice over software like Audacity. Audacity is a free, open-source software that offers a wide range of audio recording and editing features. Here’s how to use Audacity for your voice overs:
- Download and install Audacity on your computer.
- Open Audacity and select the microphone for recording.
- Start recording your voice over. You can record the narration for each slide individually or record a continuous narration and split it later.
- Use Audacity’s editing features to clean up the audio, remove noise, adjust volume levels, and add effects as needed.
- Export the audio files and upload them to Google Drive.
- Open your Google Slides presentation and insert the audio files as explained in section 2.

Tips for Effective Voice Overs
Creating a compelling voice over involves more than just reading your slides. Here are some tips to help you create engaging narrations:
- Write a script: Don’t improvise your narration. Write a script for your voice over and practice it. This will help you deliver a clear, concise, and engaging narration.
- Speak clearly: Speak at a steady pace, articulate your words clearly, and use pauses effectively. Ensure your voice is loud enough to be heard clearly but not so loud that it’s jarring.
- Be conversational: Try to make your voice over sound natural and conversational, as if you were speaking to the audience face-to-face. This can make your presentation more engaging and relatable.
- Use an appropriate tone: Match the tone of your voice to the content of your presentation. If your presentation is about a serious topic, your voice should reflect that seriousness. Conversely, if your presentation is light-hearted or humorous, let that show in your voice.
Conclusion
Adding a voice over to your Google Slides presentation can elevate it from a basic slide show to an immersive, engaging experience for your audience. With the tools and techniques we’ve discussed in this article, you’ll be well-equipped to create effective voice overs for your presentations.
Remember, the key to a successful voice over is clear, engaging narration that complements and enhances your visual content. Happy recording!