How to Resize an Image in InDesign
In this article, we’ll cover the process of resizing images in Adobe InDesign. If you’re going to work in InDesign, this is one of the first things you’ll need to master (and it’s super easy to do in a few different ways).
Resizing images is a common task in any design project, and InDesign offers several ways to accomplish this.
Follow the steps below to learn how to resize images effectively and efficiently.
Placing an Image in InDesign
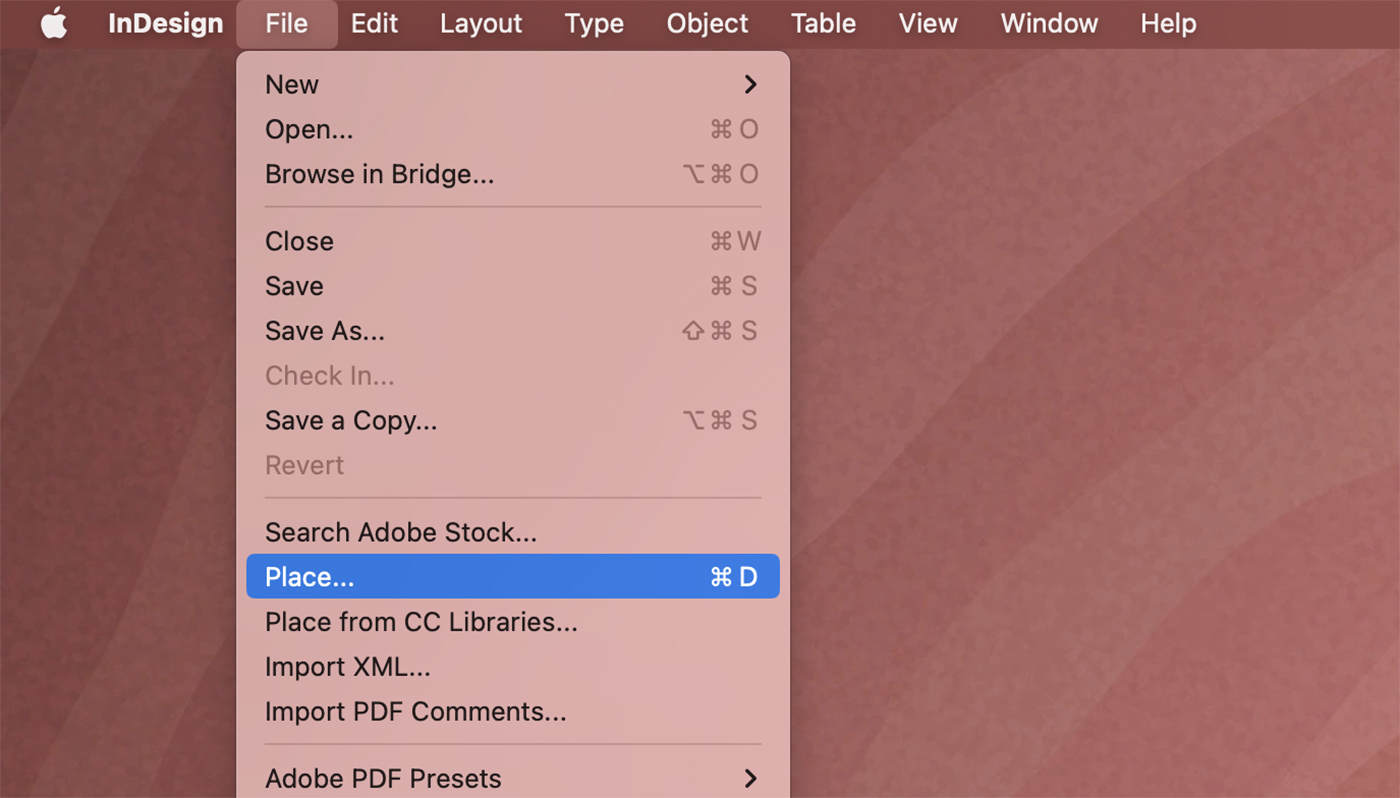
Before we dive into resizing, let’s briefly go over how to place an image into your InDesign document:
- Go to the File menu and select “Place…” or use the keyboard shortcut Ctrl+D (Cmd+D on Mac).
- Navigate to the folder containing your image, select it, and click “Open.”
- Click on your InDesign document where you want to place the image. The image will be placed within a frame.
Now that you have an image placed in your document, let’s explore different methods for resizing it.
Method 1: Resize Using the Frame Handles
- Select the image frame using the Selection Tool (V).
- Click and drag one of the frame handles (small squares located at the corners and edges of the frame) to resize the image.
- Hold down the Shift key while dragging to maintain the aspect ratio and avoid distorting the image.
- Release the mouse button when you’ve reached the desired size.
Method 2: Resize Using the Control Panel
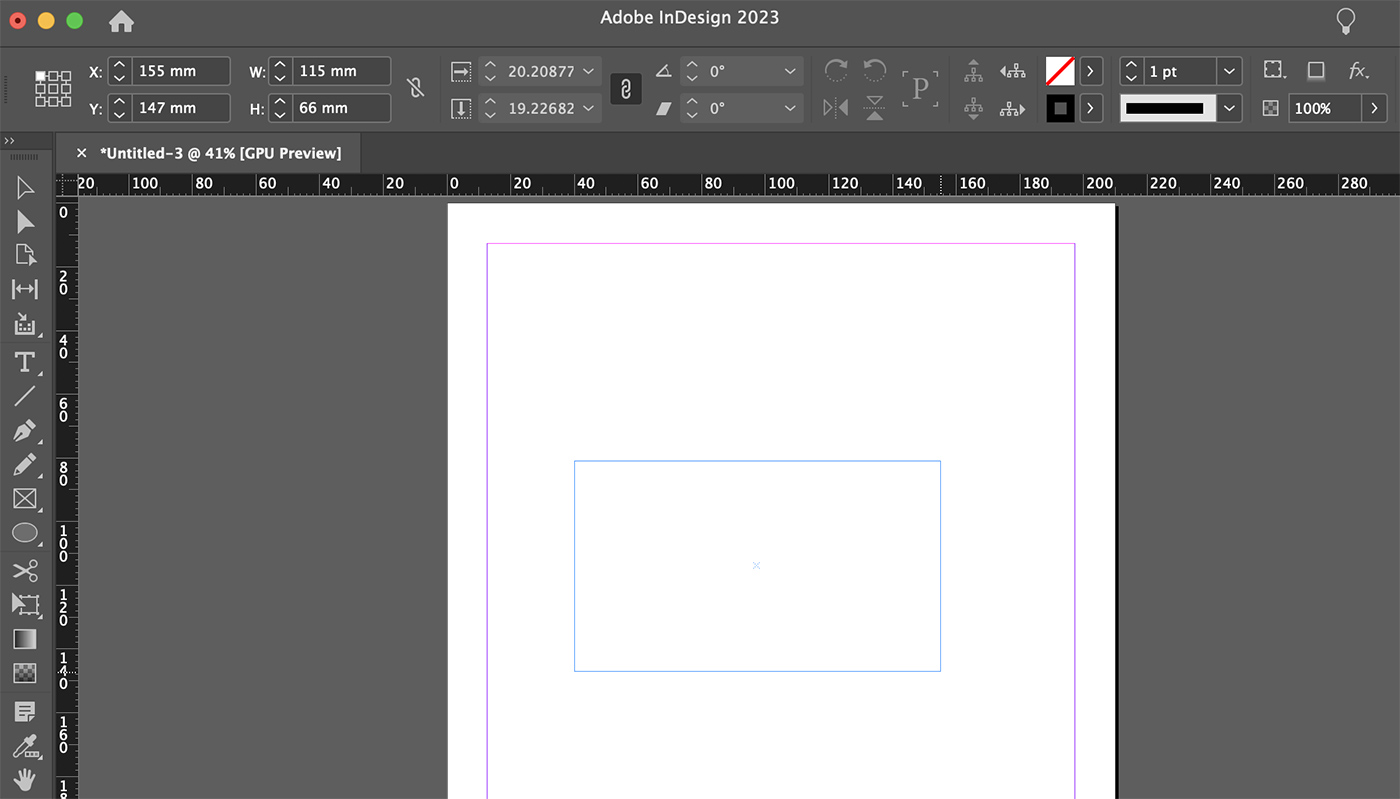
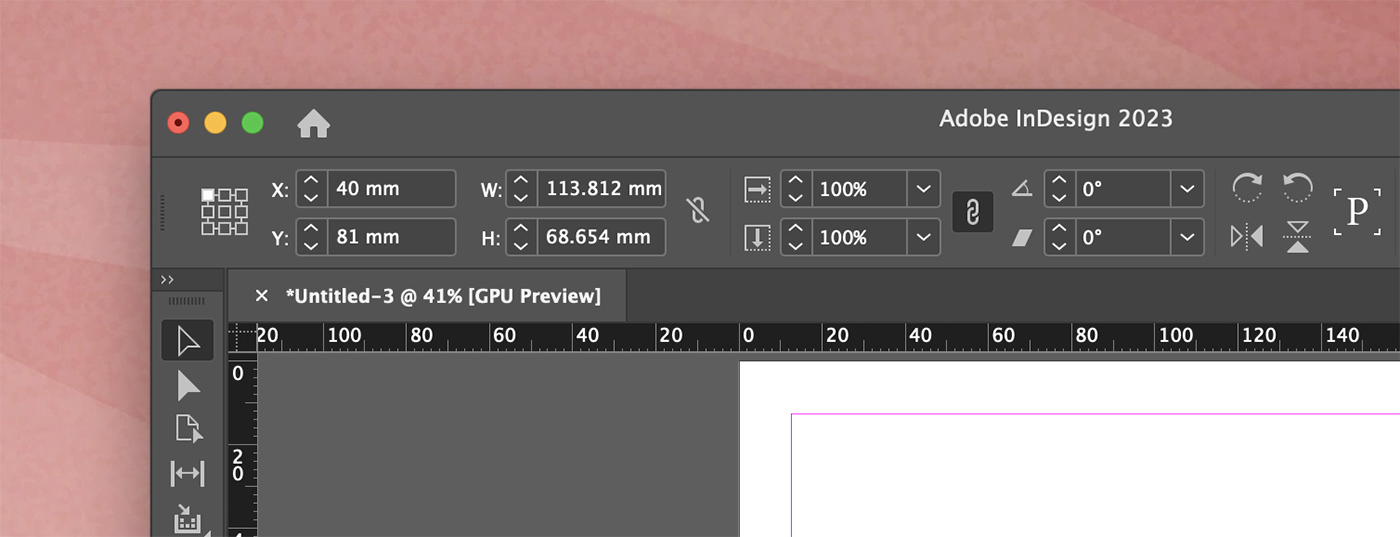
- Select the image frame using the Selection Tool (V).
- Look at the Control Panel at the top of the screen. You’ll see fields for width (W) and height (H).
- Click inside the width or height field and enter the new value. Press Enter to apply the change.
- To maintain the aspect ratio, click the chain icon between the width and height fields before entering the new value. This will ensure that the other dimension adjusts proportionally.
Method 3: Resize Using the Scale Tool
- Select the image frame using the Selection Tool (V).
- Click on the Scale Tool (S) in the toolbar or press the S key.
- Click and drag anywhere on the canvas while holding down the mouse button to scale the image. Hold down the Shift key to maintain the aspect ratio.
- Release the mouse button when you’ve reached the desired size.
Tips for Resizing Images in InDesign
Here are some tips to help you resize images effectively in InDesign:
1. Maintain the Aspect Ratio
Always hold down the Shift key when resizing images to ensure you maintain the original aspect ratio. This will prevent your images from becoming distorted.
2. Use High-Resolution Images
When resizing images, it’s essential to use high-resolution images to avoid pixelation or loss of quality when scaling up. InDesign will display the effective resolution of the image in the Links panel, which can help you determine if the image is suitable for your project.
3. Avoid Overstretching Images
Be cautious when resizing images to larger dimensions, as this can result in a loss of quality. If possible, use vector graphics or images with a higher resolution to maintain sharpness and detail.
Alternative: Resize Content and Frame Independently
In some cases, you may want to resize the image content and frame independently. Here’s how:
- Select the image frame using the Direct Selection Tool (A).
- Click and drag one of the content handles (blue squares located at the corners and edges of the image) to resize the image content.
- Hold down the Shift key while dragging to maintain the aspect ratio and avoid distorting the image.
- Release the mouse button when you’ve reached the desired size.
- If necessary, adjust the frame separately using the Selection Tool (V) and frame handles.
Further Customization: Cropping and Fitting Options
InDesign also offers options for cropping and fitting images within their frames. Here are some useful techniques:
1. Fitting Content Proportionally
To fit the image content proportionally within the frame, right-click on the image frame, and navigate to “Fitting” > “Fit Content Proportionally.” This will resize the image so that it fills the frame while maintaining the aspect ratio.
2. Fitting Frame to Content
If you want to adjust the frame size to match the image content, right-click on the image frame, and choose “Fitting” > “Fit Frame to Content.” This will resize the frame to match the dimensions of the image content.
3. Cropping Images
To crop an image within its frame, use the Selection Tool (V) to adjust the frame size while keeping the image content unchanged. The part of the image outside the frame will be hidden, effectively cropping the image.
By mastering these various techniques for resizing, fitting, and cropping images in InDesign, you’ll be well-equipped to create visually stunning layouts that effectively showcase your content.
Conclusion
In conclusion, resizing images in InDesign is an essential skill for any designer working with this powerful layout tool. By using the frame handles, Control Panel, or Scale Tool, you can easily adjust the size of your images to fit your design requirements. Remember to maintain the aspect ratio, use high-resolution images, and avoid overstretching to ensure the best possible results in your projects.