How to Create an Invoice in Word (In 3 Simple Steps!)
From small businesses to one-off needs for freelancers, Microsoft Word can be a reliable – and easy – option for creating quick invoices. Most people have it, and you can get a surprisingly well designed invoice made with relatively little effort!
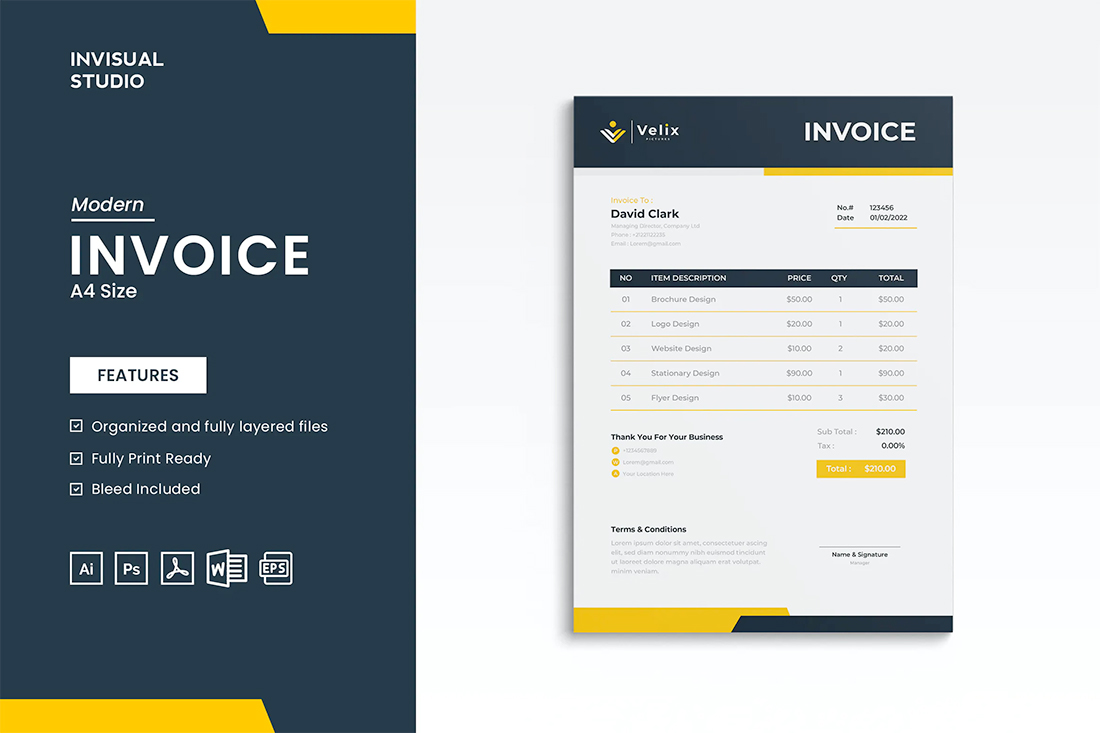
You can use a template that comes with the software by default, create your own, or download a predesigned option from a marketplace such as Envato Elements. (The latter option is the easiest by far.)
Here, we’ll walk you through how to create an invoice in Word using an example template. You can download it here and follow along.
How to Make an Invoice in Word
While you can make an invoice on your own or use one of the default options from Microsoft, you can use a template as the basis for a more professional-looking design that matches your brand.
A Microsoft Word invoice is easy to use and send (just turn it into a PDF). For the most part, Word invoice templates are most for those that don’t send a lot of invoices because there are some manual steps to this process for each invoice sent.
The good news is a Word invoice is a great starter option and is easy to create.
It starts with downloading a template.
Step 1: Open Your Template and Customize
Getting started with a Word invoice template is the recommended option. There are so many elements to an invoice that there’s no need to recreate the wheel here.
Microsoft has some invoice templates available, but they are fairly simple in terms of design.
We will use a template from Envato Elements.
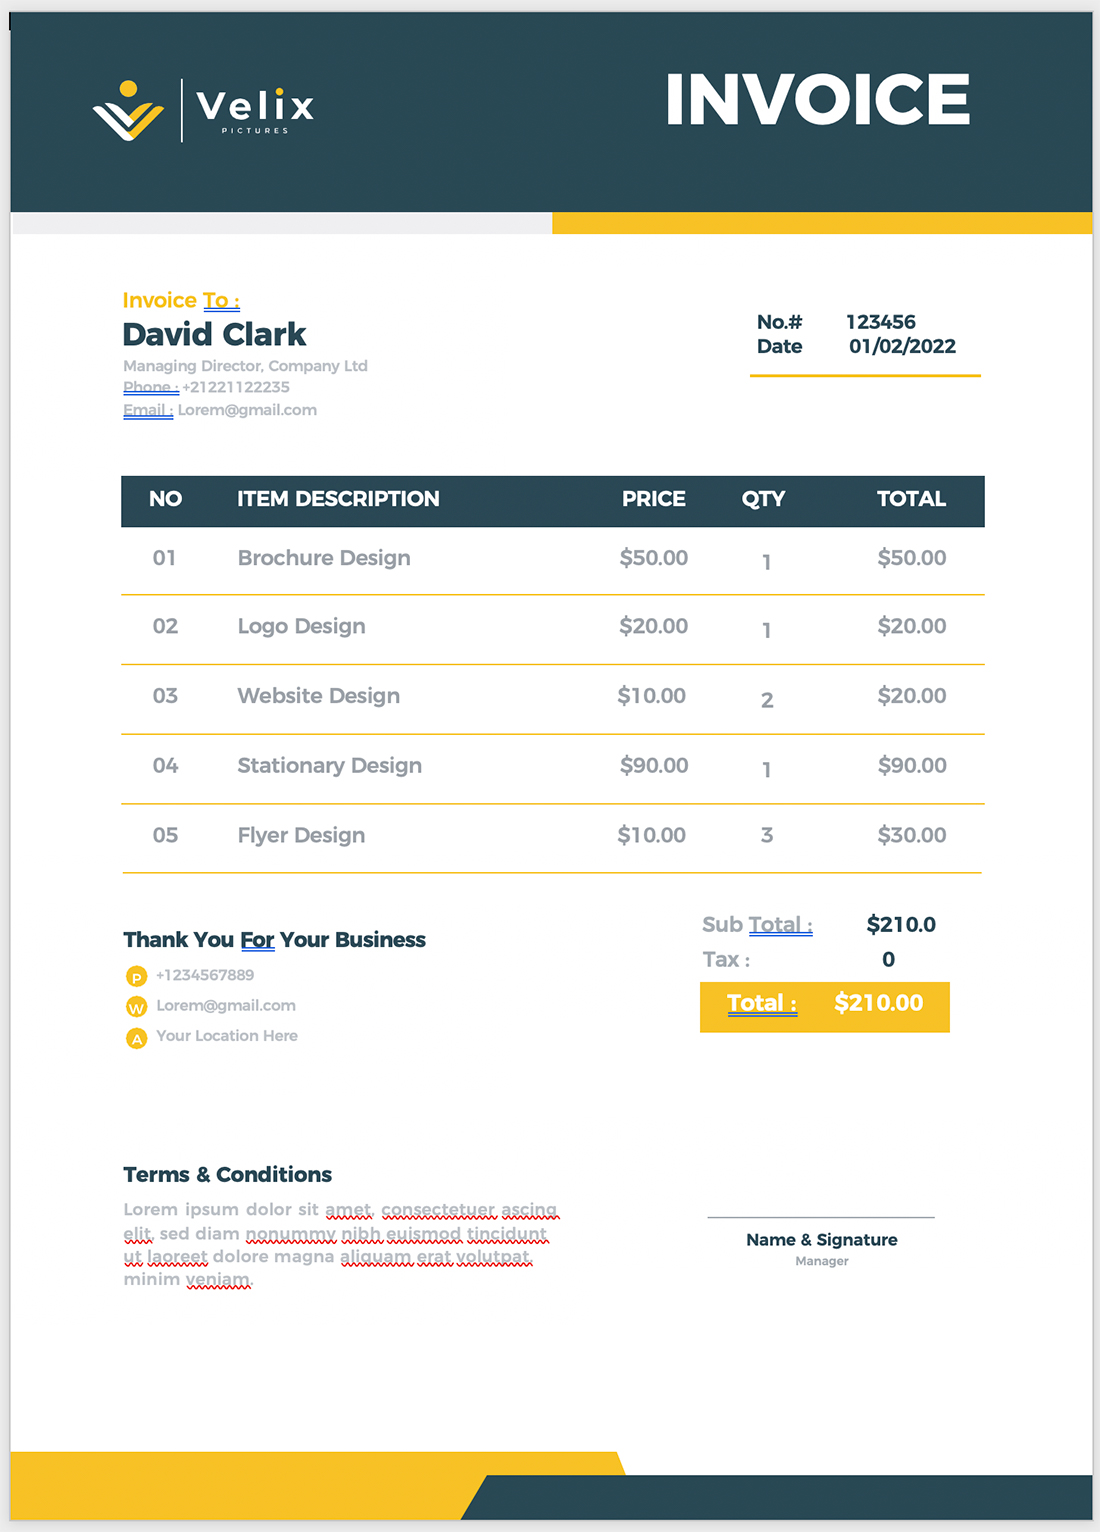
Start by opening whatever template file you plan to use. Double click the file name or navigate to file > open.
Swap out the default template elements for your own information.
Make sure to customize default elements:
- Your name, or business name, and contact information
- Logo
- Color scheme
- Terms and conditions or any notes
- Currency (if different from the template)
For any elements in the template that you do not plan to use, delete those elements altogether.
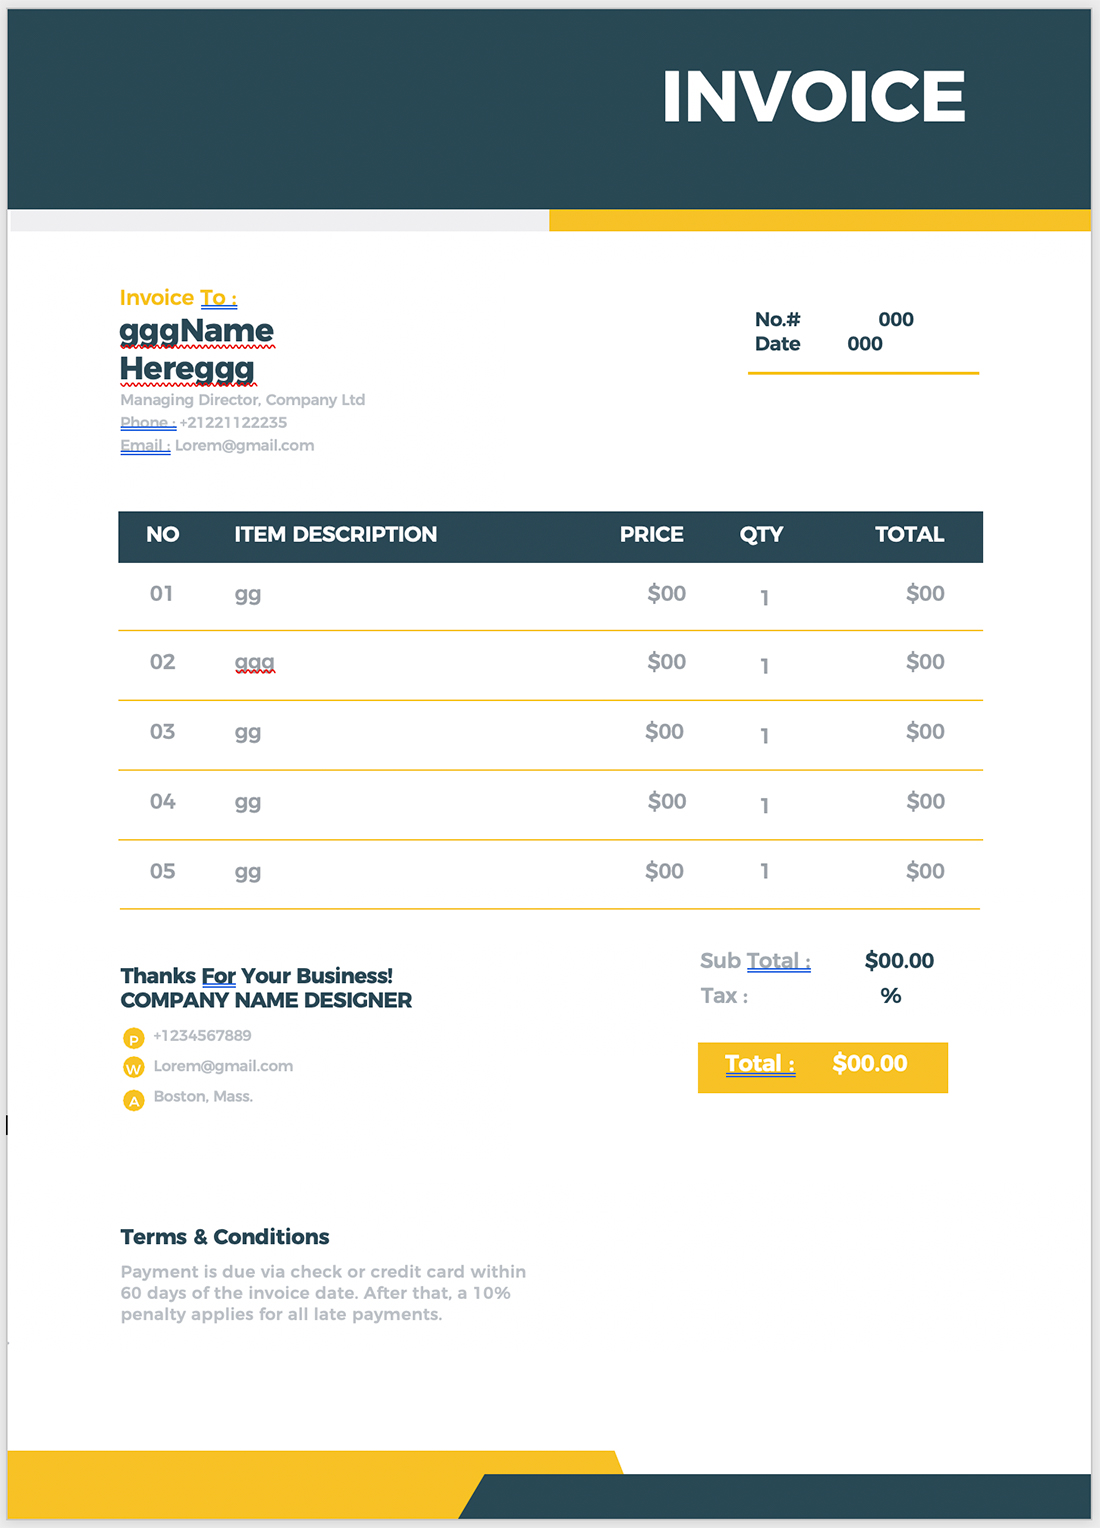
Strip out information for fillable fields. You can insert dummy text or turn your invoice template into a fillable form. This depends on what works best for your needs.
The main goal is not to leave information in the template that could lead to a mistake later.
Add dummy text for the following:
- Invoice number
- Date
- Contact information for person being invoiced
- Line items
- Prices and total
Save your file. You may want to name it something that you can remember later such as “Invoice Template.” Pro tip: Save the file as read only, so that every time you open it and start working, you will be prompted to save a new file. That way you never lose your default template.
Step 2: Open the Invoice and Enter Client Details
Once you have created and saved an invoice template, you can open the file and get started with unique invoices.
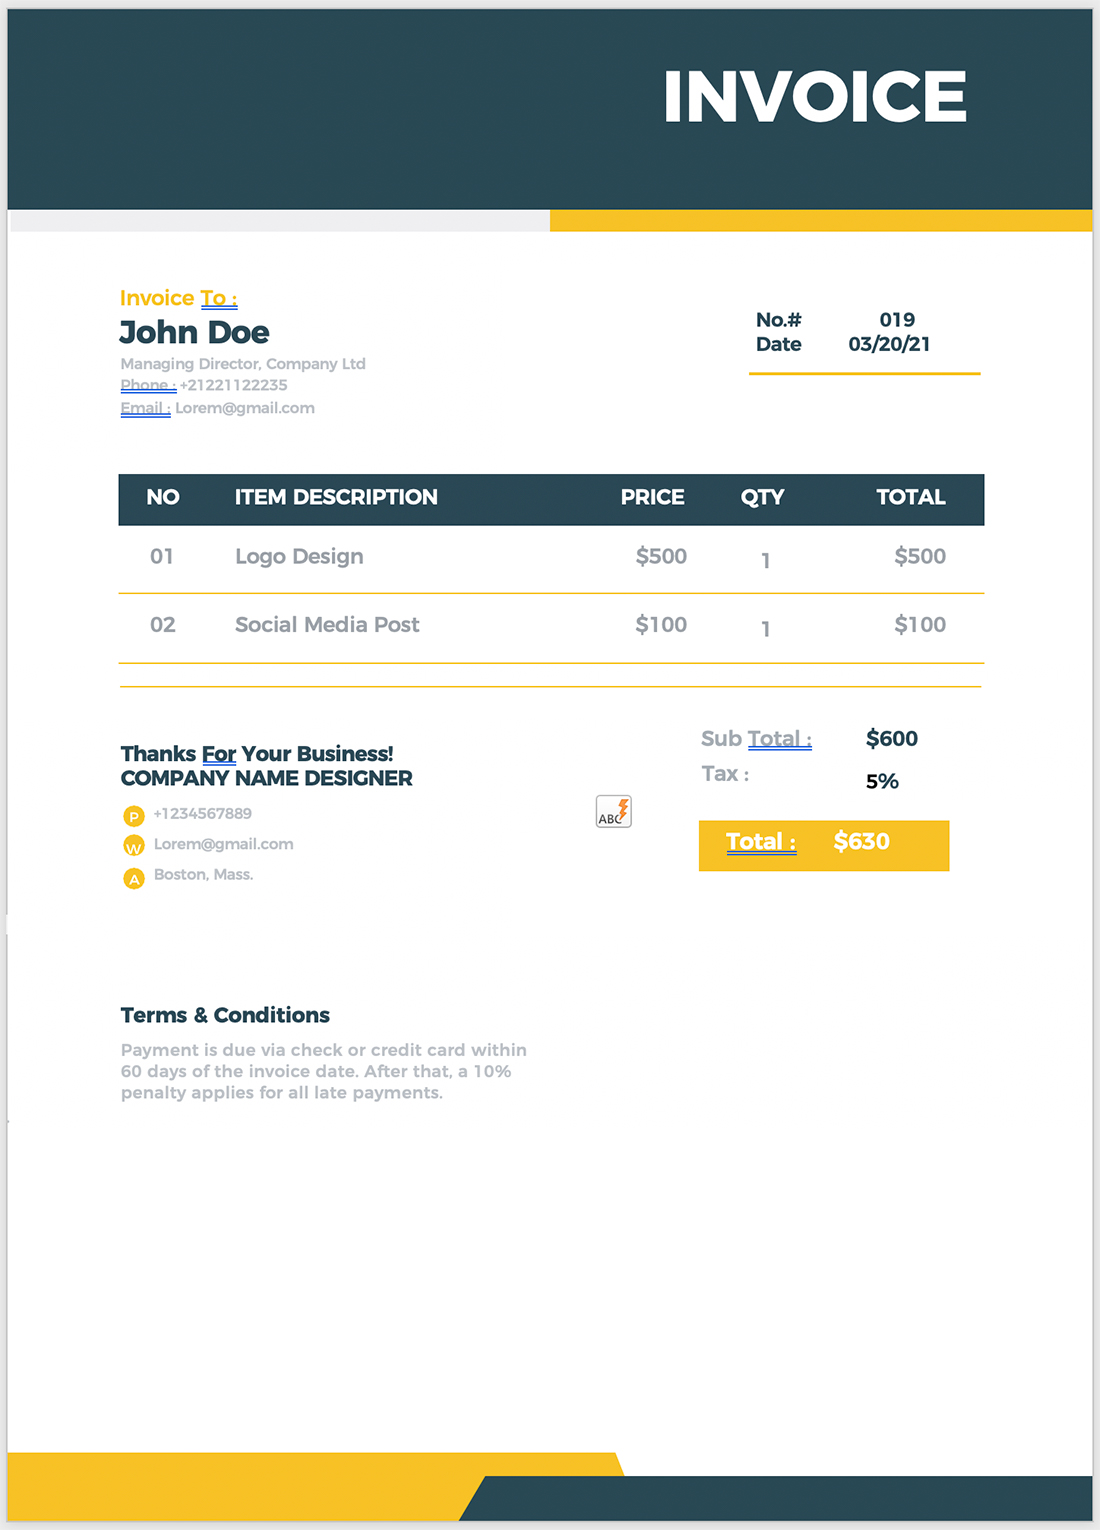
Start by saving the invoice template as a new file. You may use something like Invoice-ClientName-Date as the name to it is easy to find later.
Enter information into all the appropriate fields in the template. Remember to replace or delete the dummy text that you entered in Step 1.
Key elements to include:
- Client information
- Your billing information so they know where to send payment
- Unique invoice number
- Date
- Itemized list of services; if the service or rate is unclear add a description as well
- Total amount due including any fees or taxes. Make sure your math is correct here!
Remember to save.
Double-check all of the fields and prices.
Step 3: Save and Send
Once everything is filled in, you are ready to save and send the invoice.
Convert the invoice into a PDF before sending it. This keeps it from being changed or coming across to the recipient with odd formatting.
Go to file > save as and select PDF as the file format. Because many people still print business receipts, choose the “best for printing setting.”
Name the file and save it in an easy-to-find location, such as your desktop.
You can then attach the PDF to an email and send digitally or print the invoice and mail it to the client.
Conclusion
Creating an invoice in Microsoft Word is a fairly easy task and a template makes it even easier while providing a professional design. The hardest part might be finding just the right template.
Envato Elements has plenty of options. Pick a template that has fields that you will use and a design that appeals to you and matches your business. Then you can customize it and you are ready to go.
Find the perfect template here.