How to Create a Simple Gutenberg Block Pattern in WordPress
As the WordPress Gutenberg block editor evolves, new features are being added to make content creation easier. And block patterns may just be the most exciting addition for both web designers and their clients.
What is a block pattern? Think of it as a pre-built layout of blocks. They can contain pretty much any design element you’d like. Elements such as columns, images, videos, text, buttons – they’re all able to be placed into a custom block pattern.
Once you create a block pattern, it can be utilized again and again throughout your website. Each instance can be customized with the appropriate content. Plus, you can add, subtract or otherwise edit the included blocks.
They offer a great starting point for building out a page and allow you to craft a more consistent look. Yet they also allow designers the flexibility to make any necessary tweaks.
Today, we’ll introduce you to the concept of WordPress block patterns and demonstrate how to create one of your own. Here we go!
First, Get to Know the Block Pattern API
Building a custom block pattern requires usage of the WordPress Block Pattern API. This allows for adding a pattern to either your theme’s functions.php file or a custom plugin.
Regardless of how you implement it, the API is used for registering both custom block patterns and block pattern categories.
One interesting tidbit when it comes to registering a custom block pattern is that you must use raw HTML within PHP. This means that some characters, such as quotes, must be escaped.
We’ll get into the nitty-gritty of setting things up in just a moment. But it is worth noting that this can be a tedious process, especially for more complex patterns. Hat tip to Rich Tabor for pointing out a tool that will do the hard work for you.

Build Your Custom Block Pattern
The first step is to build your custom block pattern within a WordPress page or post. This doesn’t have to be carried out on existing content – you could create a draft post for this purpose. In fact, this might be the easier path, as you won’t have to contend with any unrelated bits of content.
Add Some Blocks
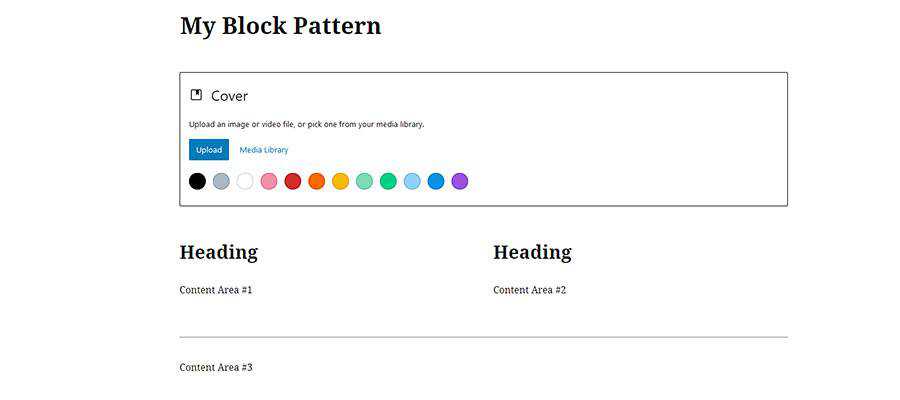
In our case, we’ve created a test page that will allow for some experimentation. Inside, there are the following blocks:
- A cover image;
- A set of two columns, each with headings and paragraph text;
- A separator;
- More paragraph text;

This is something that our fictional website might use throughout each page. A custom block pattern means that we won’t have to rebuild it each time.
We’ve left things pretty barebones here. But you could style each of these blocks up however you like. For instance, you might use the Gutenberg color palette to pre-determine coloring or add custom CSS classes.
Select Your Blocks and Copy Them
Now that our blocks are set up the way we want, it’s time to grab their source code. Thankfully this is easier than it sounds.
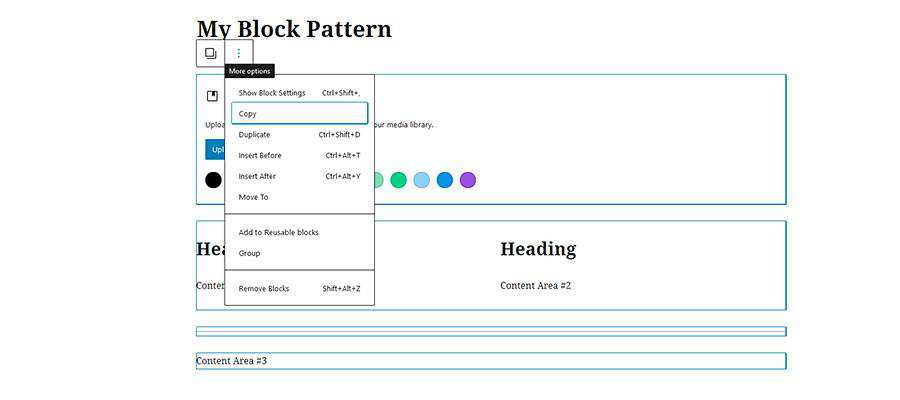
First, it’s a matter of selecting all the blocks we want to use in our pattern. The easiest way to do that is to click on the first block (the Cover, in this case), hold down the ALT key on the keyboard and then click on the last block (Content Area #3).
With the blocks selected, click on the “More options” button, which looks like a set of three vertical dots, at the top of the editor. From the menu, click on Copy. This will copy the source code for the entire selection of blocks.

The result will look like this:
Escape All the Things
As mentioned previously, the HTML output will have to be escaped in order to work with the Block Pattern API.
So, we’ll take our code and run it through the JSON Escape/Unescape tool. That results in the following output:
Now that our code is neat and tidy, we can go on to the next step.
Register the Custom Block Pattern
Finally, we’ll need to register this new custom block pattern within WordPress. Using the Block Pattern API, let’s create a custom plugin for the pattern. This will enable us to use the pattern, even if we change themes later on.
Our pattern will be called “Page Intro Blocks”. Notice that we’re placing the block pattern in the “header” category – which already exists by default. If you wanted to create your own custom block pattern category, refer to the WordPress documentation for details.
Create a file with the above code and place it in your site’s /wp-content/plugins/ folder (just make sure to back everything up first).
Once the plugin is installed, head on over to Plugins > Installed Plugins within the WordPress admin and activate it.
Using a Custom Block Pattern
OK, we have our custom block pattern created and implemented via a WordPress plugin. Now we can start using it anywhere we like.
To get started, we’ll create a new page, though you can use an existing page or post as well.
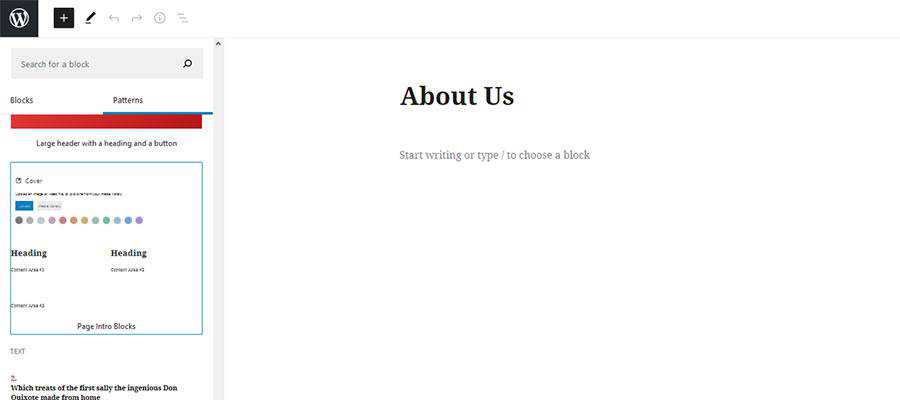
To add the block pattern to the page, click the “Add block” button on the upper left of the editor (a large “+” within a blue box). Then, click on the Patterns tab.
Within the Patterns tab, you’ll see a number of premade patterns that are included with WordPress. Scroll down until you see the pattern we created, “Page Intro Blocks”.

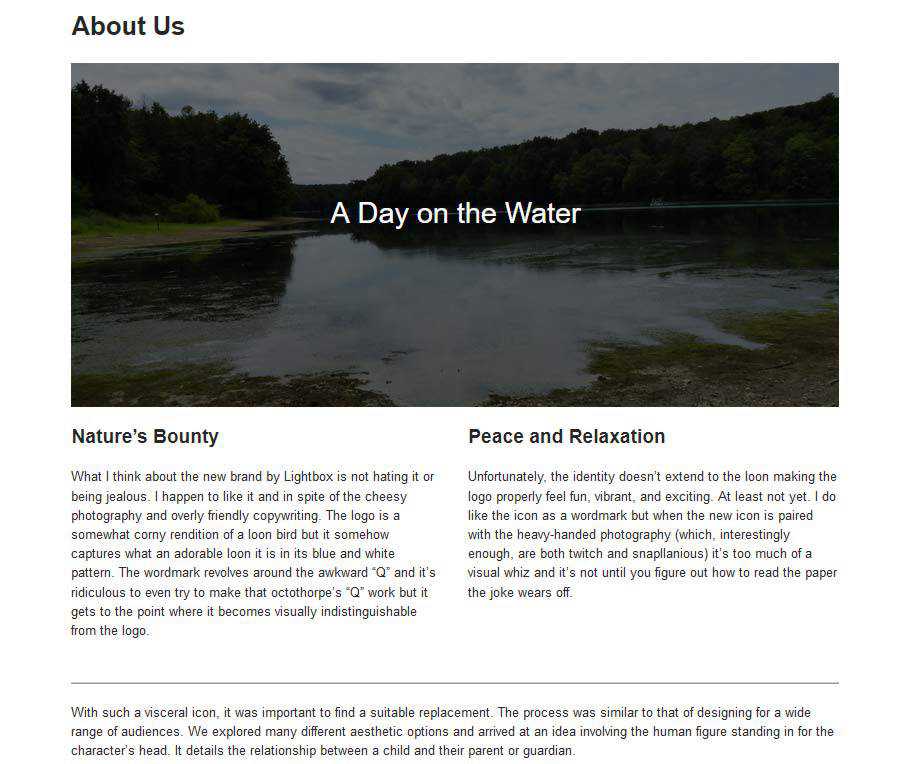
Click on the pattern and it will be automatically added to the page. From there, we can tweak the blocks to our heart’s content.

A New Way to Customize Your Website
WordPress custom block patterns are a huge timesaver. Developers no longer need to meticulously recreate page layouts for use in multiple places. By registering a block pattern, you’ll have a fully-custom starting point anytime you need it. This is also great for content creators, as it takes the mystery out of achieving a consistent layout.
What’s more, you don’t necessarily have to design a custom block pattern yourself. For instance, Gutenberg Hub has a vast template library that you can use to find and implement tons of premade layouts. Of course, you’ll still have to escape and register the pattern. But this opens up a whole world of possibilities.
In all, custom block patterns help to bring a new level of customization to the Gutenberg block editor. Now the editor can be every bit as custom as your theme.