What Is a WebP File? Pros, Cons & How to Convert
WebP is an advanced image format that offers a compelling blend of quality and compression, promising to accelerate website loading times while maintaining visual fidelity.
Almost every popular website on the Internet now uses the WebP format for displaying images. Should you do the same for your website? Is it worth going through the trouble of converting all your images to WebP? Let’s find out.
In this post, we uncover the advantages and drawbacks of using WebP. And guide you through various conversion techniques to create WebP images out of other formats. Make sure to read all the way to the end. This could be the big break you’re looking for to get your website back on top of search results.
What is WebP?

Developed by Google, WebP is a modern image format that enables superior compression for images on the web, allowing them to load faster without compromising on quality.
Unlike traditional formats such as JPEG, PNG, and GIF, WebP supports both lossless (perfect quality) and lossy (slightly reduced quality) compression, along with transparency and animation.
This versatility makes it an attractive option for a wide array of web content, from simple icons and graphics to complex photographs and animated elements.
The Pros of WebP
The allure of WebP lies in its numerous benefits. Primarily, its efficient compression algorithms can reduce image file sizes significantly, leading to quicker page load times and improved website performance—a critical factor in user experience and SEO rankings.
Additionally, its support for transparency and animation in a single format streamlines the web design process, providing a one-stop solution for diverse visual needs.
The Cons of WebP
However, WebP’s path to widespread adoption is hindered by several obstacles. Browser support, while steadily increasing, is not yet universal, leaving a segment of users unable to view WebP images without fallback mechanisms.
Also, the need for specific conversion tools and adjustments to existing workflows can pose challenges for teams and individuals accustomed to traditional image formats.
How to Convert Images to WebP
Embracing WebP involves converting existing images to this format, a process facilitated by various tools and services. Here are a few methods you can use to integrate WebP conversion into your workflow, catering to different preferences and requirements.
Use a WordPress Plugin

If your website is built with WordPress, the easiest way to convert your website’s images is to use a plugin.
There are plenty of free and premium plugins available on WordPress that allow you to convert images to WebP. You can use them to convert both existing images on your website as well as automatically convert new images as you upload them.
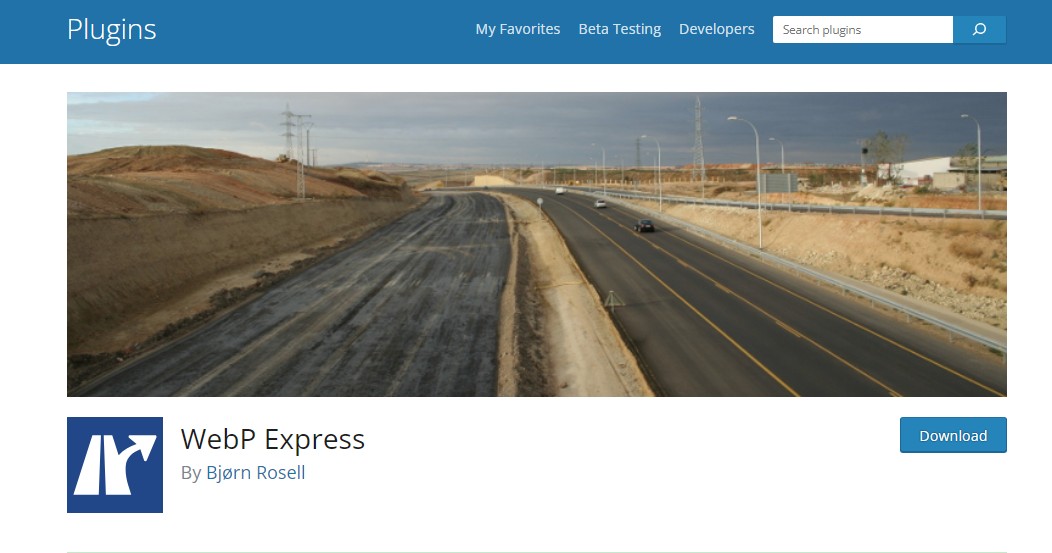
Imagify (premium) and WebP Express (free) are good options worth checking out.
Using Online Converters

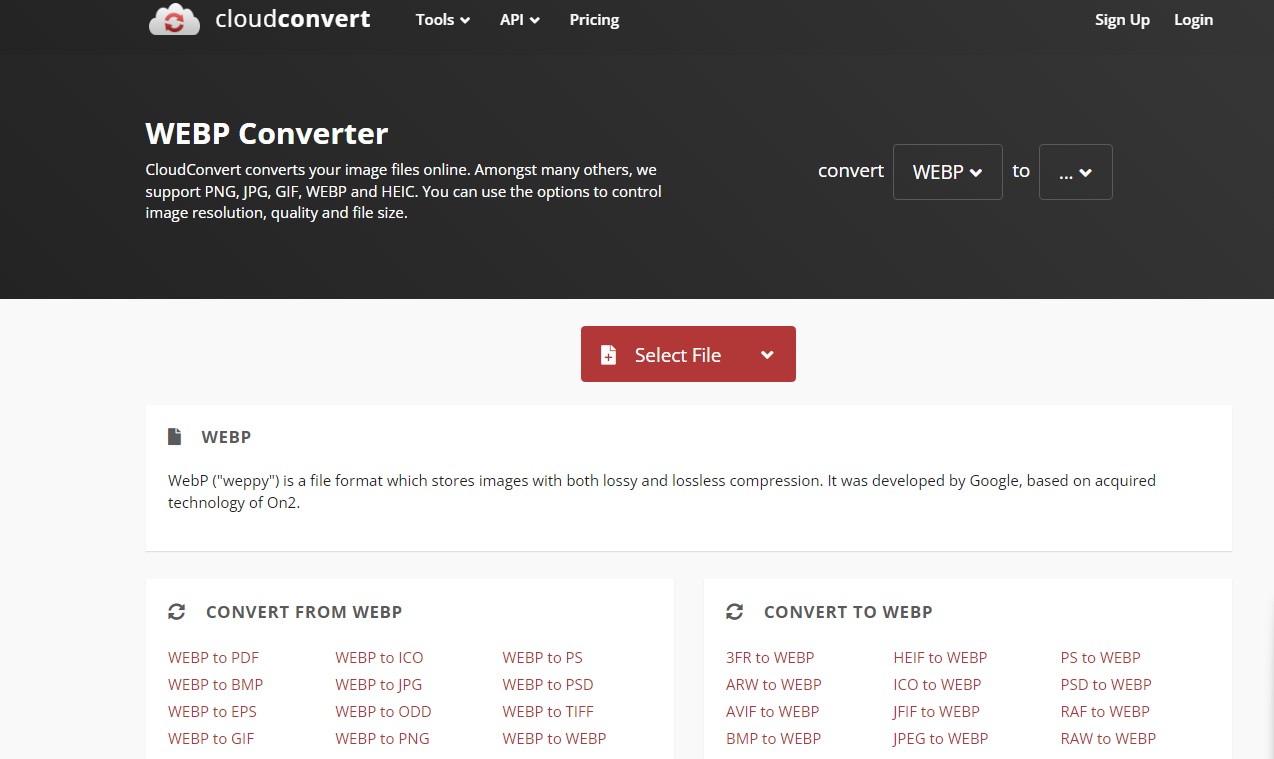
Online converters offer a quick and user-friendly way to convert images to WebP. Websites like CloudConvert and Zamzar allow you to upload JPEG, PNG, or GIF files and convert them to WebP with just a few clicks. Simply:
- Visit the online converter of your choice.
- Upload the image file(s) you wish to convert.
- Select ‘WebP’ as the target format.
- Hit ‘Convert’ and download the converted file once ready.
Use Adobe Photoshop or Affinity Photo

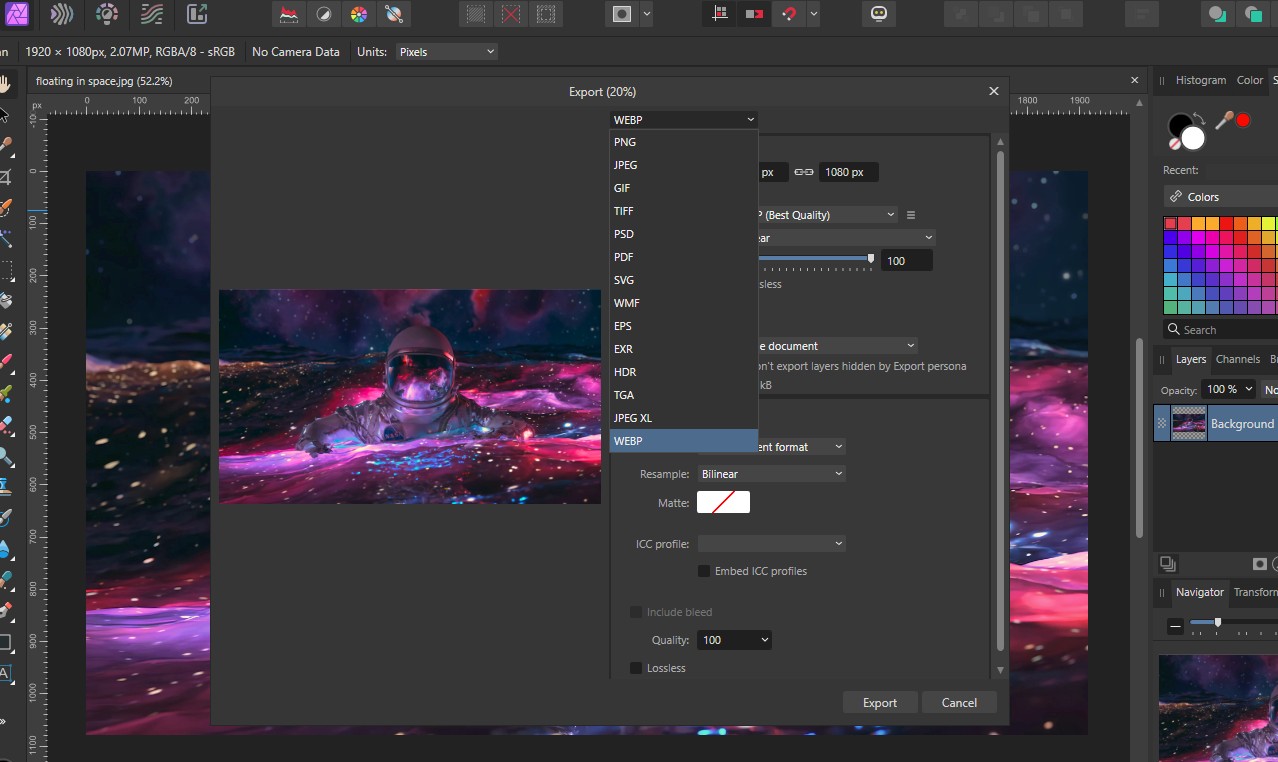
The latest versions of popular photo editing software, including Adobe Photoshop, Affinity Photo 2, and even MS Paint, now supports the WebP format. You can use them to easily convert JPEG, PNG, and other formats to WebP format.
If you’re using an older version of Photoshop, converting images to WebP is possible with the help of the WebPShop plugin.
Converting WebP Images Back to Other Formats

Sometimes, you may need to convert WebP images back to standard formats, such as for compatibility reasons. This can be achieved through similar tools.
The easiest way is to use an online tool like CloudConvert to convert the WebP images to other formats. As well as using Photoshop, Affinity Photo 2, and other software.
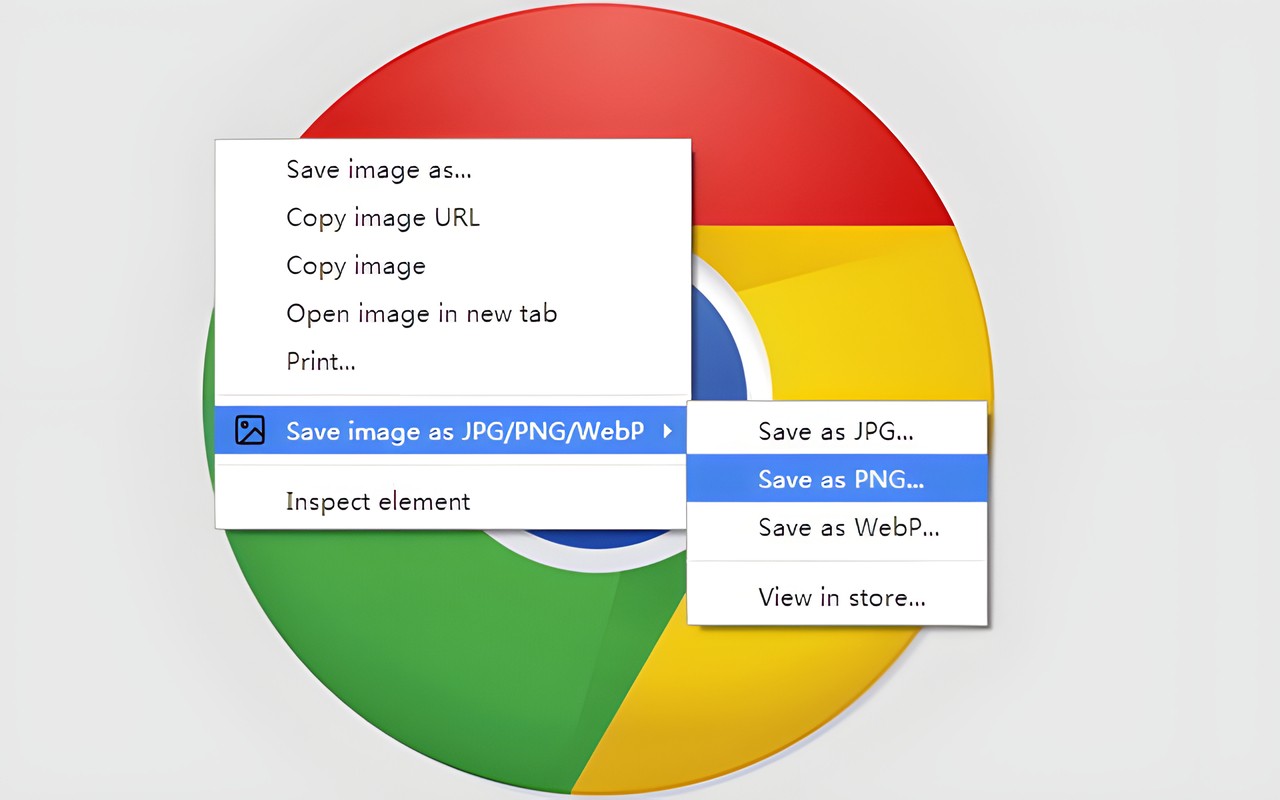
You can also use browser extensions, like Save Image As Type, to download WebP images in other formats.
Tips for Working with WebP
1. Use the Right Tools for Conversion
Select a conversion tool that fits your needs. Online converters are convenient for occasional use, while dedicated software or command-line tools might be better for bulk conversions or integration into your workflow.
2. Check Browser Compatibility
Before fully committing to WebP, ensure that your target audience’s browsers support the format. Use fallback solutions like the `
3. Optimize for Quality and Size
When converting images to WebP, experiment with compression settings to find the right balance between file size and image quality. Even slight adjustments can lead to significant savings in bandwidth and loading times.
4. Leverage WebP for All Image Types
Take advantage of WebP’s versatility by using it for both photographic and graphic images. Its efficient compression algorithms perform well across diverse content types.
5. Utilize WebP for Animations
Consider replacing GIFs with WebP for animations. WebP animations can be significantly smaller than GIFs, with better support for colors and alpha transparency.
Conclusion
WebP represents a significant step forward in web image optimization, offering a blend of efficiency and quality that can greatly enhance web performance. While it’s not without its challenges, the advantages of WebP make it a worthwhile consideration for any web project.
By understanding the pros and cons and utilizing best practices for conversion, you can effectively leverage WebP to improve your website’s loading times, aesthetics, and overall user experience.