How to Curve Text in Google Slides
Are you ready to take your Google Slides presentations from ordinary to extraordinary? Adding curved text to your slides can do just that! This feature, while not natively supported in Google Slides, can be achieved through some creative workarounds, and the impact on your audience can be immense.
Fear not if you’re new to Google Slides or have only used its most basic functions till now. In the following sections, we’ll break down the process of curving text into simple, easy-to-follow steps. By the end, you’ll be armed with a new tool in your presentation arsenal that’s sure to leave a lasting impression.
So, are you ready to amp up your presentation game? Let’s dive in and master the art of curving text in Google Slides together!
1. Using WordArt
The easiest way to create curved text in Google Slides is by using WordArt combined with a Google Drawings workaround. Here’s how you do it:
- Open your Google Slides presentation and select the slide where you want to add curved text.
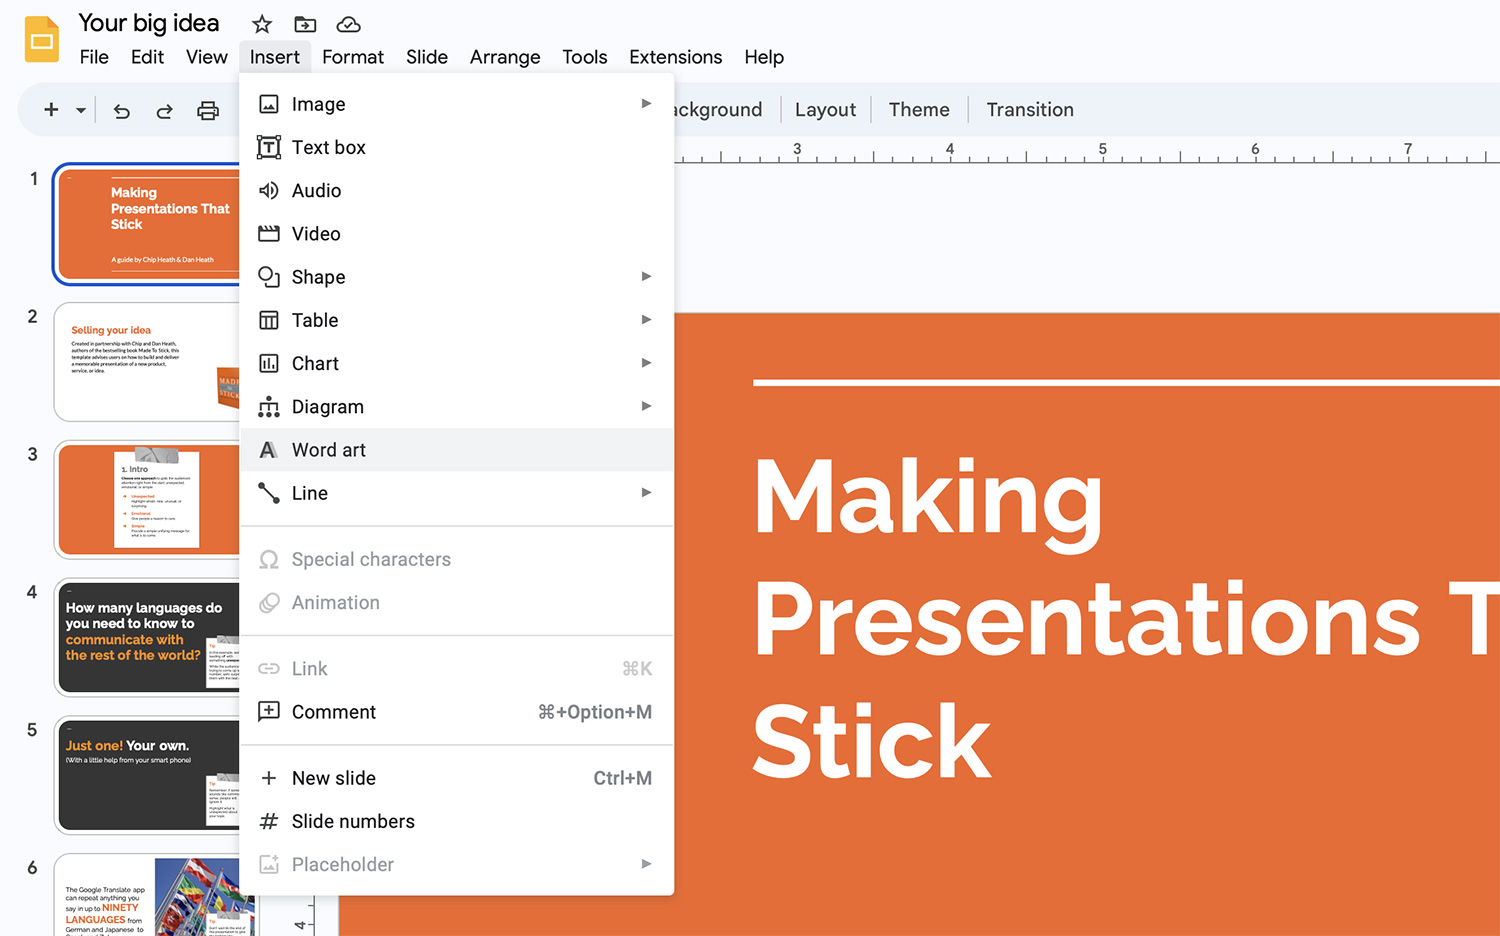
- Click on the ‘Insert’ menu at the top of the screen, and then select ‘WordArt’ from the dropdown menu.
- Type the text you want to curve into the WordArt box that appears and press ‘Enter’. The text will be inserted into your slide as an editable shape.
- Resize and position your WordArt text as needed, then select it by clicking on it.
- Copy the selected WordArt text. You can do this by right-clicking on it and choosing ‘Copy’, or by using the shortcut ‘Ctrl+C’ on your keyboard.
2. Using Google Drawings
After creating your WordArt text, the next step is to use Google Drawings to curve the text.
- Open a new tab in your browser and go to Google Drawings. You can do this by typing ‘drawings.google.com’ into your browser’s address bar or searching for ‘Google Drawings’ in Google.
- Once you’re in Google Drawings, paste the WordArt text you copied earlier. You can do this by right-clicking on the canvas and choosing ‘Paste’, or by using the shortcut ‘Ctrl+V’ on your keyboard.
- Select the text, click on the ‘Format’ menu at the top of the screen, and then select ‘Format options…’ from the dropdown menu.
- In the Format Options panel on the right side of the screen, click on the ‘Text rotation’ dropdown menu and select ‘Rotate’.
- Adjust the rotation angle to curve your text. You can do this by dragging the slider or entering a value in the box next to the slider.
- Once you’re satisfied with the curvature of your text, select it and copy it.
3. Re-Inserting the Curved Text into Google Slides
After curving your text in Google Drawings, the final step is to re-insert it into your Google Slides presentation.
- Go back to your Google Slides presentation and paste the curved text into the slide. You can do this by right-clicking on the slide and choosing ‘Paste’, or by using the shortcut ‘Ctrl+V’ on your keyboard.
- Resize and position the curved text as needed. You can do this by clicking and dragging the corners of the text box or by clicking and dragging the text box itself.
Tips for Using Curved Text
While curving text can add a unique touch to your slides, it’s important to use it judiciously. Here are a few tips to help you make the most of this feature:
- Keep readability in mind: While curved text can look interesting, it can also be harder to read if the curvature is too extreme. Always make sure your text remains legible.
- Consider your presentation’s style: Curved text can add a playful or creative touch to a presentation. However, it might not suit more formal or minimalist designs. Always consider the overall style of your presentation when deciding whether to use curved text.
- Experiment with different curves: There’s no need to stick with a single curve style. Depending on your presentation, you might find that a spiral, wave, or arch shape works better.
- Use curved text sparingly: Like any design element, curved text can lose its impact if overused. Try to use it sparingly, for slide titles or key points that you really want to stand out.
Conclusion
While Google Slides might not have a built-in feature to curve text, with the combination of WordArt and Google Drawings, you can easily create curved text to make your presentation unique and engaging.
However, as with all design decisions, it’s essential to ensure that your use of curved text enhances rather than detracts from your presentation’s main message. By keeping our tips in mind, you can use curved text effectively to enhance your Google Slides presentations.