How to Wrap Text in Google Slides
Keen on mastering the art of text wrapping in Google Slides? Excellent choice! Text wrapping is an essential design skill that helps enhance the layout of your slides, making them more engaging and visually appealing. It’s especially useful when dealing with images and text together. However, if you’re not familiar with it, this feature may seem elusive.
Fear not, whether you’re a Google Slides beginner or have been using it for some time, we’re here to guide you through every step of the process. You’ll be able to enhance the readability and impact of your slides in no time.
Ready to up your presentation game? Let’s dive in and conquer the technique of text wrapping in Google Slides, ensuring your presentations always stand out from the crowd!
Understanding Text Wrapping
Before diving into the steps, it’s important to understand what text wrapping is. Text wrapping is a feature that enables text to flow or “wrap” around an object instead of underneath or over it. It helps to integrate images and text in a more cohesive manner, making your slides more readable and visually appealing.
Unfortunately, Google Slides doesn’t natively support text wrapping. However, you can achieve a similar effect using tables or shapes. Here’s how:
Using Tables for Text Wrapping
One of the easiest ways to simulate text wrapping in Google Slides is by using tables. Here’s a step-by-step guide:
- Open your Google Slides presentation and select the slide where you want to wrap text.
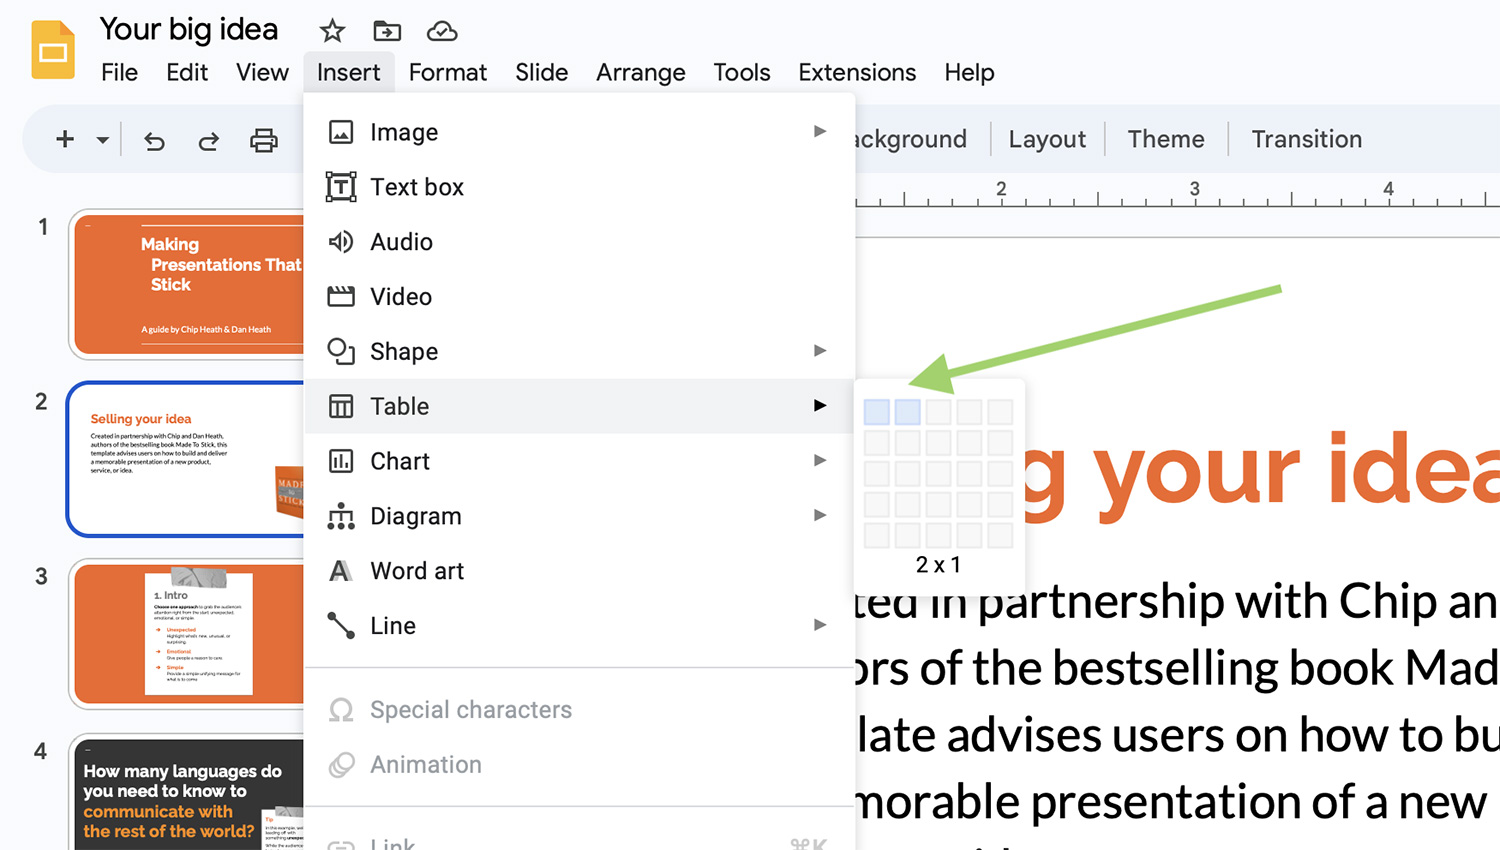
- Click ‘Insert’ on the menu, then select ‘Table’ from the dropdown menu.
- Create a table with two columns and one row.
- Click on the ‘Insert’ menu again, select ‘Image’, and then add the image you want into one cell of the table.
- Click on the other cell and type or paste your text. The text will automatically adjust its position, aligning itself around the image.
- Modify the table borders and cell background to match your slide for a seamless look.
Using Shapes for Text Wrapping
Another way to wrap text in Google Slides is by using shapes. Here’s how:
- Open your slide and insert the image you want to wrap text around.
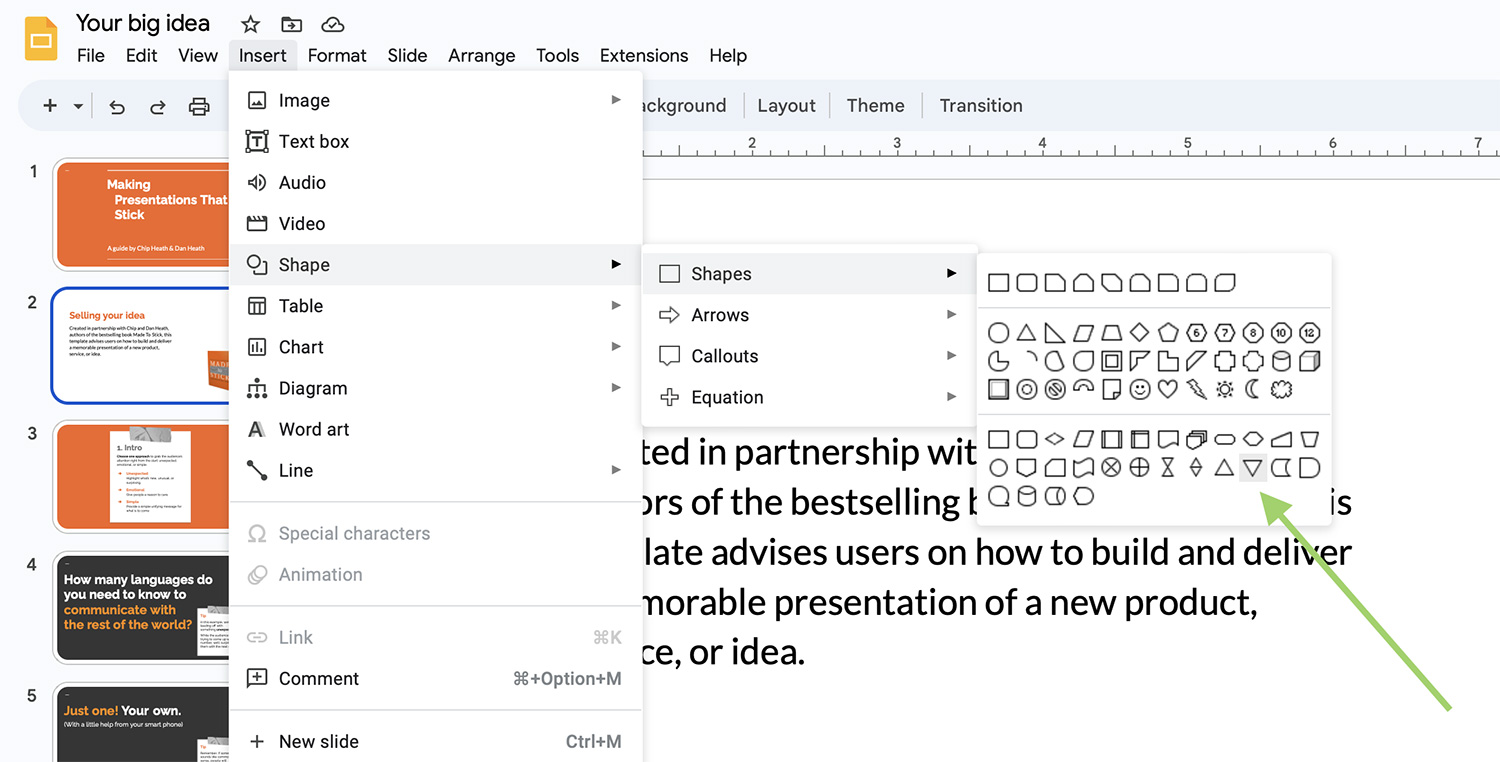
- Click on the ‘Insert’ menu, select ‘Shape’, then choose the shape that best fits your needs.
- Draw the shape on your slide where you want the text to appear.
- Double-click on the shape to add text. The text will automatically adjust to fit within the shape.
- Resize, reposition, or edit the shape as needed to achieve your desired text wrap effect.
Tips for Effective Text Wrapping
While Google Slides doesn’t have a built-in text wrapping feature, using tables or shapes can help you achieve a similar result. However, here are some tips to help you wrap text effectively:
- Consider readability: Ensure that your text is still easy to read when wrapping it around an image. Avoid using busy images or ones with lots of contrasting colors, as they can make the text hard to read.
- Keep it simple: Don’t wrap text around overly complex images or shapes. The goal is to enhance your presentation, not make it confusing.
- Match your theme: If you’re using shapes or tables, ensure their colors and styles match the rest of your presentation.
Using Third-Party Apps
There are third-party applications and extensions, such as Lucidpress, that offer more sophisticated text wrapping features and integrate with Google Slides. Here’s a basic guide on how to use these tools:
- Open your web browser and navigate to the website of the third-party application.
- Create a new document and insert your image.
- Use the application’s text wrapping feature to wrap your text around the image.
- Once you’re satisfied with the result, save the image and insert it into your Google Slides presentation.
Keep in mind that third-party apps come with their own learning curve, and the results will be static images within your presentation, not editable text.
Conclusion
While Google Slides does not natively support text wrapping, there are workarounds using tables, shapes, and even third-party applications. These methods can help you to create presentations that are not only visually appealing but also engaging and effective.
The key is to experiment and find what works best for your unique needs. Don’t be afraid to be creative, and remember – the primary goal of any presentation is clear communication. Happy designing!