How to Package an InDesign File
Packaging an Adobe InDesign file is a crucial step when preparing your project for handoff to a client, printer, or another designer.
It ensures that all necessary elements, such as fonts, images, and other linked files, are collected and organized in one folder.
In this article, we’ll walk you through the process of packaging an InDesign file to make sharing and collaboration easier.
Why Package an InDesign File?
Packaging an InDesign file helps maintain consistency and prevent missing assets or incorrect fonts when the file is opened on a different computer or sent to a printer. It collects all the necessary components in one folder, including:
- The original InDesign document (.indd)
- Fonts used in the document
- Linked images and other files
- An instructions or summary text file (.txt)
One of the primary reasons for creating a package is to ensure that all of the necessary files for a project are kept together and organized in one place. This makes it easier to share the project with others, move the project to a different computer, or archive the project for future reference.
Another reason to create an InDesign package is to make it easier to edit or print the document. When you open an InDesign file, it automatically looks for the linked files in their original locations. By creating a package, you can move the project and its resources to a new location and still have everything work correctly.
InDesign packages are also useful for sending a project to a printer or service provider. When you send a package to a printer, they will have all of the necessary files and resources to properly print the project without any missing links or font issues.
Steps to Package an InDesign File
Follow these steps to package your InDesign file:
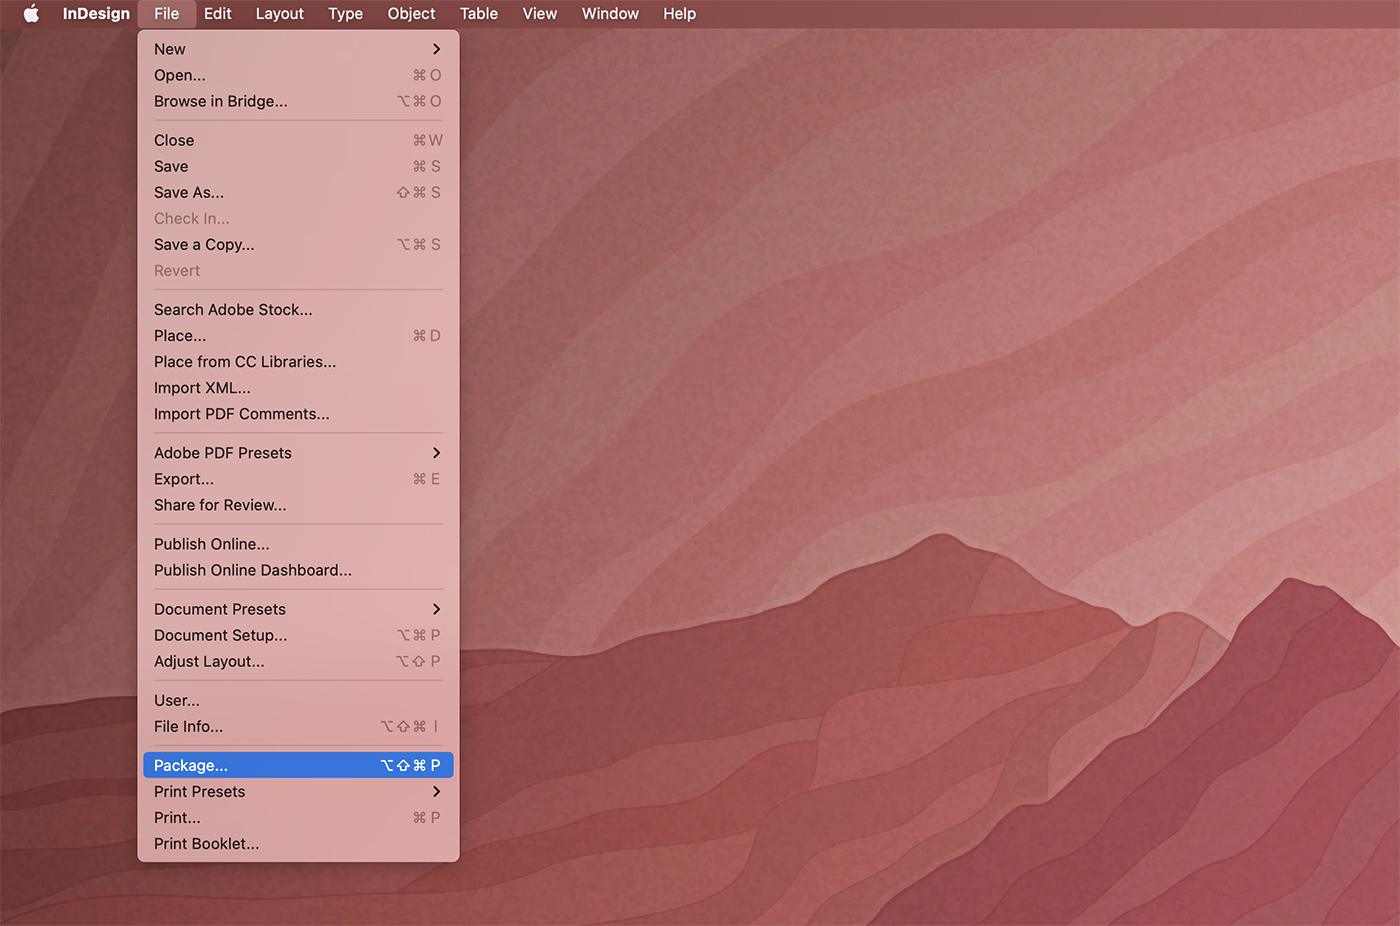
- Open the InDesign document you want to package.
- Go to the “File” menu and choose “Package” or press “Ctrl + Alt + P” (Windows) or “Cmd + Opt + P” (Mac).
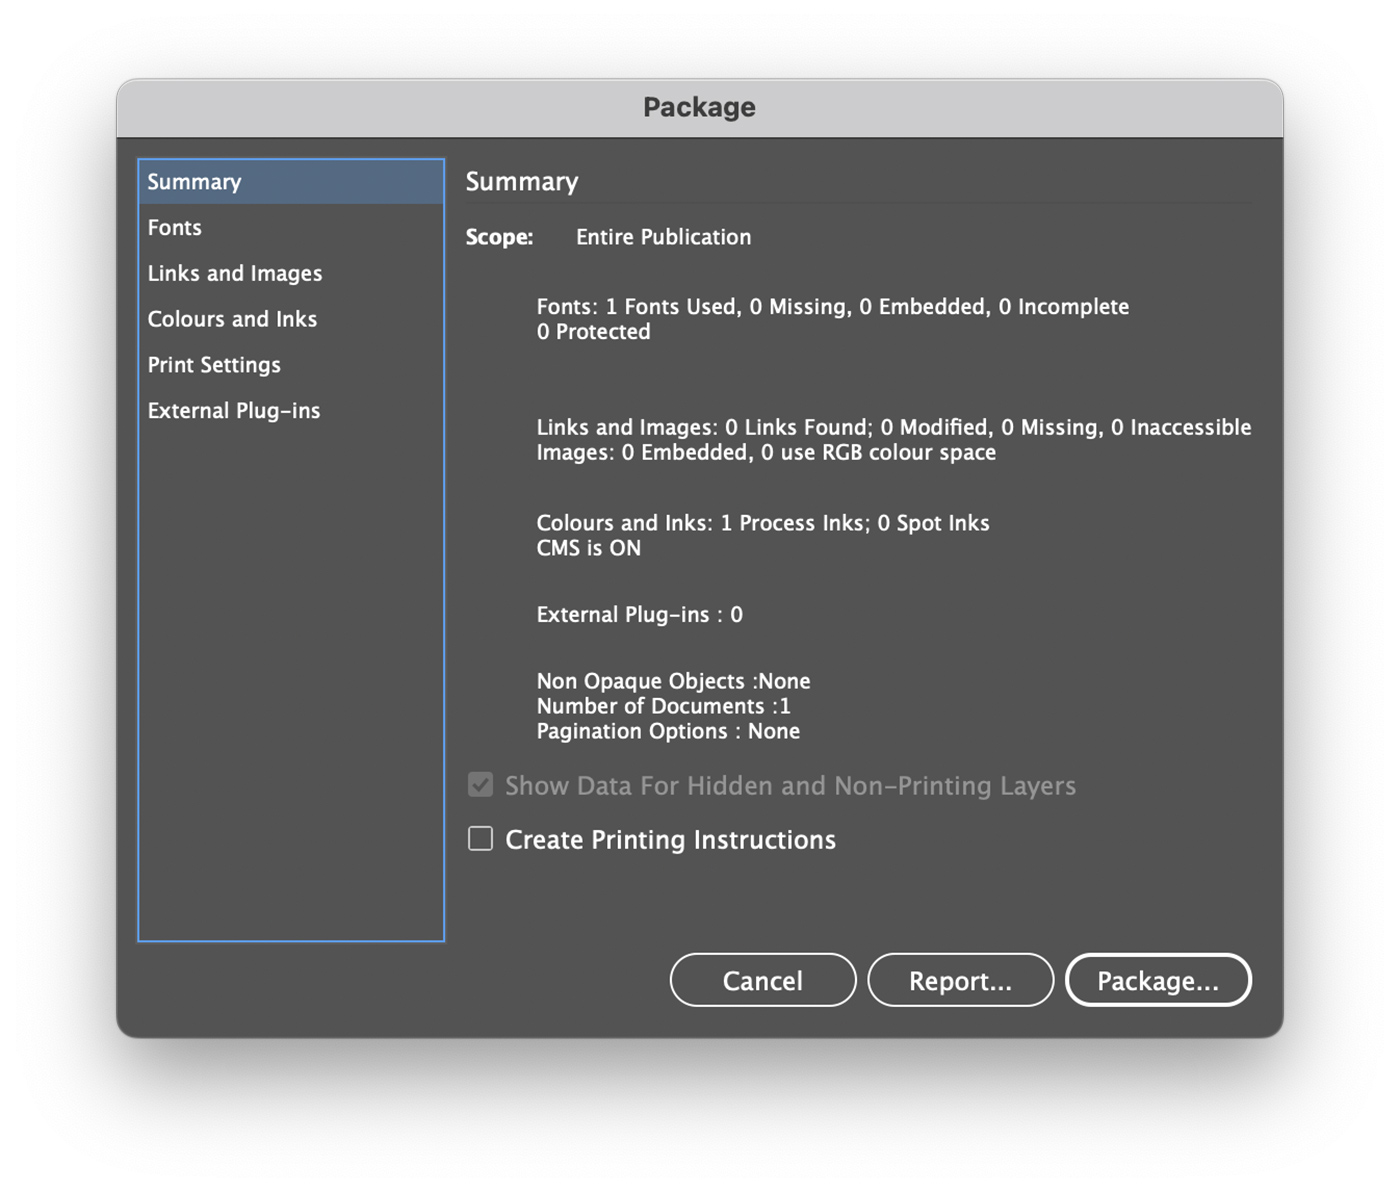
- In the “Package” dialog box, the “Summary” tab will show an overview of the document, including any potential issues such as missing fonts, broken links, or RGB images that should be converted to CMYK for print. Review the information and resolve any issues before proceeding.
- Click the “Fonts” tab to view the fonts used in your document. Make sure there are no missing or restricted fonts.
- Click the “Links and Images” tab to see the linked files in your document. Ensure that all files are present and have the correct color space (RGB or CMYK).
- Click the “Colors and Inks” tab to review the colors used in your document. Convert any spot colors to process colors if necessary.
- Click the “Print Settings” tab to verify the print settings, such as the printer, paper size, and orientation.
- Once all issues are resolved, click the “Package” button at the bottom of the dialog box.
- In the “Package” window, choose a location to save your packaged folder. You can also add instructions or notes for the recipient in the “Instructions” field.
- Click “Package” to complete the process. InDesign will create a folder with your packaged files.
Sharing Your Packaged InDesign File
Once you’ve packaged your InDesign file, you can compress the folder into a ZIP file for easy sharing via email, file-sharing services, or cloud storage.
Be sure to inform the recipient that they’ll need to unzip the folder and open the included InDesign file to access the packaged assets.
Conclusion
Packaging an InDesign file is a crucial step in ensuring your design remains consistent when sharing it with clients, printers, or other designers.
By following the steps outlined in this article, you can confidently package your InDesign file, knowing that all necessary assets are included and organized for a seamless handoff.