How to Make a Flyer in Word (Using a Quick Template)
Everyone has to make a flyer at some point. It’s easy in Microsoft Word with a quick template that you can download, replace content, and use. You’re probably already familiar with MS Word, so why not use that as a jumping off point for a simple flyer project?
Here, we’ll take you through everything you need to know to create a flyer from a professional template, from thinking about content to preparing the file for printing.
We’re going to use a template from Envato Elements (where there are loads of great options!), but you could use any flyer template for Word that you’ve tracked down online.
Gather Materials, Including Text and Images
The first step in creating a quick flyer design is to have all your materials in hand.
You may have some or all of the items in this list for your flyer design:
- Text elements
- Photos or illustrations
- Brand or event logos
- Color or font palette
- Links or QR codes
- Sponsor information
Then it is time to think about the design of your flyer. Since you are planning to make it in Microsoft Word, chances are you are using a common size such as A4 or 8.5 inches by 11 inches.
Then you can figure out what elements the template needs to accommodate your flyer content. Knowing this information from the start can save time because the template you choose will be more likely to work with the materials you have.
- Does it need to accommodate photos or a lot of text?
- Is there a certain mood or theme the flyer should convey?
- Does it need to have a high-visual presence because you are short on assets?
Search for a Template

The next step is the fun part. Search for a template that resonates with your visual style. Remember that colors can often be changed, so look for a template that you like the structure of.
Not sure where to start your flyer quick template search? Envato Elements is packed with thousands of templates in all styles.
Once you find a template that meets all of your needs, download the file and get started. Note that you might need to download fonts as well. Check the template notes and documentation for information on where to find free fonts that might be used in the Microsoft Word flyer template design.
Adjust the Template for Size and Bleed
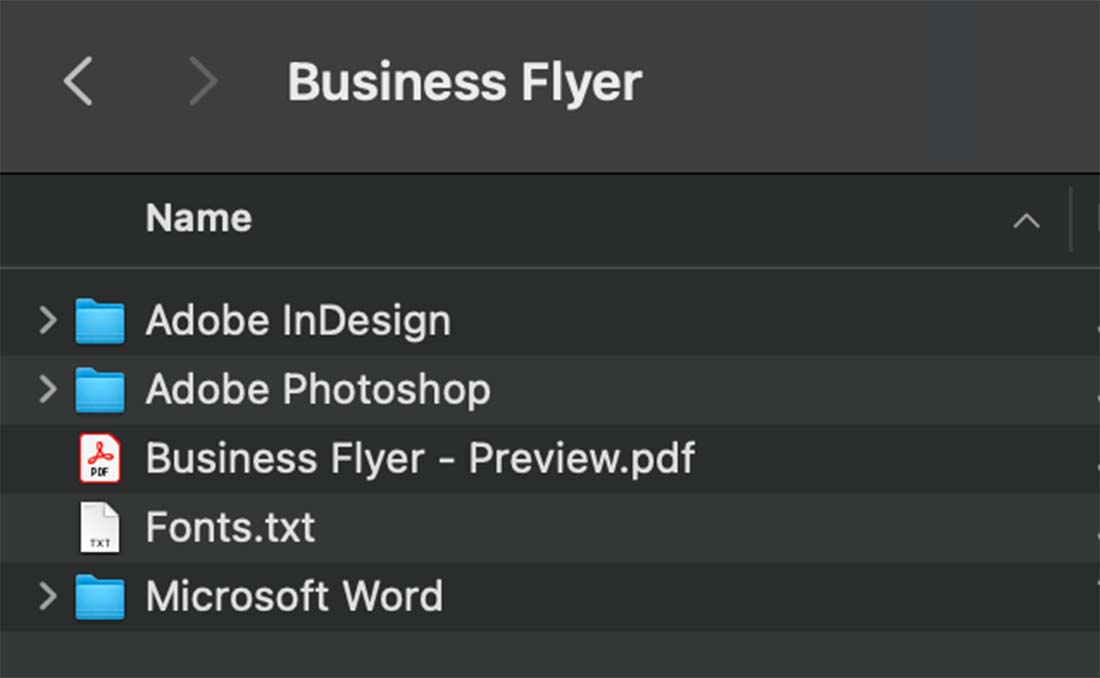
Many flyer templates will download with multiple options and formats, including different sizes or software used to create the design.
Make sure you are working with the right size and then open the design that uses Microsoft Word.
If you downloaded a template in a different size than what you need (maybe A4 versus letter), adjust the document size before you get started.
Customize Flyer Template Elements
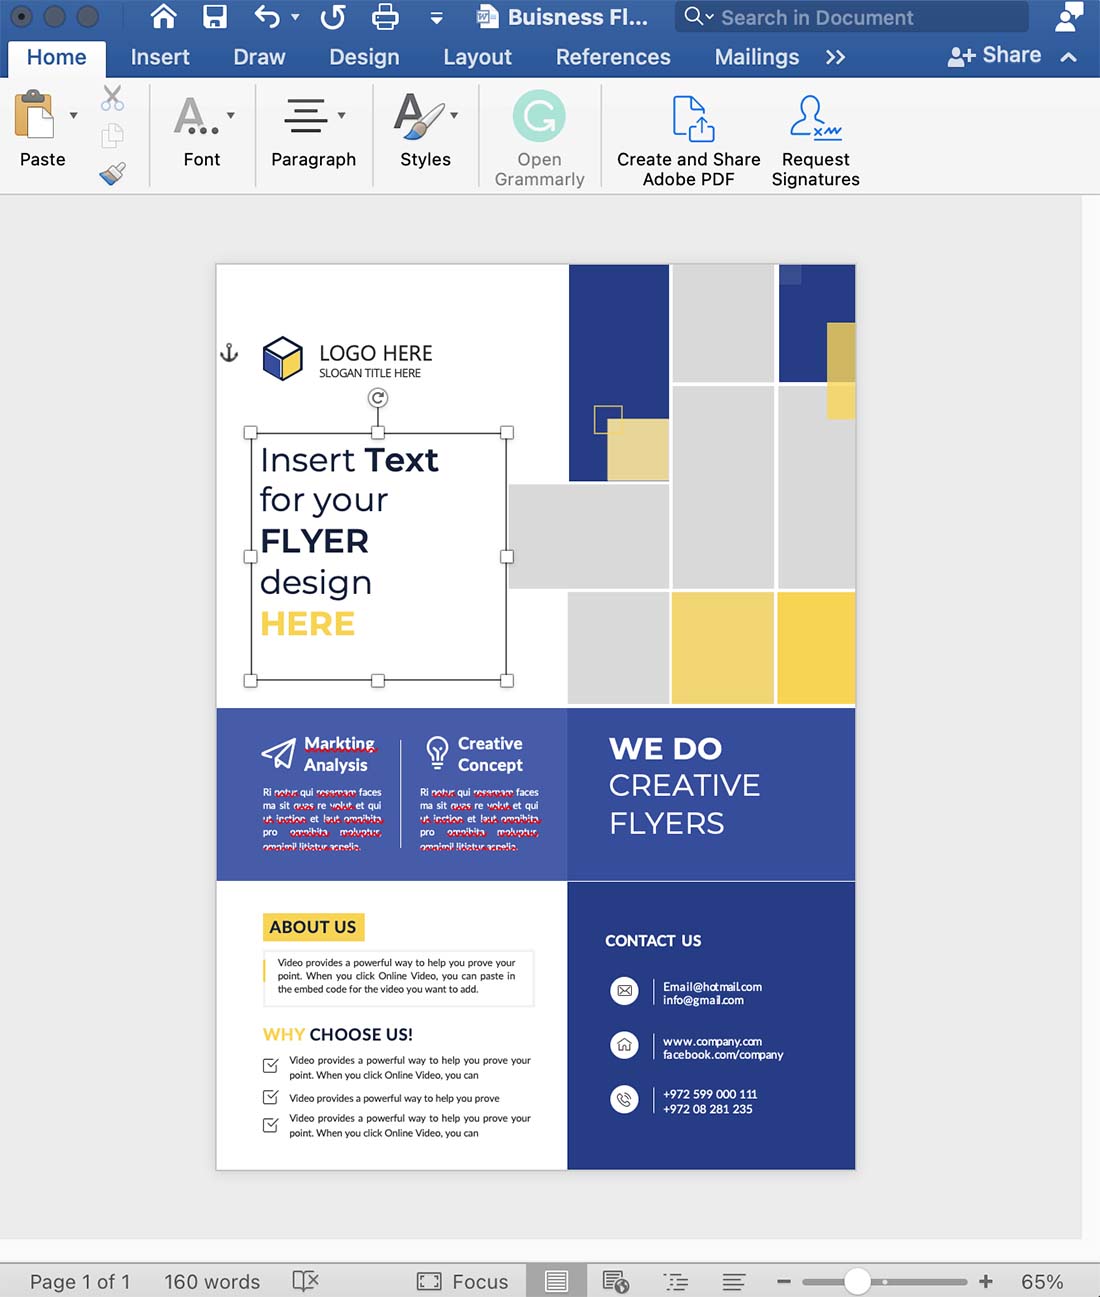
Once you have the size specifications in order, it’s time to really make the flyer template design your own in Microsoft Word.
Save the template as a new file first. That way you can always refer back to the original if needed.
Then substitute brand elements, such as the font or color palette.
Strip out template elements that you don’t need, such as text boxes or design elements. When working with a quick template, you’ll probably use all the design elements and text fields. (That’s why you chose this design!)
Insert your text and images to turn the template into a customized Microsoft Word flyer.
Don’t forget to check — and double-check — key elements in the design:
- Logo
- Brad colors
- Spelling and grammar
- Replace photos with your own
- Contact information
Print or PDF the Flyer for Distribution
Once the design is set and edited, you need to prepare the file for printing or as a PDF for digital distribution.
For printed flyers, options include printing the flyer yourself, using a local print shop, or uploading the file to an online printer and having the final flyers shipped to you.
You can also share the flyer via digital publication. You might use the flyer design by posting it online or on social media, providing others with a downloadable PDF, or publishing it as part of an email campaign. For these methods of distribution, you’ll likely want to create a PDF or JPG file (or both).
The one commonality is that all of these options require you to prep the final file for the publication and distribution method that you intend to use.
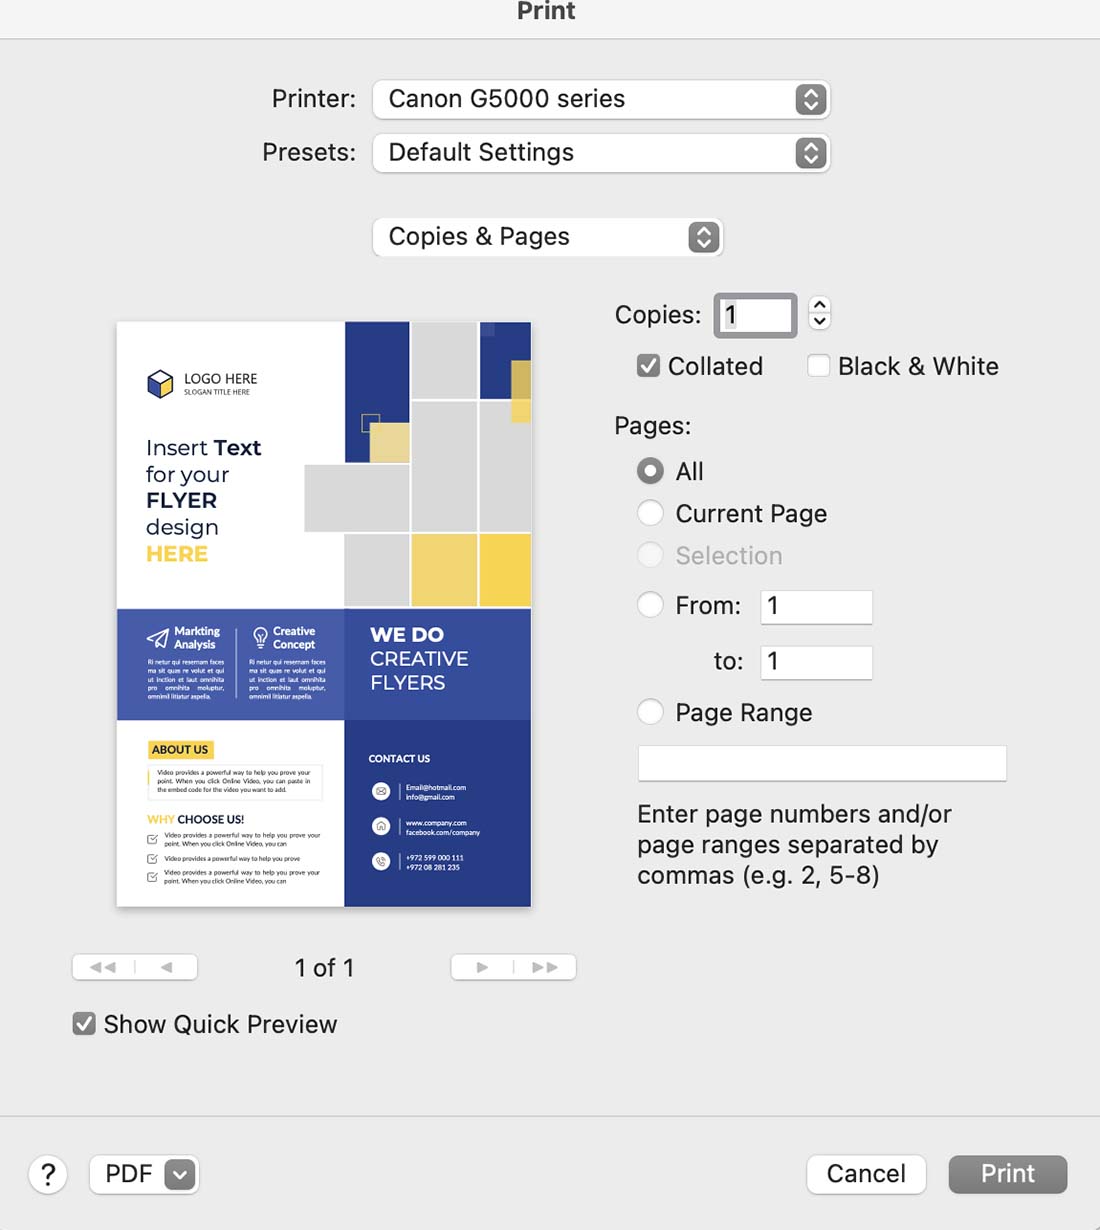
To print or create a PDF, navigate to File, then Print and select the printer settings for where you are printing. This might include color settings, two-sided flyer printing, and the number of copies. From here you can also “print” or save it as a PDF.
To save your flyer created in Microsoft Word as a JPG or PNG image, you’ll need to take a screenshot of the image. Make sure to get the whole flyer on the screen at once and use a screengrab tool (or CMD + 4 on a Mac) to take a picture of the flyer. To ensure a clean screenshot, make sure no items in the document are selected or you will see those outlines.
Conclusion
Creating a flyer in Microsoft Word can be quick and easy. If you need to get started and finished in a hurry or are struggling with design inspiration, a template is a way to go. Your project will move most quickly if you choose a template that’s of you linking and matches your content in hand, so you can subsite elements without having to rethink the design.
Need a little flyer design or template inspiration? You can find it here.