10 Tips to Improve Your Brush Pen Drawing
Brush pens have been the latest addition in the world of coloring instruments and tools. There are so many possibilities that you can explore while working with a brush pen. You can explore the opportunities of working with a brush pen to finish off coloring, calligraphy, and much more. Brush pens have been around for a long time, but they started gaining popularity recently after artists came up with calligraphy projects. Moreover, a lot of brands have begun selling them in the market, online and otherwise. Hence, brush pens have started gaining popularity with graphic designers, drawing artists, and painters. These pens help you explore and expand your creativity and your drawing skills.
This blog focuses on how you can improvise when working around with a brush pen and are creating a sketch out of it. Let us take a look.
1. Varying the stroke width:
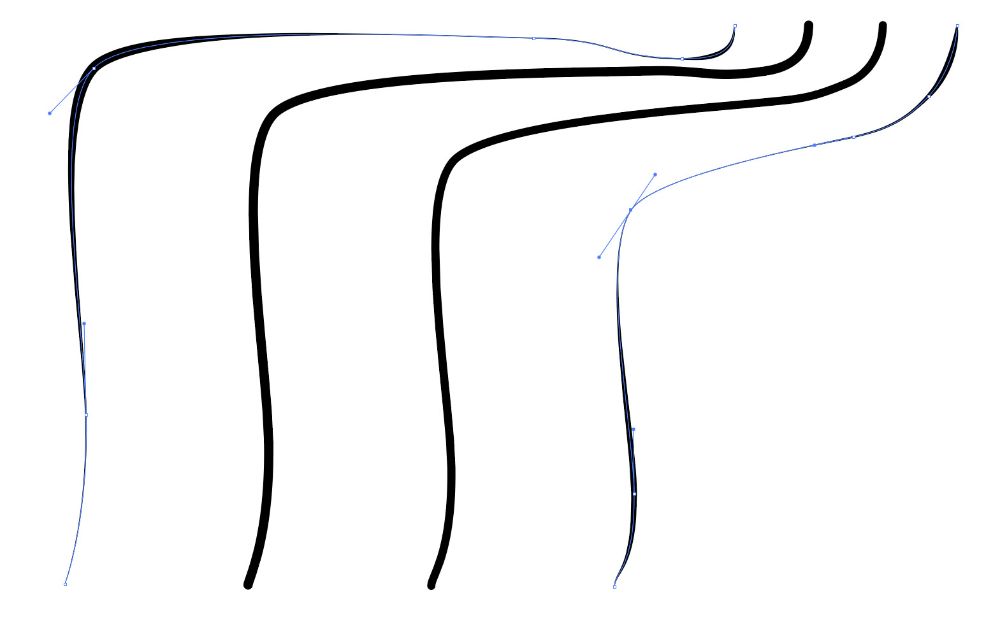
If you have just started working with a brush pen, you must have noticed how difficult it is to work with it. Other forms of drawing tools like a lead pencil or graphite pencil can be used along with eraser, and you can manage to erase the mistakes. But with a brush pen, there is no eraser. Damage or an error is permanently committed to the artboard with a brush pen. Moreover, it can come across a challenge to make the artwork look interesting.
You are going to require a lot of time to practice working with a brush pen and master it. Here, you are required to learn how to draw strokes with different widths and thickness for various purposes. If every stroke comes out with similar thickness, then the drawing may come across as simple, dull, and boring. That is the exact purpose of using a brush pen that you can have strokes with varying thickness. The brush’s width can be changed by the amount of pressure you apply to the brush pen while drawing. With more pressure, the stroke comes out thick, and with less stress, you get slim lines and strokes. Hence it is advisable to work on your strokes before you begin working on the actual piece of art with the brush pen.
2. Various types of marks:
When we were in elementary school, we started drawing by first learning how to make different curves, lines, and strokes. We spent a considerable amount of time to learn and master these sketches, to try different techniques to give different results. The same thing is applicable when it comes to making various types of marks with the brush pen. You should practice doodling and drawing various marks with the brush pen to master the strokes with it.
The more you practice, the better the drawing and the calligraphy would come out to be. You have to spend a lot of time to explore the workings of the brush pen and be comfortable enough to work with them. Some artists love exploring and experimenting with brush pens rather than creating art out of it. Hence, encourage yourself to play with the brush pens and try creating different marks to see how exactly the brush pens function.
3. Grip of the brush pen:
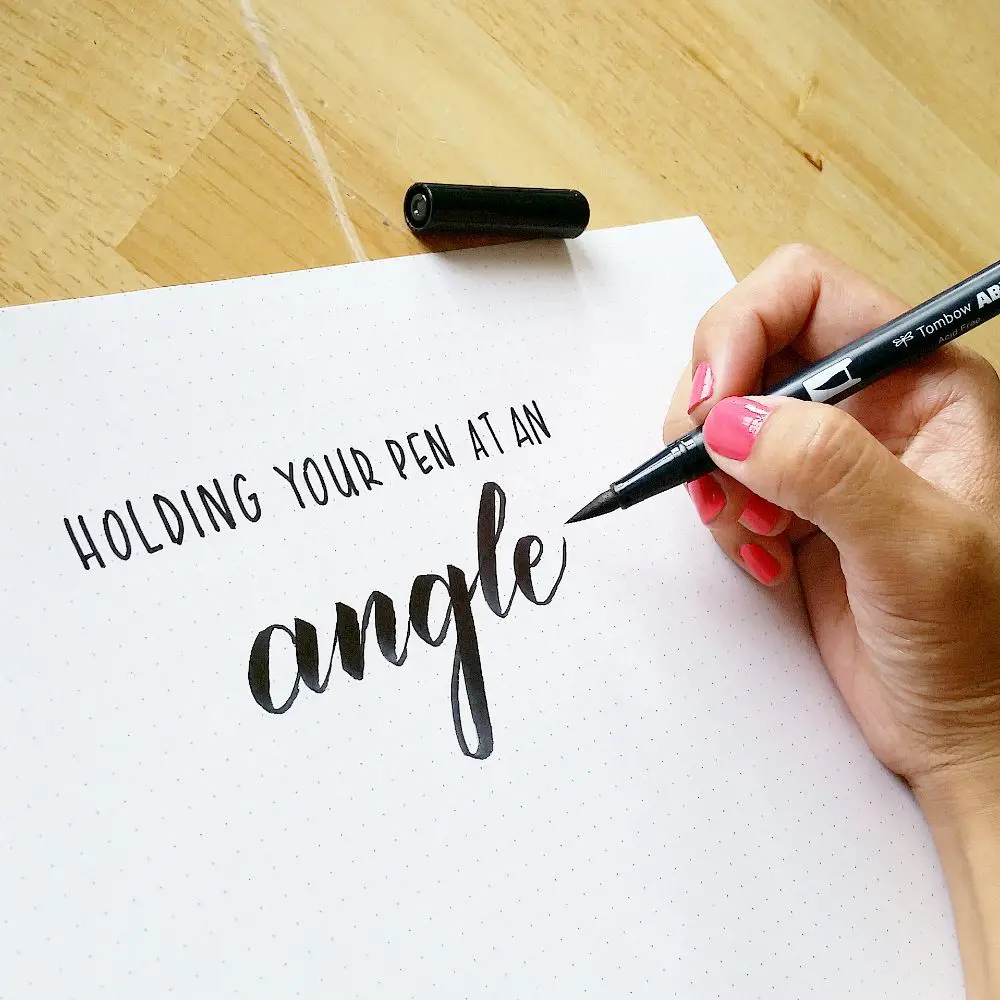
If you are a fine artist, you are aware that the way you hold your drawing instruments has a significant impact on your piece of art. The marks you make while holding a pencil at different angles differ in their widths and overall appearance. Holding a pen or a brush near its edge can let you have more control over it. But if you require a freely flowing stroke, hold it loosely or loosen the grip of the pen brush.
This can let you understand which kind of grip you are comfortable with, and which type of angle can give you the required thickness and definition of the stroke. If you are working with the shapes and drawings that don’t require precision, loosen the grip. This offers you more spontaneity in your work. But if you aspire to have more delicate details in your painting, then a tight grip works wonders on your piece of art.
4. Practice calligraphy:
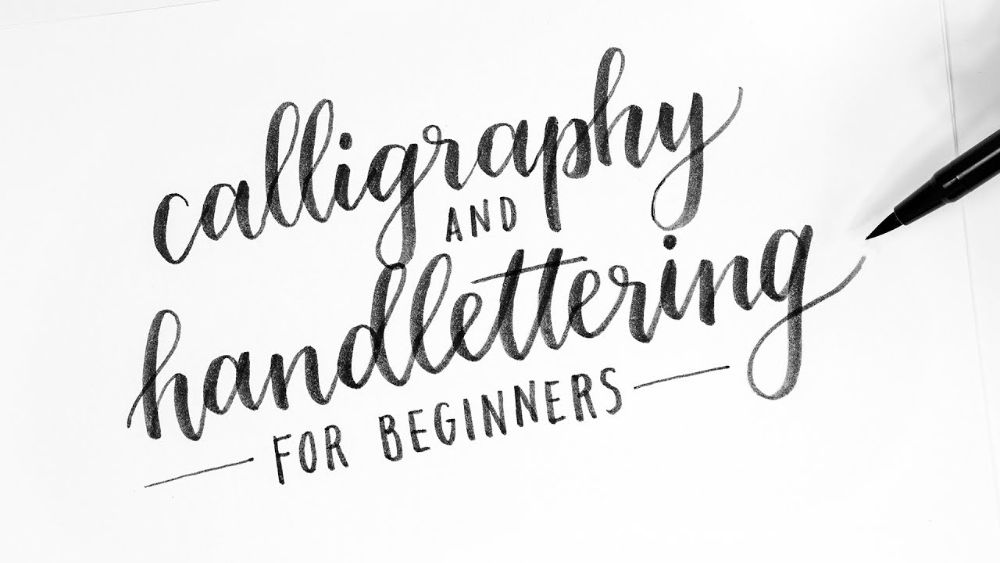
If you have recently laid your hands upon the brush pen and are wondering about how to sketch with it, then there is a possibility that you are interested in calligraphy too. A calligraphy is a form of art that involves writing text in an elegant font style and elaborated strokes. It looks beautiful only if it is done by someone who knows the calligraphy’s ins and outs. But you would wonder how to learn calligraphy.
It takes time for you to discover it, but it is not impossible. You can try forming an alphabet with your new brush pen and practice it unless you achieve perfection. Then you can move on to other letters. To make it even more interesting, you can try practicing your initials, which can help you perfect calligraphy. This way, you can learn calligraphy quickly than you must have imagined.
5. Use hatching technique:
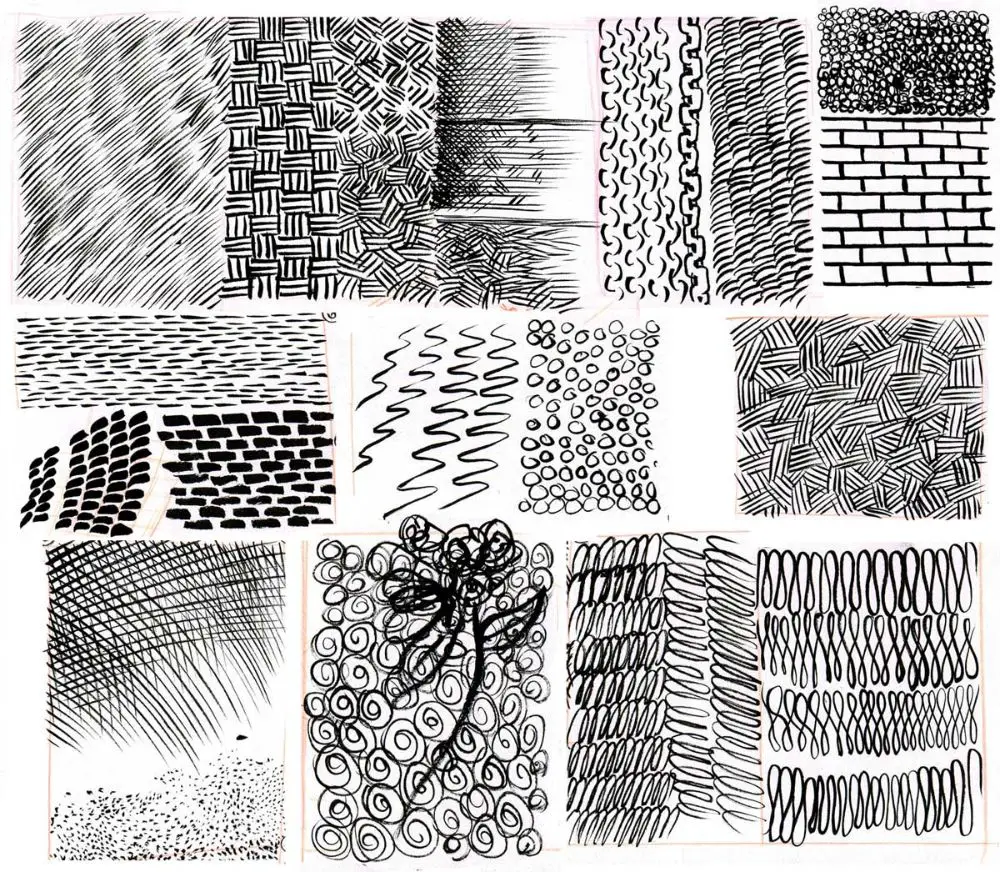
Like we had practiced strokes when we were learning how to draw, if you are an artist, you know how you can blend pencil strokes to create different types of gradations. Moreover, you might have access to blending stubs with your drawing tools. But with brush pen, you have to combine water and ink to create ink and wash effect. For you to learn this technique, it requires a lot of patience and practice to understand and master it. You can also explore working with ink and create shadows and gradation of different intensities. This can be established through a technique called Hatching. Hatching lets you create a piece of art where you create thin strokes next to each other. This creates an illusion that there is a shadow in where the intensity is more. While working with brush pen and Hatching, you have to be careful as you are working with ink. With pencils, it was different. There can be errors and accidents that make you understand how to work with Hatching while you work with a brush pen. These errors can make your art look stunningly beautiful.
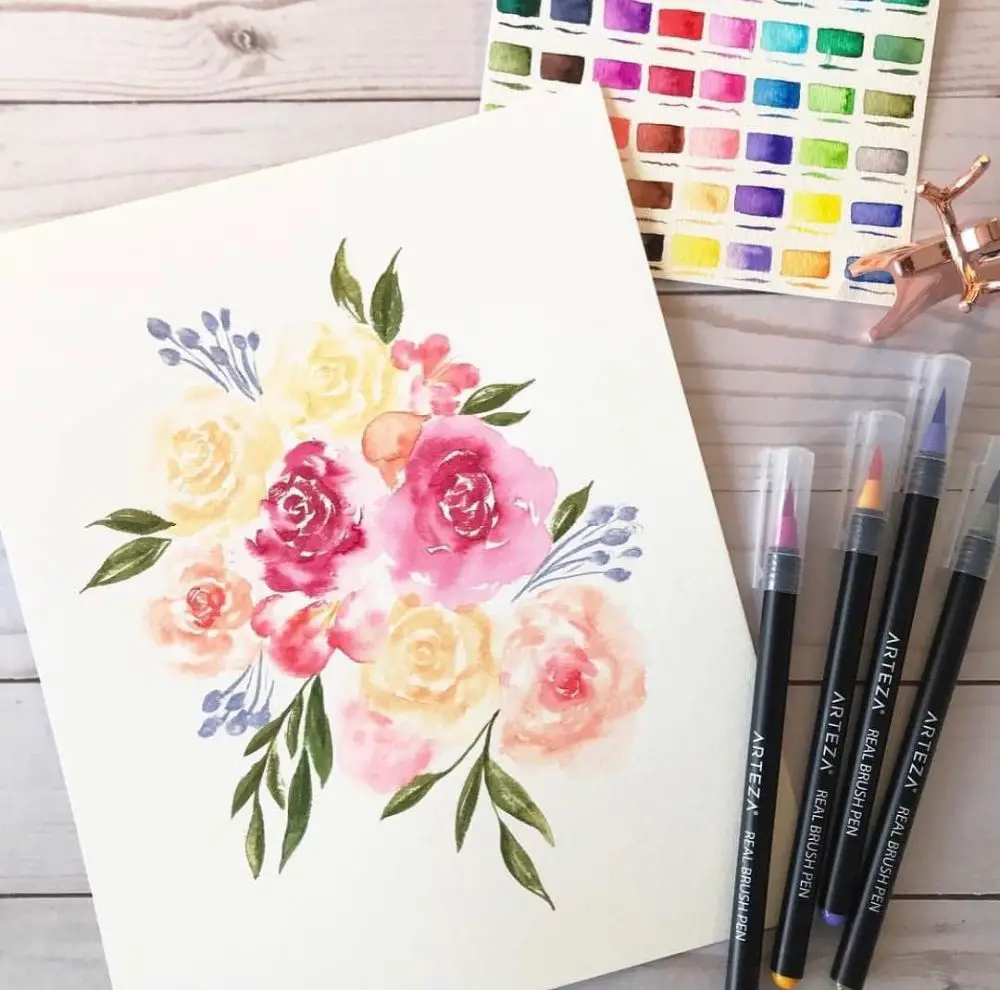
6. Introduce various colors:

To add life to your art, you need to work with so many colors and experiment with it. Artists work with lots of different colors using pastel colors, paints, sketch pens, color pencils, and more. You can add a brush pen to the above list of coloring tools and instruments. Applying color to the art piece is different from using your conventional coloring tools. And the effect out of brush pen is unique because when you work with a brush pen, you are working with ink.
There can be errors when you are working with ink from the brush pen. The art piece made with brush pen can appear as if they have been created through watercolors. But when you use a brush pen to color the picture, you can rest assured that the painting would turn out to be clean without any kind of a mess. Brush pens were made in a way that they function correctly when an artist wants to work with colors.
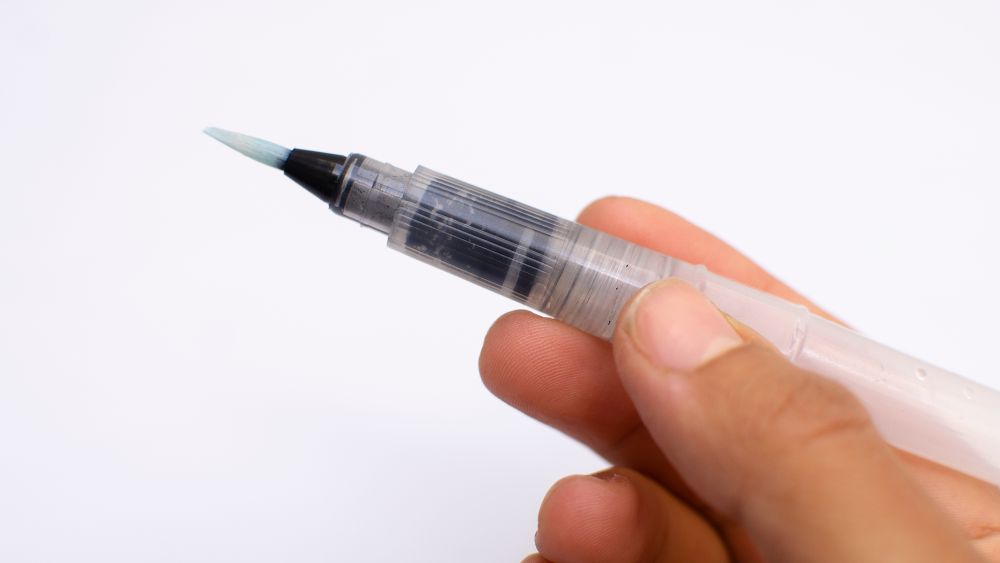
7. Try water-soluble brush pen:
You can add water to both the types of brush pen: waterproof brush pen and water-soluble brush pen. But with each of the pen, when you add water to it, the effects of the painting vary with both the types of brush pens. When you are working with a water-soluble brush pen, the ink tends to activate when you add water to it.
With this, you can explore and experiment with diverse possibilities in color blending and shading. You can also color in layers and let the colors blend with each other beautifully. Hence, you should try working with different types of pens. The word of wisdom here is not to stop experimenting with brush pens.
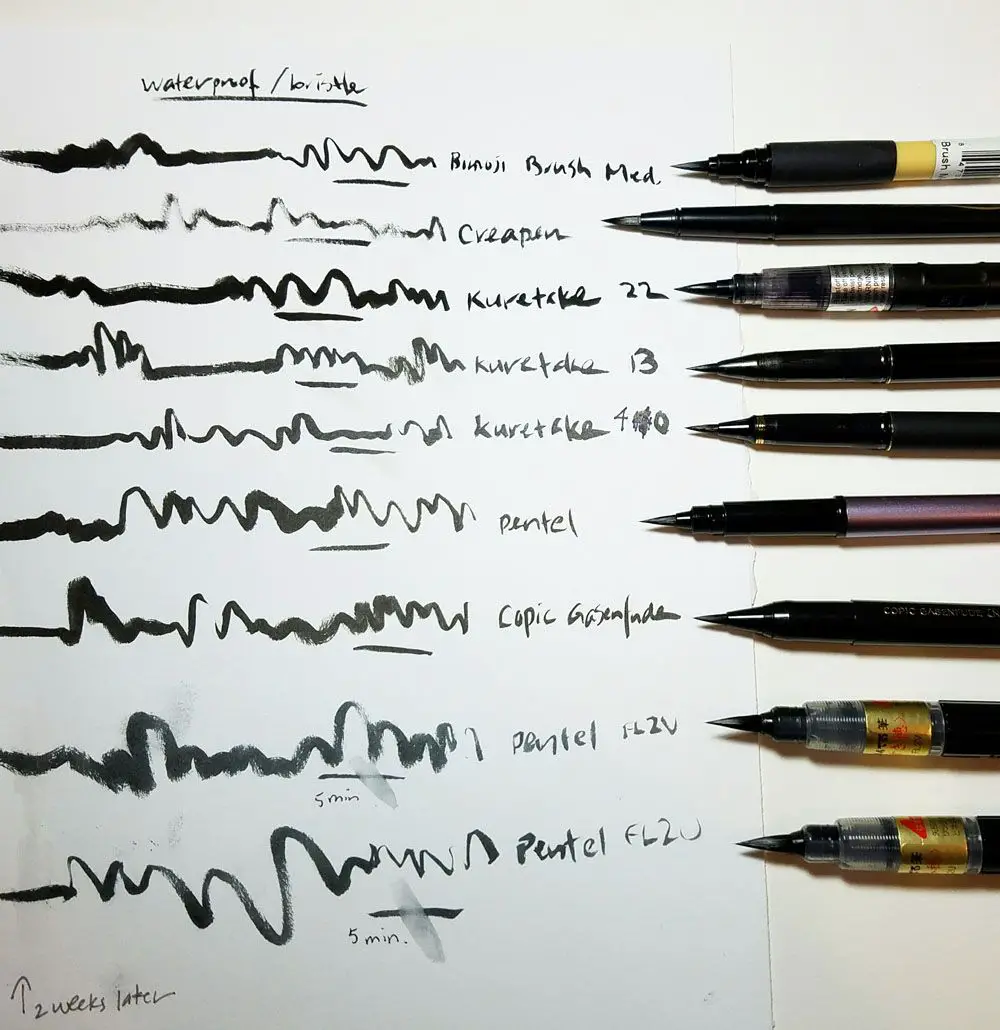
8. Experiment with various quality waterproof brush pens:
We saw how we could work our way around with water-soluble ink while working with brush pens. Let us know how you can work with waterproof brush pens. If you don’t want your painting and your strokes to bleed, then waterproof brush pens are what you need.
With waterproof brush pens, you can apply layers and layers of different colors without the fear of the colors bleeding into each other. With this kind of brush pen, you achieve the ability to create a drawing with multi-layered colors. Moreover, it does not make your piece of art messy and soiled when you layer colors on top of each other. This can make your painting appear as if it is dynamic and visually appealing on so many levels.
9. Combine waterproof and water-soluble brush pen art:
Now that we have experimented with both waterproof and water-soluble brush pens, it is now time to combine both the kinds of brush pens for coloring the same picture. It gives you a chance to combine the best of both worlds. You can use waterproof ink to create lines and edges while using a water-soluble brush pen to blend the colors. With waterproof ink, you can create a strong foundation for your artwork that cannot be messed with.
While doing this, you have to make sure that the waterproof ink has completely dried up before you start working with a water-soluble brush pen. If it is still wet, then you risk the painting to be a complete mess. The waterproof ink is permanent after it dries up, but if you use water when it is still wet, it behaves like water-soluble ink. Once the waterproof ink dries up, you can start working on the water-soluble ink. Add water to the water-soluble ink colors to give it an effect of watercolor. You can use the ink and add water to it, or you can choose to use the ink from the brush pen straightaway. But you should pay attention to one essential thing: you need to have a dense material to work with water and ink alike. Thick material can handle the ink well, while a thin piece of paper gets perforated when you work with water and brush pen.
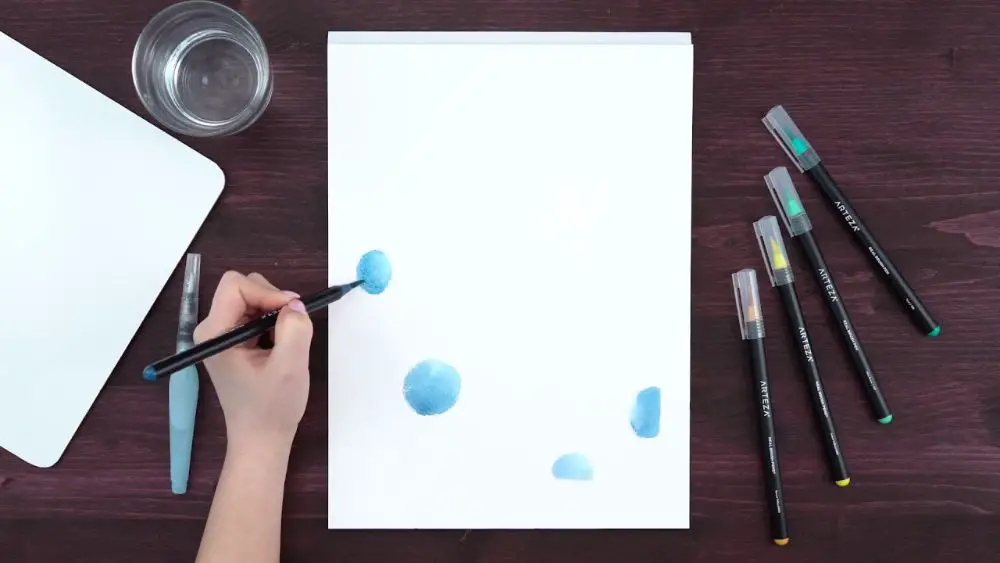
10. Paint from light to intense:
When you are working with color supplies other than brush pens, there are various ways how you can color lightly and go towards having a shade that is intense and dark. While working with watercolor brush pens, we have to move from lighter to darker gradually and carefully. When watercolor brush pens are concerned, the coloring techniques can be tricky if you are a novice and quickly end up with a messy painting.
To paint from light to darker shades, use three to four similar shades and start with the lightest one. Move to darker shades gradually and keep coloring until you achieve the desired results. While applying this technique, you should keep in mind that you should use the color with thin lines and strokes. For creating such strokes, you require very little stress on the brush pen. Don’t apply too much pressure. These small strokes help you define the essential points where shadows are needed.
Conclusion:
Being an artist, you should always look for various possibilities to explore different fresh methods to create a piece of art. If you want to try something new and clean that takes a detour from old ways, you should try to use brush pens. Irrelevant of whether you have worked with it, brush pens are perfect when you want to try pen and colors together. Once you try them out, you realize that brush pens are ideal tools to paint and draw all at once. An artist can refer this blog to understand theoretically how to work his way around a brush pen. We have curated a list of tips to let you improvise on how you draw and paint with a brush pen and excel at it.