How to Make a Photography Website: 5-Step Guide For Beginners
Every photographer wants to be popular and get a decent income, but not everyone knows how to promote his services. If it relates to you, now it’s a perfect time to make a photography website!
It is like hiring a marketer and salesperson who work seven days a week and present your ideas on the Internet. And since 93% of purchase decisions start with search engines, you obviously want to be amongst those who have a site.
But what if you’re not so tech-savvy and short on money? It’s okay, that’s why you’re here! Follow these steps to focus on the major goals and create a product that meets your personal and business needs.
1. Define the purpose of your site
It will determine its functionality, appearance, and content. Therefore, before you start creating a photography website, decide why you need a site. The primary reasons are:
- To attract new clients. A professionally-looking website builds up your reputation across the web. You should first create a website and then focus more on search engine optimization. High rankings plus a beautiful design will serve as a promotional method while you can focus on the creating process.
- To use the site as a portfolio and find a new job. In this case, pay more attention to the “About Me” page, share your experience and challenging projects. Optionally, you can upload your CV on the site for the recruiters to download. Before a job interview, you can share your website’s link – your future employer will quickly find all necessary information about your experience.
Strategy determines development! Even if you don’t have a business plan yet, define a goal to build a photography website based on it.
2. Consider your photos and content
It’s a fundamental step before creating a photography website. Depending on what photos you post and what info you share, visitors will either order your services or leave your website immediately.
You have just 0,05 seconds to impress the user, so make sure you post the best works and clear content. Now let’s take a closer look at what pages your site needs.
Homepage
You should do your best to make a great first impression. The homepage reflects your artistic vision and shows off your professional approach. Here are a few tips on how to make a great homepage for a photo website that will catch the visitors’ attention:
- Identify your brand. Your professional services are a trademark, so treat it appropriately. Turn to a designer to develop your logo (or create one yourself), then think about a slogan, and write a couple of captivating sentences describing your expertise.
- Don’t show all of your works. Pick a few among the photos you are most proud of, so the user won’t get lost among tons of pictures. It can be up to ten photos, not more than that. Demonstrate your work style and color palette you prefer to use.
- Written text is a must. It’s not enough to upload your works. If you want to get noticed by search engines, add a short description (so-called «alt text») to each photo.
- Think over the design. For people to stay, you need to create a composition of colors, forms, and photos that will be appealing to the eye. Consider choosing a white, black, or pastel background for a homepage – that way visitors will focus solely on your works.
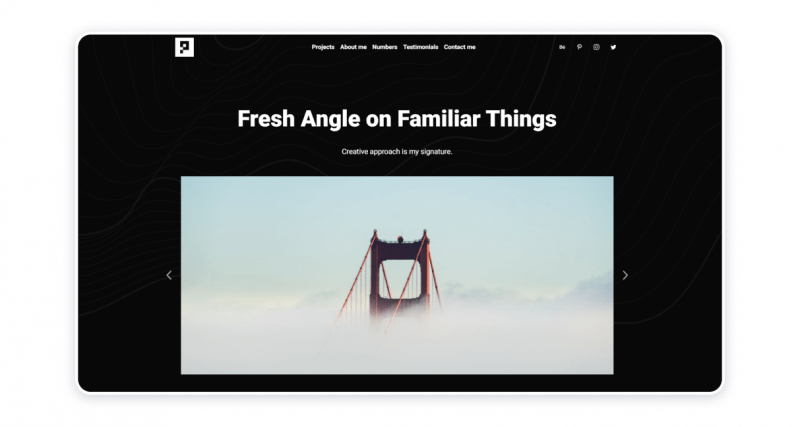
A quick one-page photography portfolio template
Gallery
The next important page of your website is a gallery. Here visitors can get acquainted with your photos and learn about your latest projects. But the rule “the less, the better” works here as well — upload only photos that are top of the line and projects you’re most proud of.
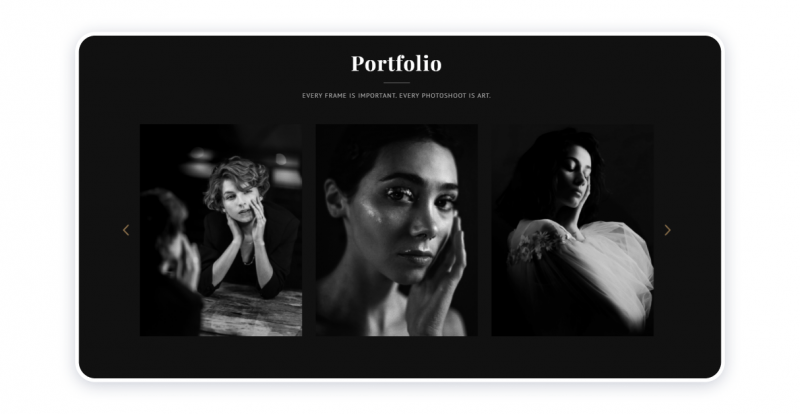
The portfolio element of the fashion photography website template
There’s also another way to organize your works – you can split them by date or theme. For instance, create three different photo pages like «Events», «Portraits», and «Couples» on your website.
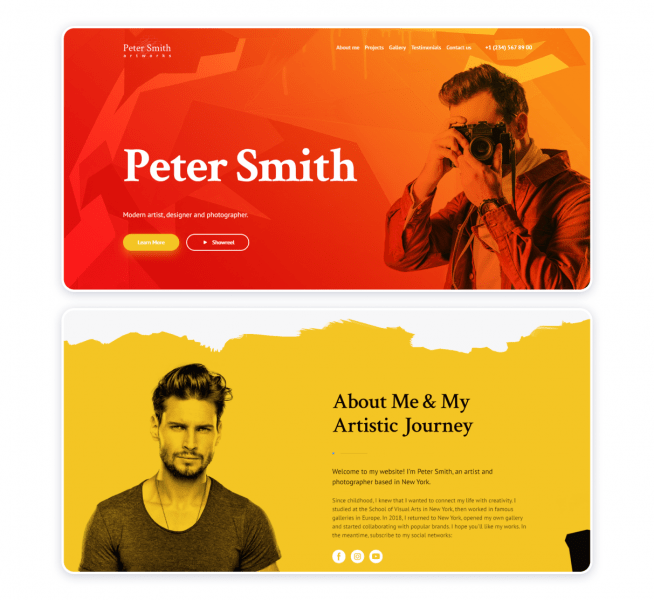
About me
That’s where you need to reveal yourself to the visitors. And it’s not just about showing the face behind the lens — it’s showing the person behind the brand. Clients care about the company behind the product when purchasing something, so you need to make an invisible bond between you and your visitors to earn their trust.
The information you can add on this page:
- A couple of sentences about yourself;
- Your specialization;
- Professional achievements listed chronologically;
- Technical skills.
Adding your photo will make a positive impact, giving you more credibility among visitors.
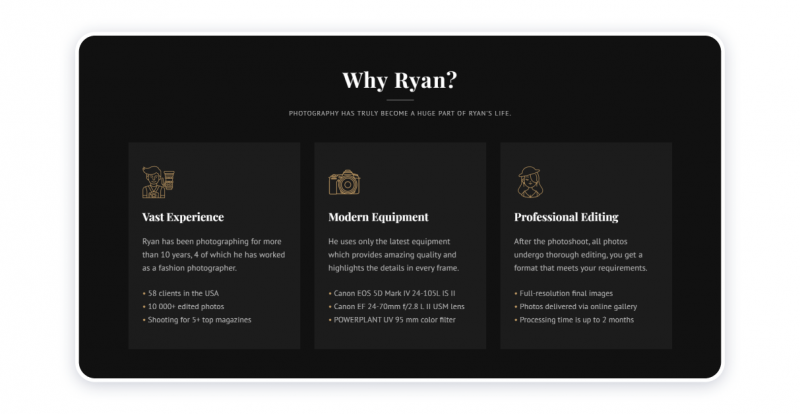
One of the ways to present your skills visually
Contact
Suppose you’ve captivated visitors with previous website pages; In that case, they will likely want to buy your works or order a photo session. For this purpose, your site needs a contact page that contains your email address, links to social media profiles, and phone number.
If you want to ease the communication with clients, consider adding a customizable contact form.
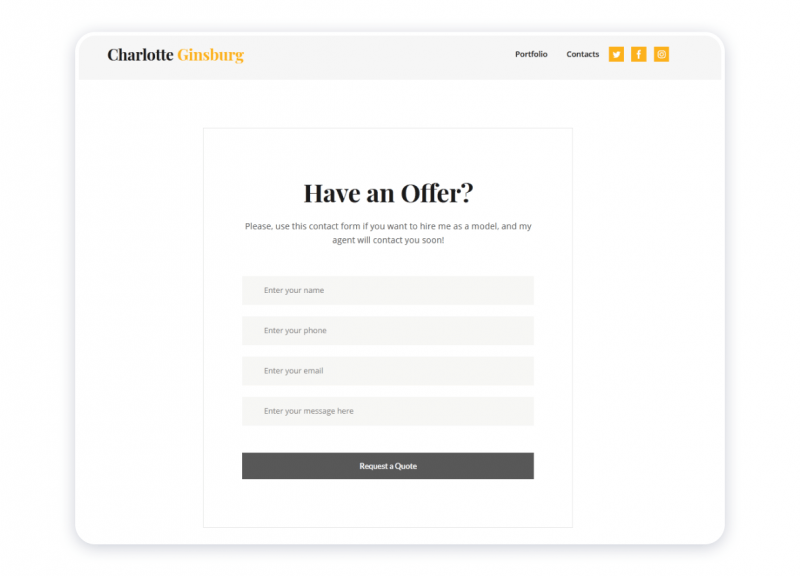
The contact forms you get out of the box in Weblium templates
3. Choose a website builder
Website builders are your ideal assistants if you have no technical skills and are on a tight budget. With their help, you don’t have to write a single line of code when creating a photo website — just choose a free template, customize it and fill it with your content.
Website builders allow you to:
- Link social media accounts to the site;
- Sell your works;
- Customize the site appearance at any time;
- Update the content seamlessly;
- Promote your photos and services on the Internet;
- Expand your customer base by adding a contact form.
Sounds pretty good, doesn’t it? Start with the free version of Weblium, which allows you to test templates, use the AI design assistant, and get a free SSL certificate for your site.
And if you want to get unlimited access to all the top tools and functions, get an annual subscription for $99 ($8,25 per month). You will receive a free domain for a year and 24/7 support by true experts (no bots included). We are here to solve issues and answer your questions.
4. Choose a photography template for your site
When you decide on a website builder plan, let’s cut to the chase and pick a free template for your website. Many users judge the company’s credibility by its website design, so pay more attention when making a choice.
Weblium offers more than 280 free templates with stunning ones for making a photo website, so you can pick one and customize it according to your vision. If none of the templates worked for you, you can create the site from scratch using ready-made blocks — yes, you still don’t need to write a single line of code.
Follow this link to start editing this template right now. Just drop us a line if you have any questions.
As soon as you decide on a free photography template, Weblium allows you to personalize every single button and block on the website. Add your text, change colors, try different background photos, and move blocks to your liking.
To make things easier, use a smart AI supervisor to help you with significant details like spacing, font sizes, and color matches. Simply put, it adjusts the whole visual look of your website as you edit the blocks.
5. Pick a domain name wisely
Sometimes, a domain name is the first thing people see (even before visiting a site). That’s where your branding starts, and it defines your services to some extent. But how to do the things right?
These are the basic tips to keep in mind:
- Be creative with the words or their combinations and avoid too generic phrases;
- Use niche-reflecting words if possible;
- Stick to the optimal name’s length of around 12 characters (14 max);
- Make sure it’s easy to pronounce;
- Use only characters (no hyphens or numbers);
- Check if there are no similar domains on the market already.
And here’s the most interesting part: how to purchase a domain name and actually make it yours? With Weblium, you can do it right from the account’s settings. Follow these instructions and publish your very first website.
Bonus tips: Optimize and update your website
Now when you know how to build a photography website, there are just a few things to take care of:
- The first one is to make your website SEO-friendly. One way to get visitors to a site is by improving visibility in search results (like Google, Bing, or Yahoo.) If you decide to acquire organic visitors (without promotional activities), you need to take care of some SEO tactics as well. Place some keywords in the text on your site, add «alt texts» to the photos, and upload images in minimum size to decrease the website load time.
- The second one is to optimize it for all screen sizes. In 2020, more than 50% of website traffic was generated by mobile devices. That means you should make your site mobile-ready. Luckily, Weblium optimizes your website for any screen size, so you won’t worry about losing traffic.
- And the last one is to keep the content updated. Everyone who visits your site should see fresh content regularly. If you stop updating it, not only search engines won’t show your website on the first pages, but users will forget about it as well. Thus, upload a photo or two to maintain contact with the audience.
Wrapping up
Now you see there’s nothing difficult about making a photography website. You don’t need to have any technical or design skills – just decide on your site goal, choose the photos to upload and tools to use. Weblium website builder will do the rest of the work for you. Pick a plan and start building the photography website to pursue your dreams, be it popularity, wealth, or recognition. Stay tuned and keep on creating!