8 Tips to Nail Your Design Presentation
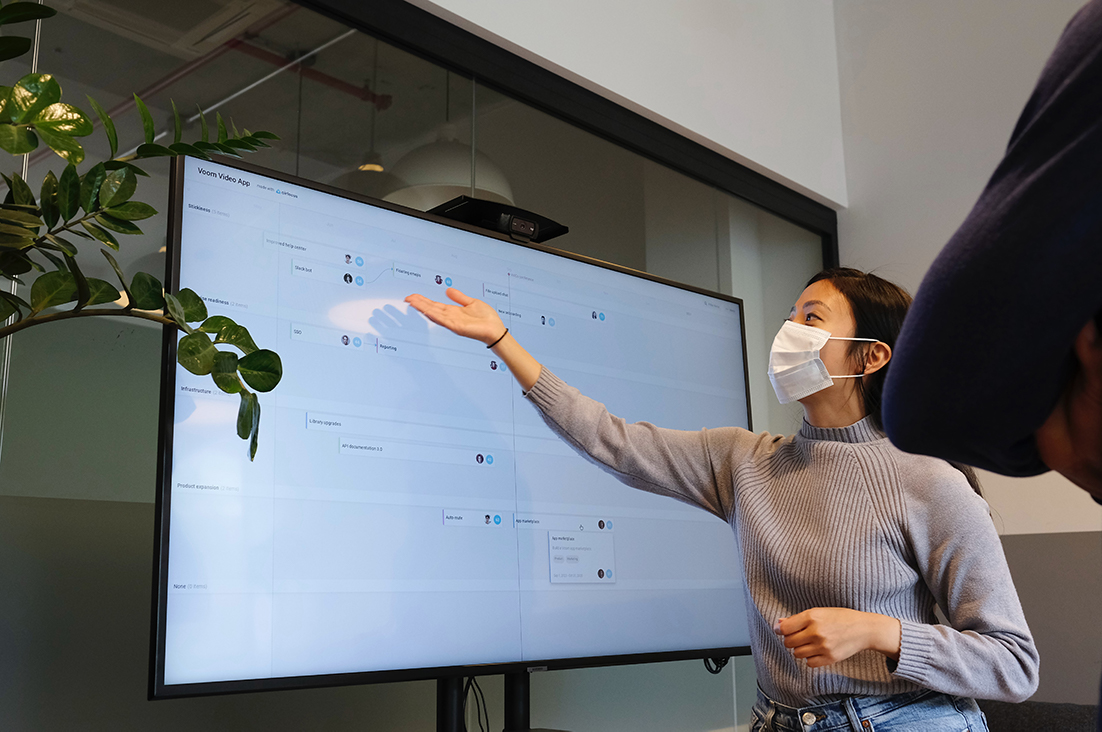
Presenting your design to a client is often a chance to make a key first impression. It can set the tone for how the project will be received. A spot-on design presentation can help you set the stage for success.
There’s a lot that can go into a design presentation – the work itself, slides or a presentation, how you talk about and define the work, and even your skills as a presenter.
Here, we’ve got plenty of tips (and even a few tricks) to help you nail every design presentation every time.
1. Consider Design Choices During the Design Process
A successful design presentation starts long before you are ready to show off the project. Start thinking about design choices and how they relate to the original design brief and conversations about the project from the beginning.
Jot notes about choices as you work. Why you selected a certain color or font. What makes this interaction enticing. How users will engage with the design.
These nuggets of information and reminders will make talking about and explaining the design easier later on. Remember, you may make some of these choices months before presenting. Keeping track of them in the moment will help you recall them later.
The information and level of detail you go into with these choices will vary greatly depending on the audience. If you are talking to a design-minded group, you may talk about design decisions differently than if you are talking to the client’s executive leadership team. Knowing your audience is key (and sometimes requires multiple versions of the same design presentation.)
2. Provide a Little Background and Context
As you start to put together a design presentation, start with some background and context. Provide a quick primer on who you are and your credentials as well as recapping the goals of the project.
The presentation will probably only include one slide that encapsulates who you are and your credentials. This isn’t intended to be a resume (you’ve already been hired), but a quick reintroduction with the client.
Then include one to three slides that capture the goals and intention of the project. (Some designers like to use goals and scope.) Again, you are reminding the client of what you were commissioned to do with the design here. This part of the presentation lays out the design problem that you will show a solution for.
3. Create Realistic Mockups
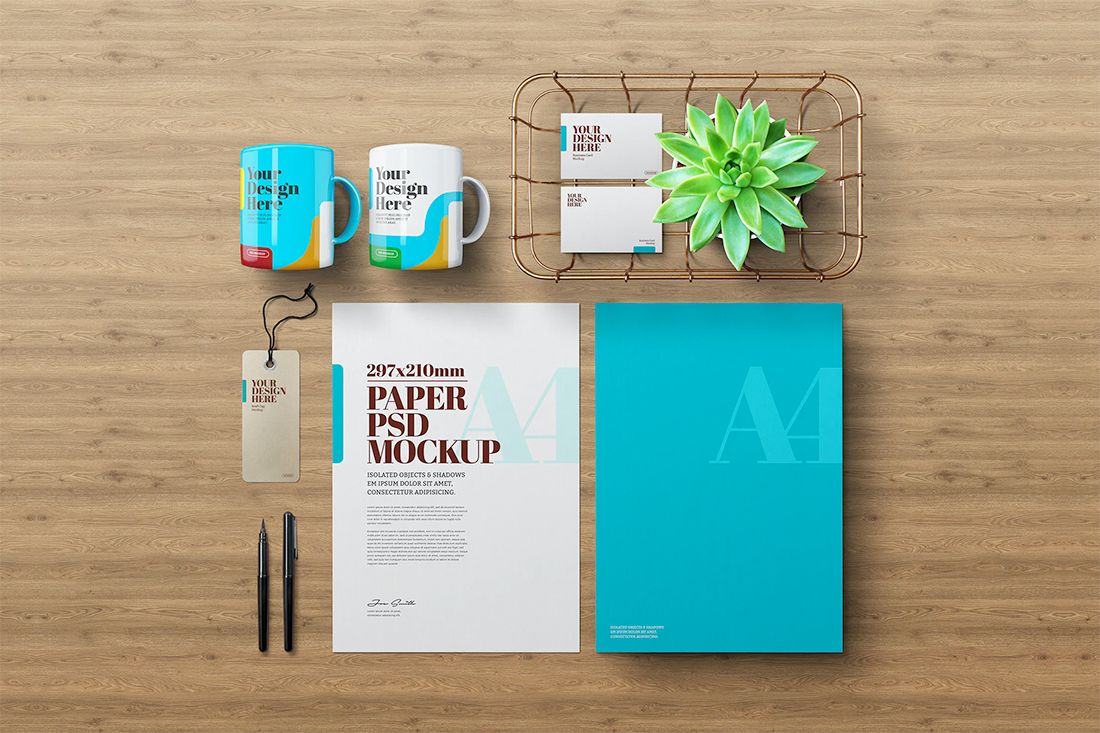
Nothing makes a design more real, and more tangible, than a realistic mockup.
From branding packages to t-shirt designs to websites (mobile and desktop), a mockup can help clients envision the project in the way it is intended.
One of the best options is to use a three-dimensional, realistic mockup that makes the project look real. This might be showing a website on a phone in someone’s hand or a branding package on different objects, such as the example above.
The good news is that you don’t have to create an extra design to showcase projects. There are plenty of mockups and scenes available that allow you to pop your design into the shell and go. Some of our favorites are available from Envato Elements.
When it comes to the presentation itself, you can use the mockup in a slide deck or on cutouts or posters that you place in the room for a design presentation.
4. Brand the Presentation and Slides
This should seems like a no-brainer: Brand your presentation and slides to create a consistent design theme.
Step up your presentation by using a scheme that marries your visual brand (if you have one) and the project itself. If the presentation looks and feels like the client, it is easier for them to envision themselves as part of the content therein.
Most design presentations include a slide deck and some other visual representations of the work. For collateral or posters, you may get a small printed run of the designs so that the client can see what the final product will look like. This can be especially important for printed items or packaging that touch is an important element of the design.
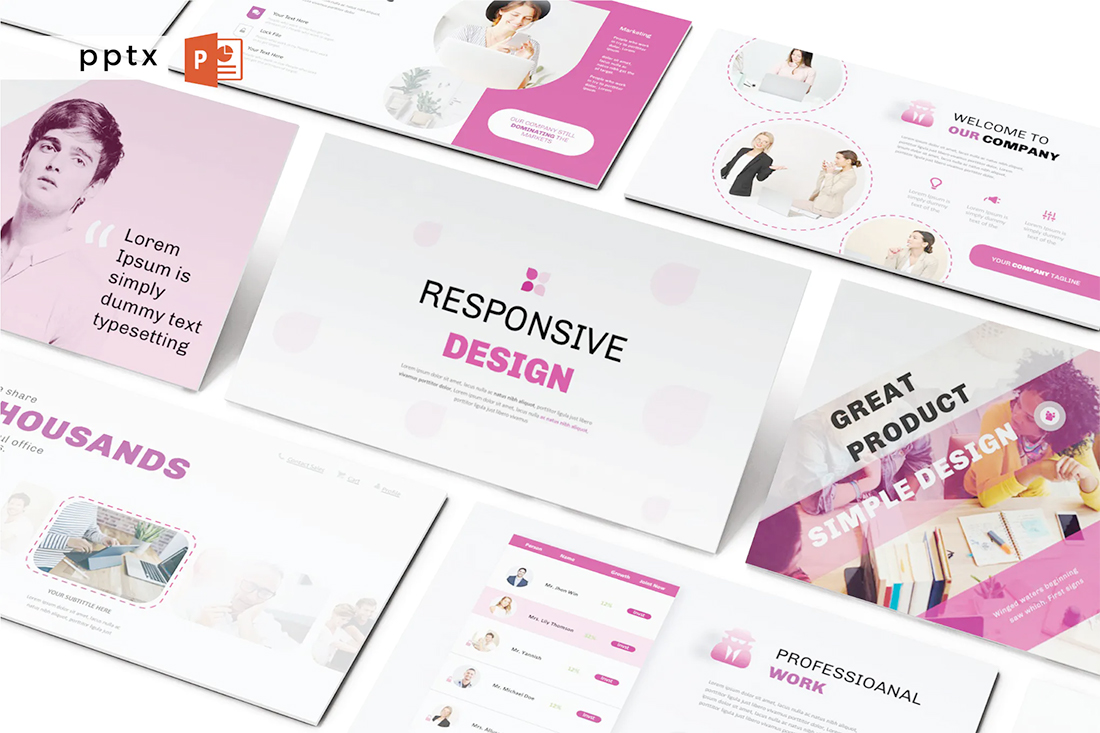
5. Presentation Design Should be Simple, Put Focus on Project
The actual design of the presentation or slides should be simple without too much razzle-dazzle. You don’t want clients to focus on the design or tricks in the presentation, you want them to hone in on the project itself.
Stick to simple slides without a lot of information on each slide. In most cases, avoid animated transitions or sound or visuals other than the design itself.
Remember, the design presentation isn’t about how cool of a PowerPoint you can create, it is about highlighting the key features and elements of the design project at hand, and getting feedback (or approval) to keep the project moving forward.
6. Show 3 Design Choices

Pair down the project to no more than three design choices before the presentation. And for some projects, or depending on where you are in the process, you may only show one design for final approval.
For initial presentations, three options is often the magic number:
- One design that is “safe” and exactly what the client ordered (this is a very comfortable design for the client)
- One design that shows the potential of the project with elements you envision the client might want or need but didn’t necessarily ask for (this may or may not be within the client’s comfort zone)
- One flashy design that goes all out with modern style and effects (maybe outside the client’s comfort zone)
As you present the designs, show each one independently. It’s easier to evaluate the merits of a visual when it isn’t competing with something else. You can even use this to help prompt the audience into selecting an option, based on their reactions to each slide (or design) individually.
7. Present First, Then Invite Questions
Create a logical flow to the presentation. You should plan to present the design or design options first and then entertain questions or listen to feedback.
Attention spans can be short, and this is even more true with online or digital meetings. Plan for a meeting that is 45 minutes or less.
- 5 minutes: Introduction and hellos
- 5 minutes: Background and context
- 20 minutes: Explanation and showcase of design choices and merits of each
- 15 minutes: Q&A and feedback
8. Create a Memorable Presentation

A good presentation sticks with the audience after it ends. You want to present in a way that’s cohesive and memorable.
Tell a story about the design, process, and design choices. Make the visuals you create resonate with the client and audience.
Present with confidence. Speak clearly, make eye contact, and answer questions with authority. Also, listen with purpose and intent. Be honest if you don’t know the answer to something and try to establish a connection with the room.
Speak in a way that works for your audience. Knowing the basic backgrounds of the people in the room will help you know how to talk about the design in a way that works for them. Some audiences might want details about color or visual choices, while others will be rooted in UX, and others might want to know how design can impact the bottom line. Do your homework so that you can tailor the presentation in a way that is positively memorable for your audience.
Conclusion
A design presentation can push a project from your computer to the world. It can help a client choose what design they want to use (or how to revise it) or push a mockup to final production.
Your presentation creates the tone of the project. Instill confidence in clients by speaking about and presenting design options clearly, succinctly, and with a flair that makes a worthwhile impression.