How to Add & Import Fonts to Figma
Custom fonts can greatly enhance the visual appeal and effectiveness of your designs. Figma, as a powerful design tool, allows you to import and use a variety of fonts in your projects.
Whether you’re using Figma for prototyping, UI design, or preparing layouts for your developer team, you’ll want to know how to drop in your own fonts and typefaces.
In this article, we will guide you through the process of adding and importing fonts to Figma, discuss Figma’s “font service,” and provide helpful tips for using different fonts in your designs.
Adding Fonts to Figma
Before you can use custom fonts in Figma, you need to install them on your computer. This ensures that Figma has access to the fonts while you work on your designs. Here’s a more detailed guide to installing fonts on different operating systems:
Installing Fonts on Windows
- Download the font file (usually in .ttf or .otf format) from a reliable source.
- Locate the downloaded file in your Downloads folder or the folder you saved it in.
- Right-click the font file and select “Install” or “Install for all users.”
- The font will now be installed and available in Figma’s font list.
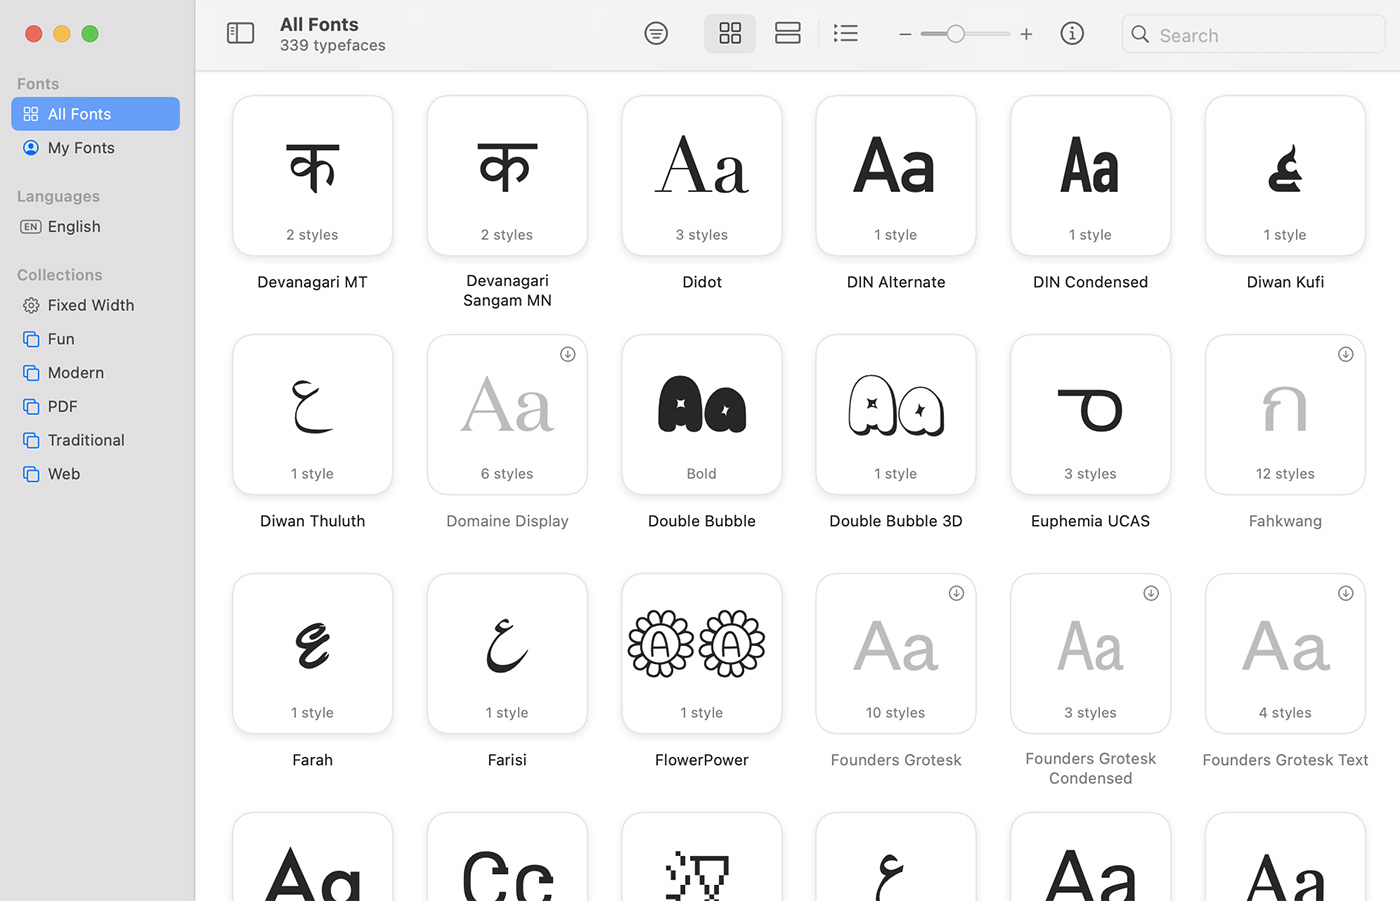
Installing Fonts on macOS
- Download the font file (usually in .ttf or .otf format) from a reliable source.
- Locate the downloaded file and double-click to open it.
- In the Font Book application that opens, click the “Install Font” button.
- The font will now be installed and available in Figma’s font list.

After installing the font on your computer, it should automatically appear in Figma’s font list when you use the desktop app.
Importing Fonts from Google Fonts
Figma also allows you to import fonts directly from Google Fonts. This gives you access to a wide range of high-quality, free-to-use fonts. Follow these steps to import Google Fonts into Figma:
- Open your Figma project and select the Text tool.
- Click on the font dropdown menu in the properties panel.
- At the bottom of the menu, click “Add more from Google Fonts…”
- Browse or search for the font you want to add, then click “Add to project.”
- The selected font will now be available in your Figma project.
Using Google Fonts in Figma is an excellent way to expand your font library without having to install fonts on your computer.
Using a Font from Adobe Fonts (Typekit)
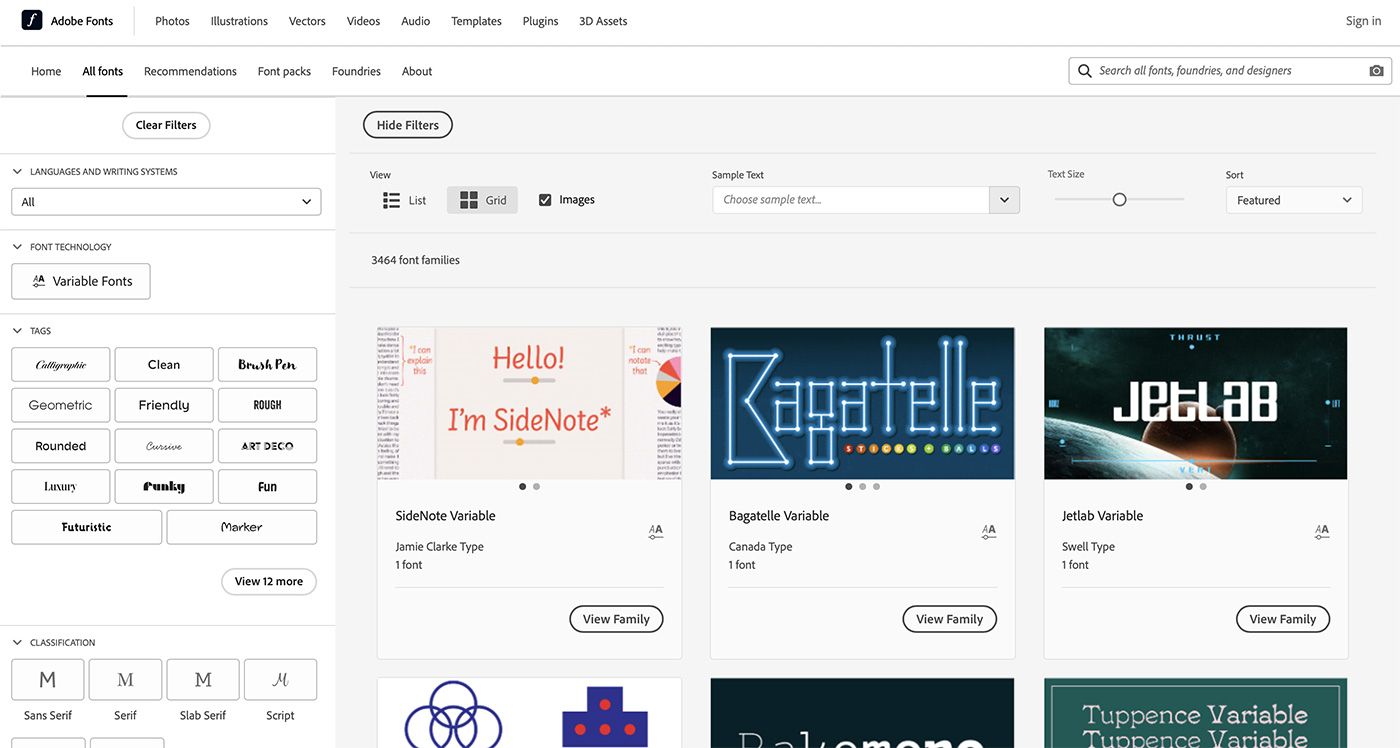
If you have an Adobe Creative Cloud subscription, you can use Adobe Fonts (previously Typekit) in Figma. This gives you access to a vast collection of premium fonts. Here’s how to use Adobe Fonts in Figma:
- Ensure your Adobe Fonts are synced with your Creative Cloud account by logging into your account on the Adobe Fonts website and enabling the fonts you want to use.
- Open Figma and go to “Help” > “Account Settings.”
- Under “Adobe Fonts,” click “Connect” and sign in with your Adobe account.
- Your synced Adobe Fonts will now be available in Figma’s font list.
By connecting your Adobe account to Figma, you can seamlessly use your Adobe Fonts library in your Figma projects.

Using Figma’s Font Service
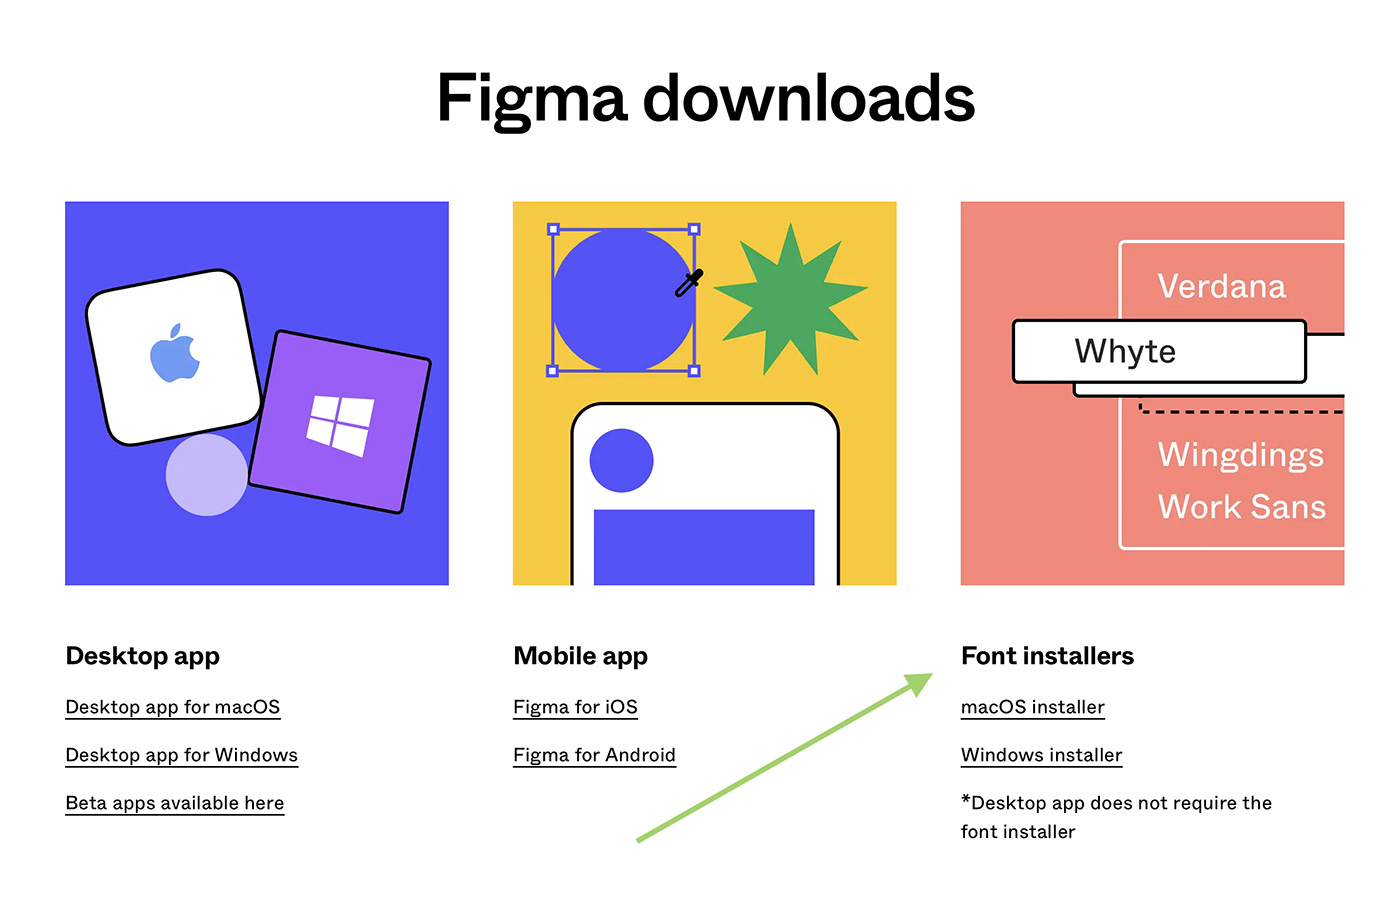
Figma’s font service allows you to use custom fonts when working in the browser version of Figma. This is useful when you don’t have access to the desktop app. Here’s how to use Figma’s font service:
- Visit the Figma Font Helper page and download the Figma Font Helper for your operating system.
- Install the Figma Font Helper by following the on-screen instructions.
- Once installed, run the Figma Font Helper and ensure it is running in the background.
- Log in to Figma in your browser and open your project.
- Figma will now detect the custom fonts installed on your computer, and you can use them in your browser-based projects.
Using Figma’s font service ensures that you have access to your custom fonts, even when working in the browser version of Figma.

Tips for Using Different Fonts in Figma
Choosing the right fonts for your designs is crucial. Keep these tips in mind when working with fonts in Figma:
- Limit your font choices: Stick to two or three fonts to maintain a cohesive look and improve readability. Using too many fonts can make your design appear cluttered and disorganized.
- Pair fonts wisely: Combine a serif and a sans-serif font, or fonts with contrasting styles, to create visual interest. This can help guide the viewer’s attention to specific elements in your design. Look for fonts that share similar characteristics, such as x-height or stroke width, to ensure a harmonious pairing.
- Consider hierarchy: Use different font weights, sizes, and styles to establish a visual hierarchy and guide the viewer’s attention. For example, use bold or larger fonts for headings, and smaller, regular-weight fonts for body text.
- Test for legibility: Ensure your chosen fonts are easily readable at different sizes and on various devices. Test your designs by viewing them at different zoom levels and on different screen resolutions.
- Keep it consistent: Use the same fonts across your design project to maintain a unified look. Consistency in typography helps create a professional appearance and reinforces your brand identity.
- Be mindful of licensing: When using custom fonts, always check the licensing terms to ensure you have the rights to use them in your projects. Some fonts may require a commercial license or have specific restrictions.
- Optimize for performance: If you’re designing for the web, consider using web-safe fonts or optimizing custom fonts to reduce file size and improve page load times. This can help create a better user experience.
Adding custom fonts to Figma and using them effectively can take your designs to new heights. Experiment with different font pairings and follow the tips above to create visually appealing and accessible designs.
By understanding the process of adding and importing fonts, as well as making use of Figma’s font service, you can expand your font library and enhance your design projects.