How to Wrap Text in InDesign
Text wrap is a powerful feature in InDesign that allows you to flow text around graphics, shapes, or other objects in your layout.
It helps create visually appealing and easy-to-read documents, as well as adds depth and structure to your designs.
In this article, we’ll show you how to wrap text in InDesign using various techniques.
Creating Text Wrap
To create a text wrap in InDesign, follow these steps:
- Place or create the object you want to wrap text around. This can be an image, shape, or another text frame.
- Select the object with the “Selection Tool” (V).
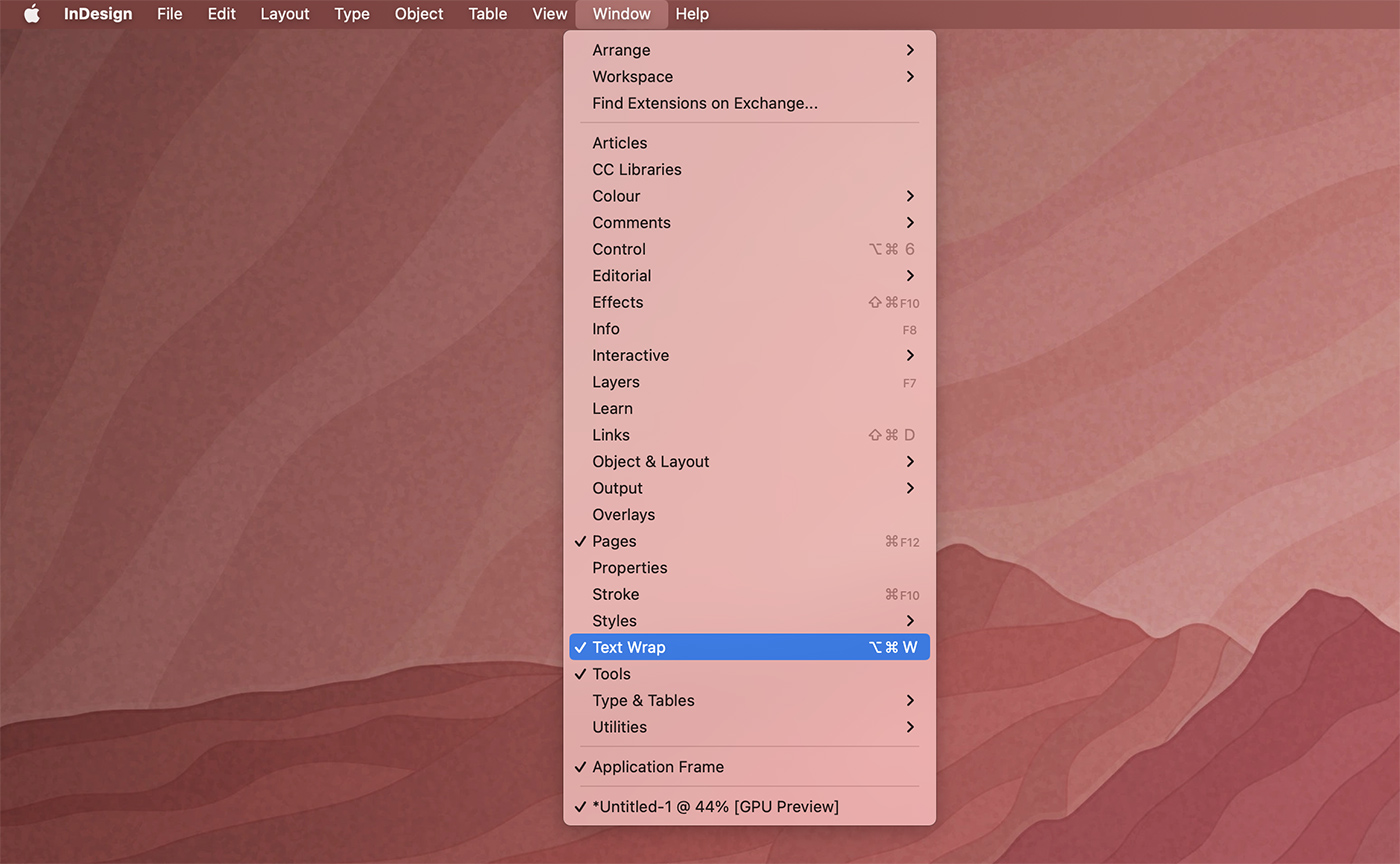
- Go to “Window” > “Text Wrap” to open the Text Wrap panel.
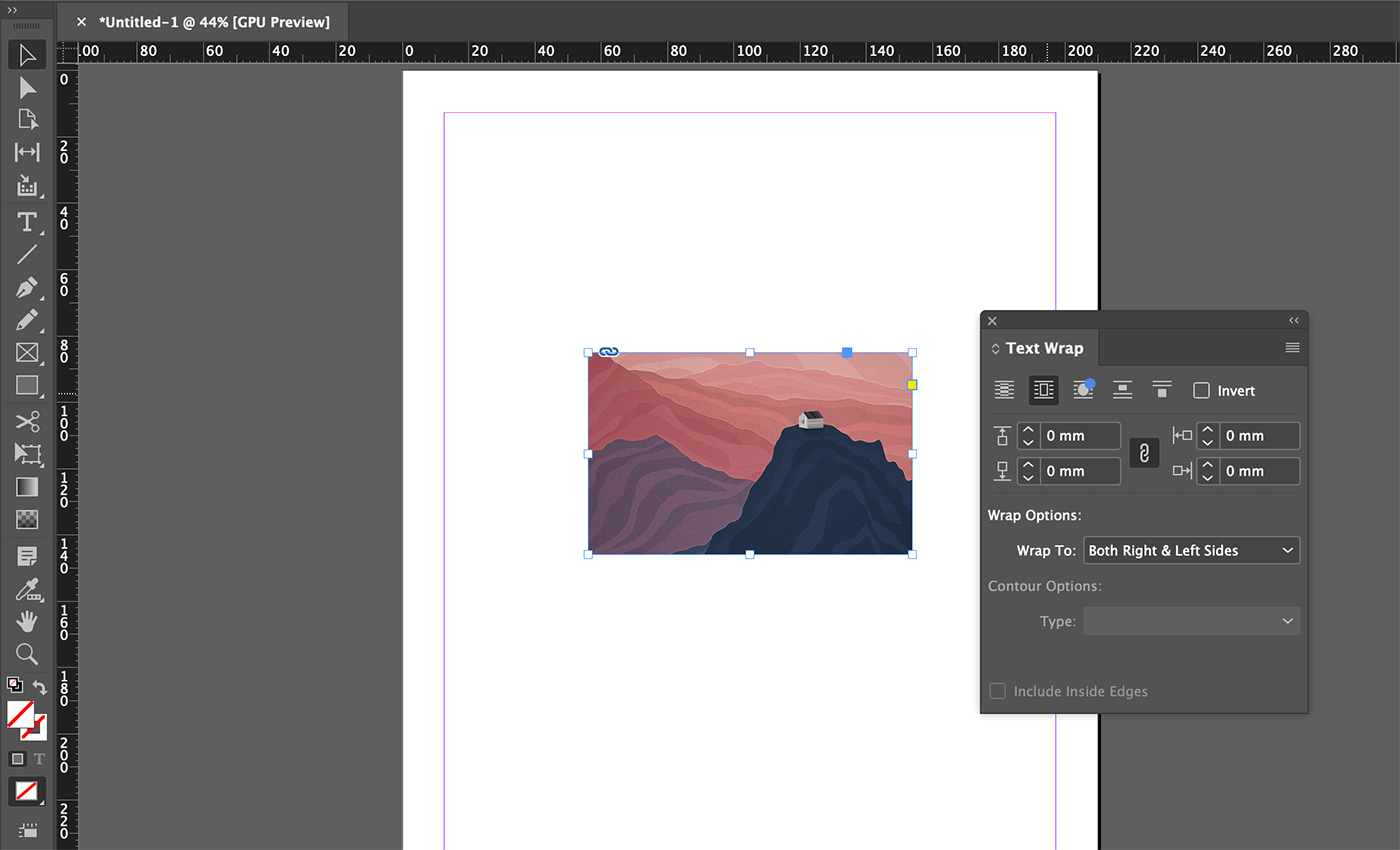
- In the Text Wrap panel, choose one of the text wrap styles: “Wrap Around Bounding Box,” “Wrap Around Object Shape,” “Jump Object,” or “Jump to Next Column.”
- Adjust the “Offset” values to control the distance between the text and the object.
Wrapping Text Around Images
When wrapping text around images, it’s important to consider the image’s shape and contour. Here’s how to wrap text around an image:
- Place your image in your InDesign document and create a text frame with the text you want to wrap around the image.
- Select the image frame using the “Selection Tool” (V).
- Open the Text Wrap panel (Window > Text Wrap) and choose the “Wrap Around Object Shape” option.
- Adjust the “Offset” values to set the desired distance between the text and the image.
Using a Clipping Path or Alpha Channel
For more complex images, you can use a clipping path or an alpha channel to define the wrap boundary:
- Select the image frame and go to the “Object” menu > “Clipping Path” > “Options.”
- Choose “Detect Edges,” “Alpha Channel,” or “Photoshop Path” from the “Type” dropdown menu, depending on the image’s properties.
- Adjust the “Threshold,” “Tolerance,” or “Inset Frame” values as needed to refine the wrap boundary.
Wrapping Text Around Shapes
You can also wrap text around custom shapes or text frames in InDesign:
- Create a shape or text frame in your InDesign document using the shape tools or the “Type Tool” (T).
- Select the shape or text frame with the “Selection Tool” (V).
- Open the Text Wrap panel (Window > Text Wrap) and choose a text wrap style, such as “Wrap Around Object Shape.”
- Adjust the “Offset” values to control the distance between the text and the shape or text frame.
Controlling Text Wrap with Layers
Text wrap is affected by the layer order of objects in your InDesign document. To control text wrap using layers:
- Ensure the object you want to wrap text around is on a higher layer than the text itself.
- To change the layer order, open the “Layers” panel (Window > Layers) and drag the object’s layer above the text layer.
Ignoring Text Wrap
There might be situations where you want certain text frames to ignore the text wrap applied to other objects. In such cases, follow these steps:
- Select the text frame that you want to ignore the text wrap using the “Selection Tool” (V).
- Go to the “Object” menu > “Text Frame Options” (or press “Cmd+B” or “Ctrl+B”).
- In the “Text Frame Options” dialog box, check the “Ignore Text Wrap” option and click “OK.”
By following these steps, the selected text frame will no longer be affected by the text wrap applied to other objects in your document.
Editing Text Wrap
You can easily edit text wrap settings to fine-tune your design:
- To modify the wrap boundary, select the object with the “Direct Selection Tool” (A) and adjust the anchor points or path segments as needed.
- To change the text wrap style or offset values, select the object with the “Selection Tool” (V) and make the desired adjustments in the Text Wrap panel.
- To remove text wrap from an object, select it with the “Selection Tool” (V) and choose “No Text Wrap” in the Text Wrap panel.
Final Thoughts
Mastering text wrap in InDesign is essential for creating professional and visually appealing layouts. By understanding the various text wrap options and techniques, you can effectively flow text around images, shapes, and other objects in your design.
Don’t hesitate to experiment with different settings and approaches to find the perfect text wrap solution for your projects.