Build and Ship a Design System in 8 Steps Using Backlight
What is a Design System
If you ever wondered how Apple, Uber or Spotify keep their UI and UX perfectly consistent over their hundreds of pages, it’s because they use a Design System. Enhanced version of what used to be “pattern libraries” or “branding guidelines” a Design System could be defined as a library of reusable components, that includes documentation along each of these components to ensure the proper use of it and its consistency over the different applications. The documentation is at the core of the system, going beyond components by covering accessibility, layouts, overall guidelines, and much more.
By creating Design Systems, companies are building a Single Source of Truth for their front-end teams, thus allowing for shipment of products at scale, with perfect consistency of the User Experience guaranteed over the entire product range.
As well documented in this article, a Design System is made of different pieces which we can split into four main categories: Design tokens, Design kit, Component Library, and a Documentation site.
Who Design Systems are for
You could think that a Design System is costly to build and maintain and would need a dedicated team. If some companies do rely on a team, there are now tools that allow any company to benefit from a Design System, no matter the size of their frontend team or their existing product. One of these tools is Backlight.
What is Backlight
Backlight is an all-in-one collaborative tool that allows teams to build, ship, and maintain Design Systems at scale.
With Backlight, every aspect of the Design System is kept under a single roof, teams can build every component, document it, share it to gather feedback, and ship it, all without leaving Backlight environment. This allows for seamless collaboration between Developers and Designers on top of the productivity gain and the insurance of perfect UI and UX consistency among the products relying on the Design Systems.
Steps to build your Design System
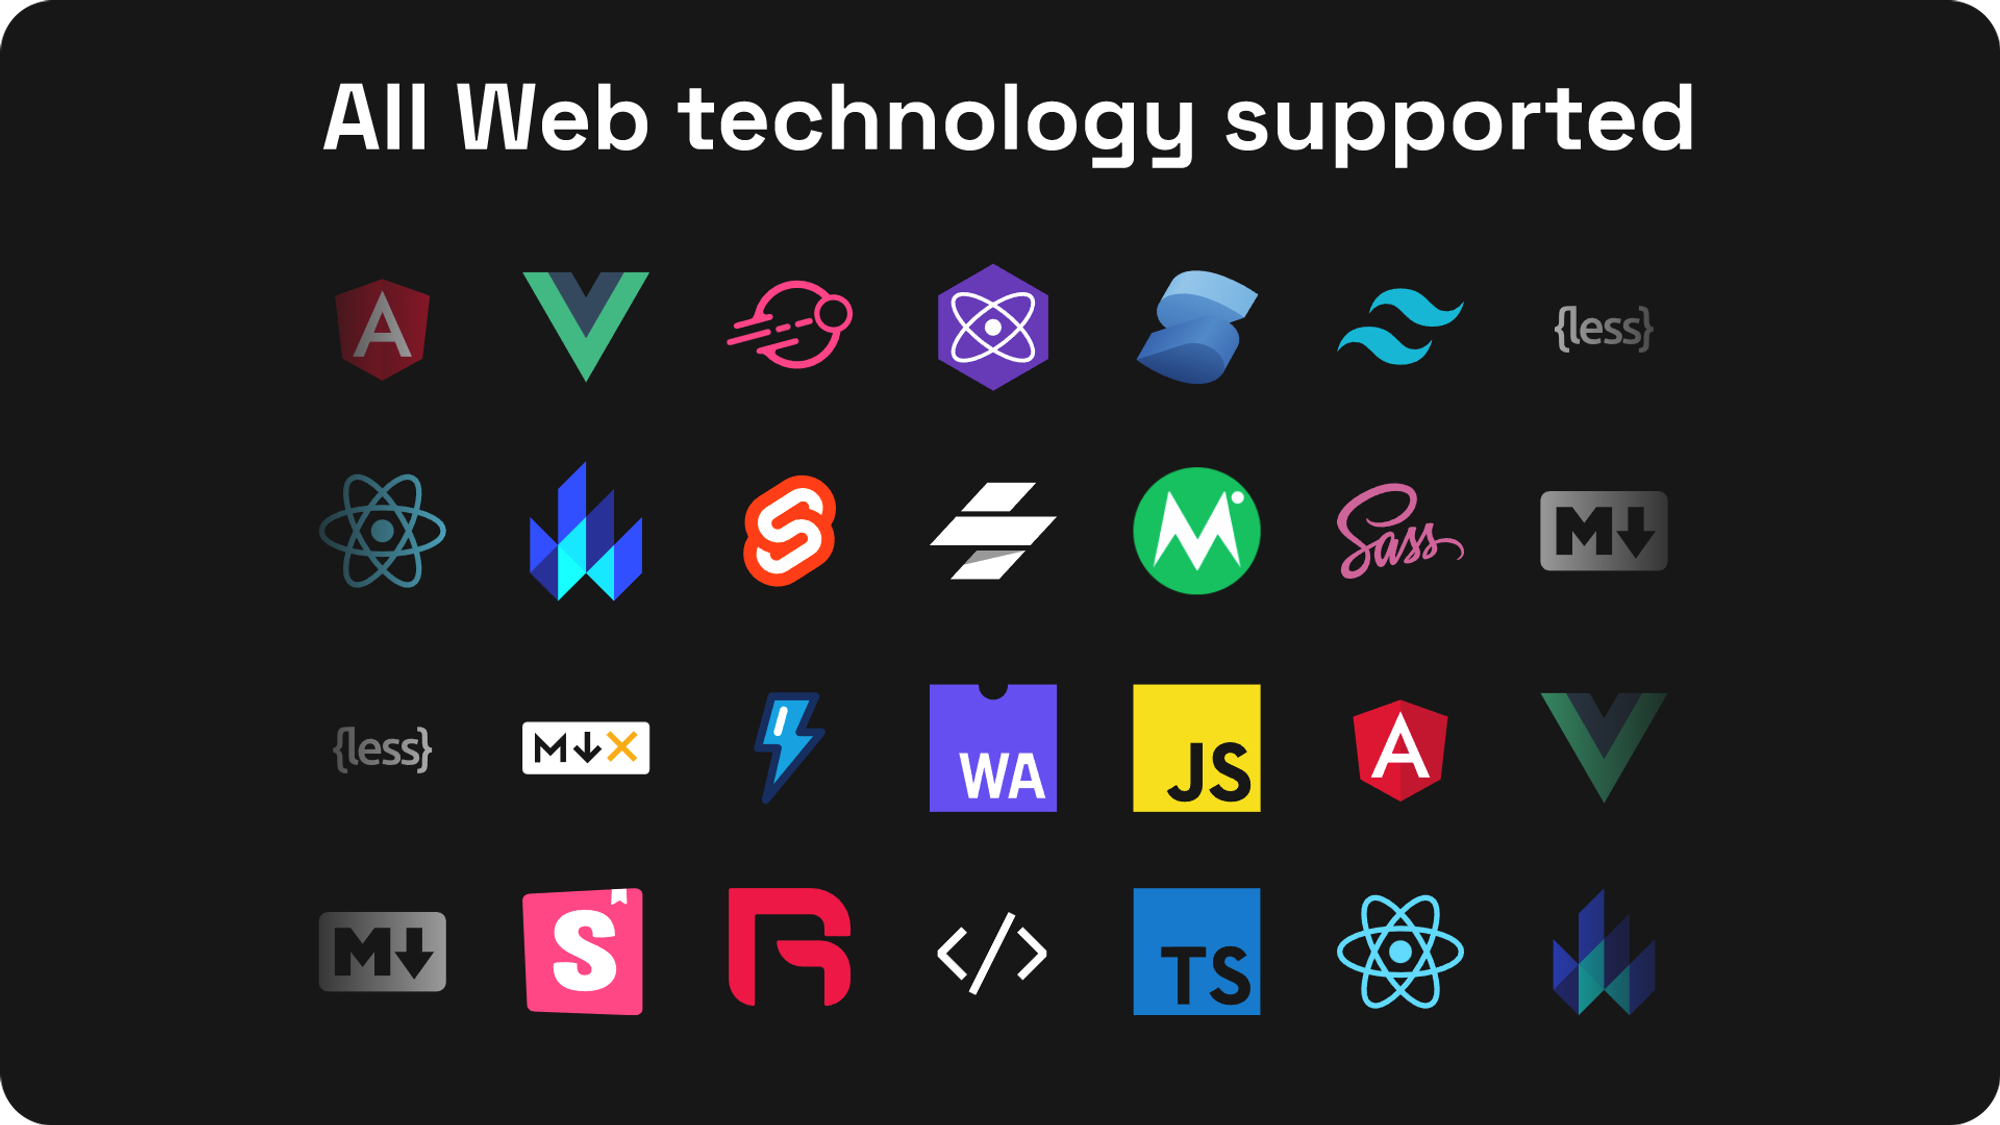
#1 Pick your technology
You might already have existing components and you could choose to stick with your existing technology. While a lot of companies go for React, other technologies are worth considering.
If you would prefer to not start a new Design System from scratch, Backlight offers a number of Design Systems starter-kits to chose from. Each comes with built-in tokens, components, interactive documentation, Storybook stories, all ready to be customized to your liking for your products.
#2 Set your Design Tokens
Once your technology is picked, you often start by creating (or customizing, if you chose to use a starter-kit) the basics Design tokens. Design tokens are the value that rules your Design System components, such as Color, Spacing, Typography, radii…

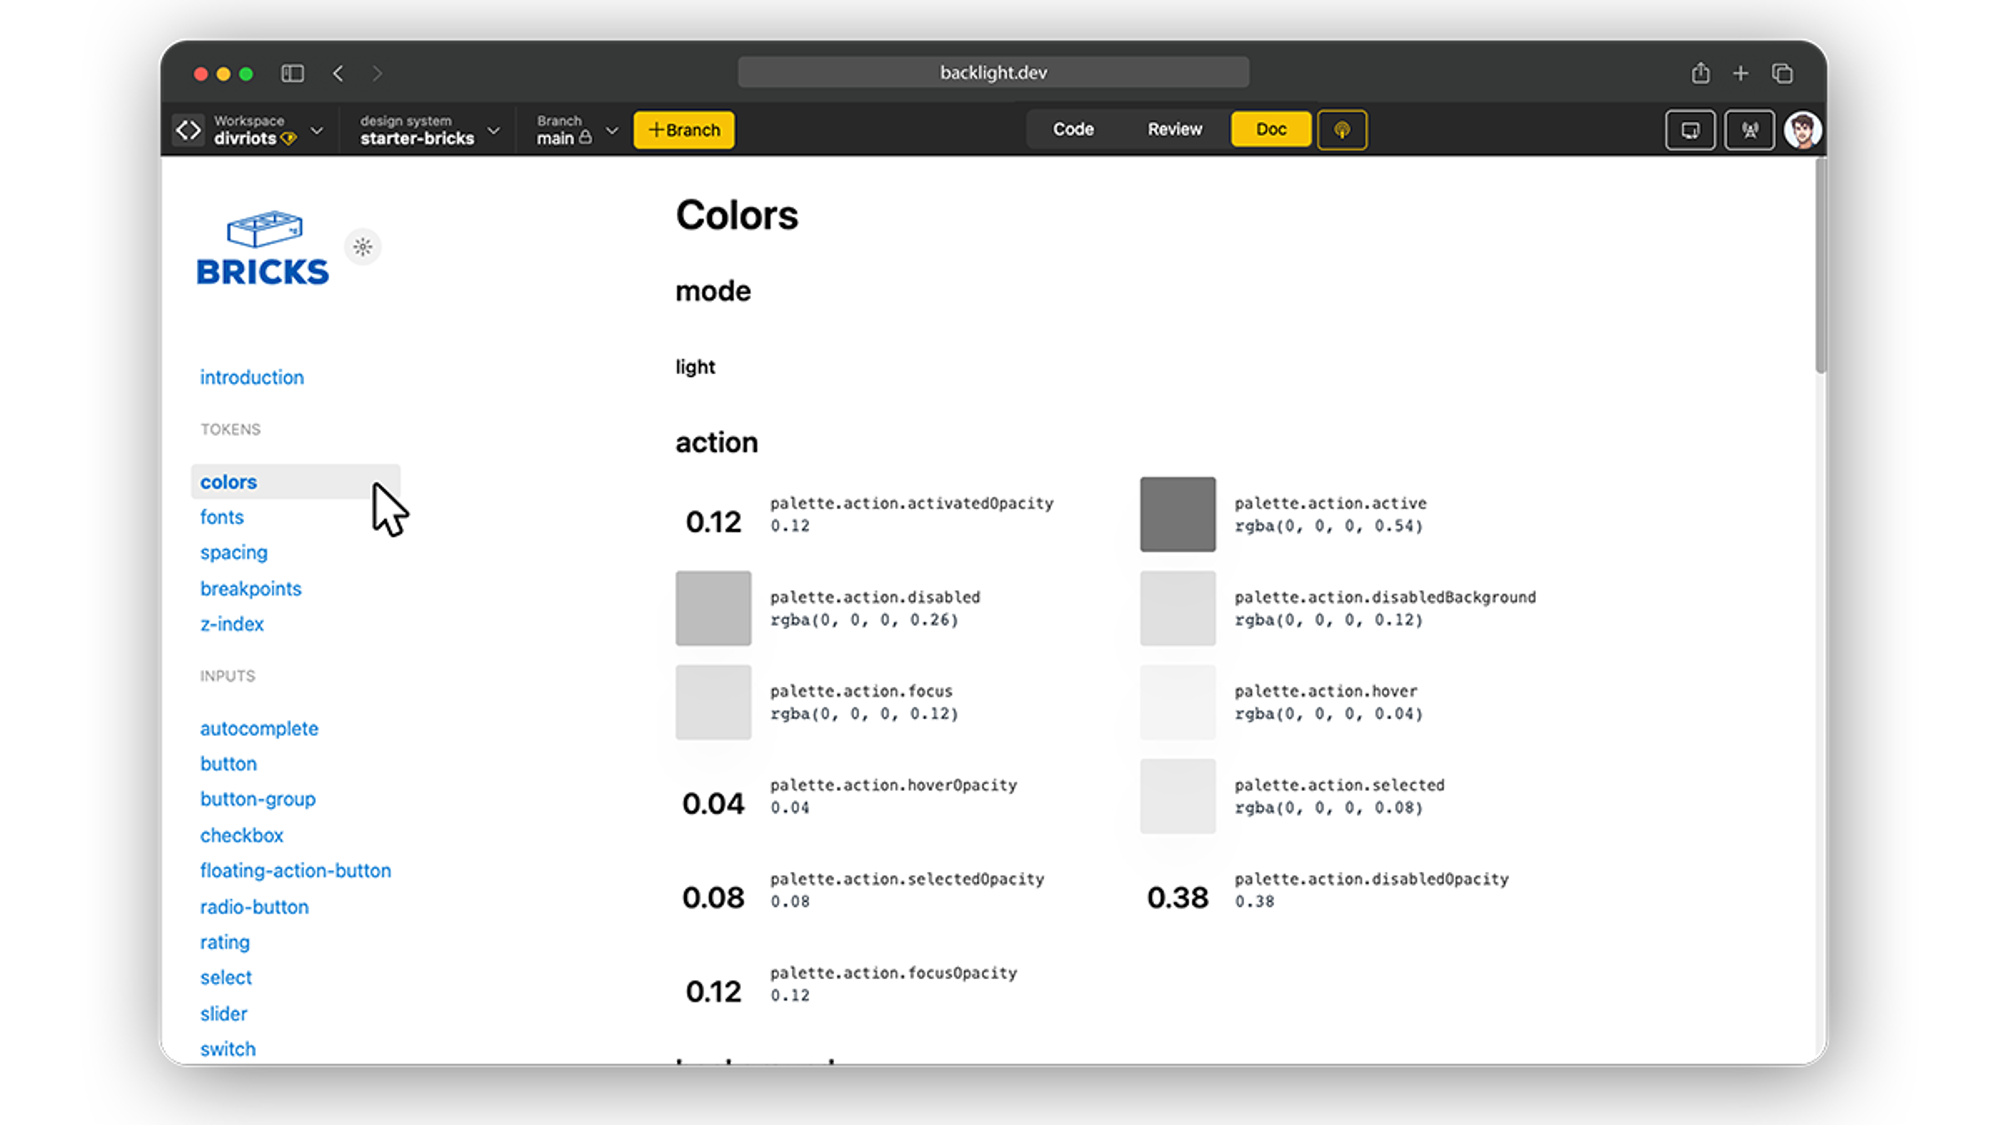
In Backlight, Design tokens are conveniently listed in the left-side panel so you can get an overview at a glance.
To create a new Token, simply hit the + button and start coding. In edit mode, the code is displayed next to the token so you can edit as you go with the benefit of having the preview window side by side with the code. Any change to the tokens code can be pushed automatically to the preview window so you can see the result of your changes instantly.
For users simply consulting the Design System, the list is displayed next to a preview for better clarity. You can observe that the UI of the documentation mode doesn’t display the code which allows for simpler and noise-free consultation of your Design System. You can see for yourself by playing with this starter-kit.
#3 Build your Components
Components are the core of your Design Systems, you can picture them as re-usable building blocks. Buttons, avatar, radio, tab, accordion, this list will be as complex or as simple as your UI need.
Most companies already have existing components. To get started with your Design System the first step would be to create an exhaustive list of every component used in the products to date and identify the most appropriate architecture, then you can start building them one by one.
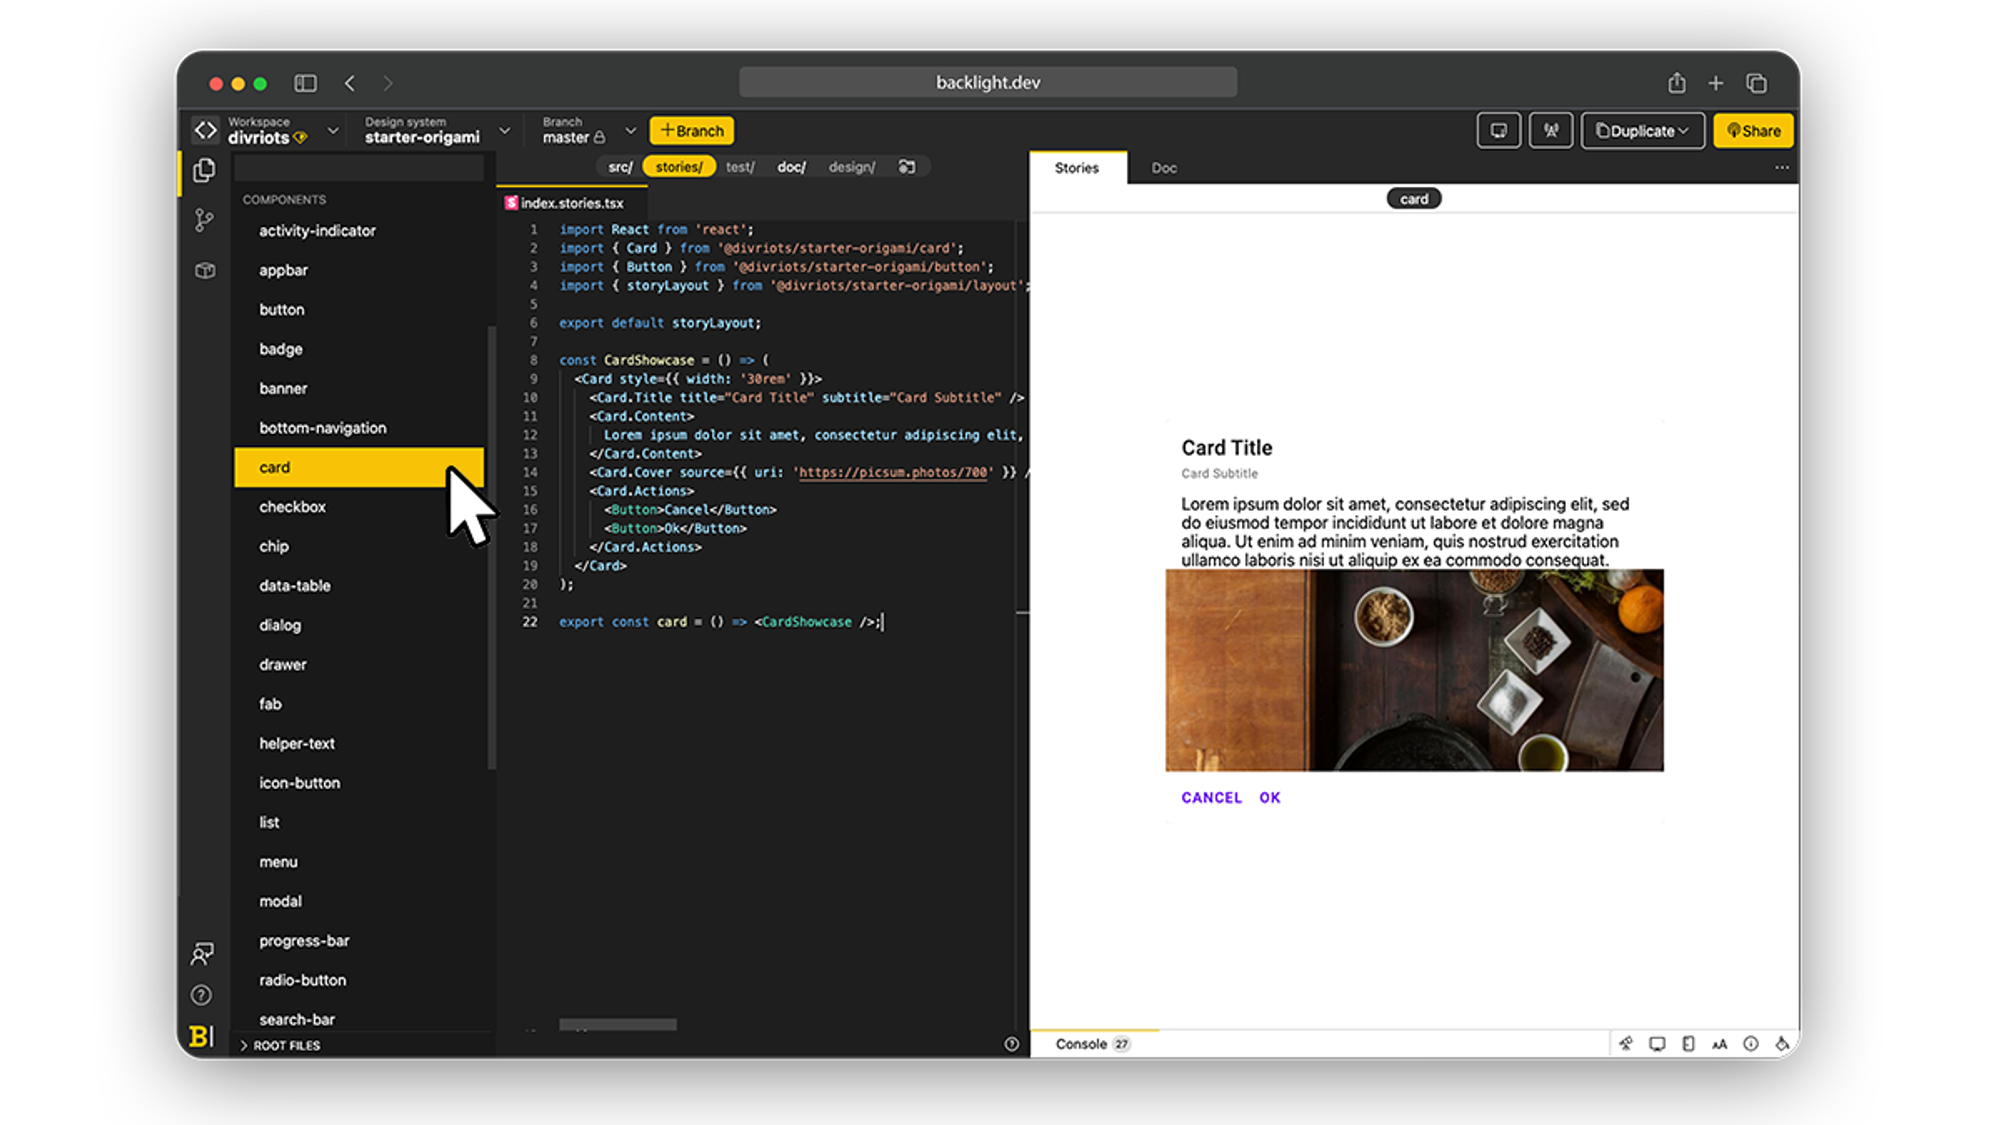
In Backlight you can build your components straight in the built-in browser IDE, always keeping the preview panel next to it, to verify the result at all times.
Once a component is created, it will live on your Design System for as long as it exists (or as you delete it) and because it will have to grow with it, Backlight makes it extra easy to update components on the go.
Also, if you build upon existing assets, with GitHub and Gitlab native support you can push changes on branches directly from Backlight and review pull-request in a click.
#4 Add Stories
Collaboration between Designers and Developers is one of the bottlenecks that every team creating Design Systems will have to solve. One way to ensure alignment between the two is by providing simple visual iterations of a components state, which is a live representation of the code instead of being a simple screenshot at a given time.
In order to do so, Backlight added support to the most common solutions: Storybook
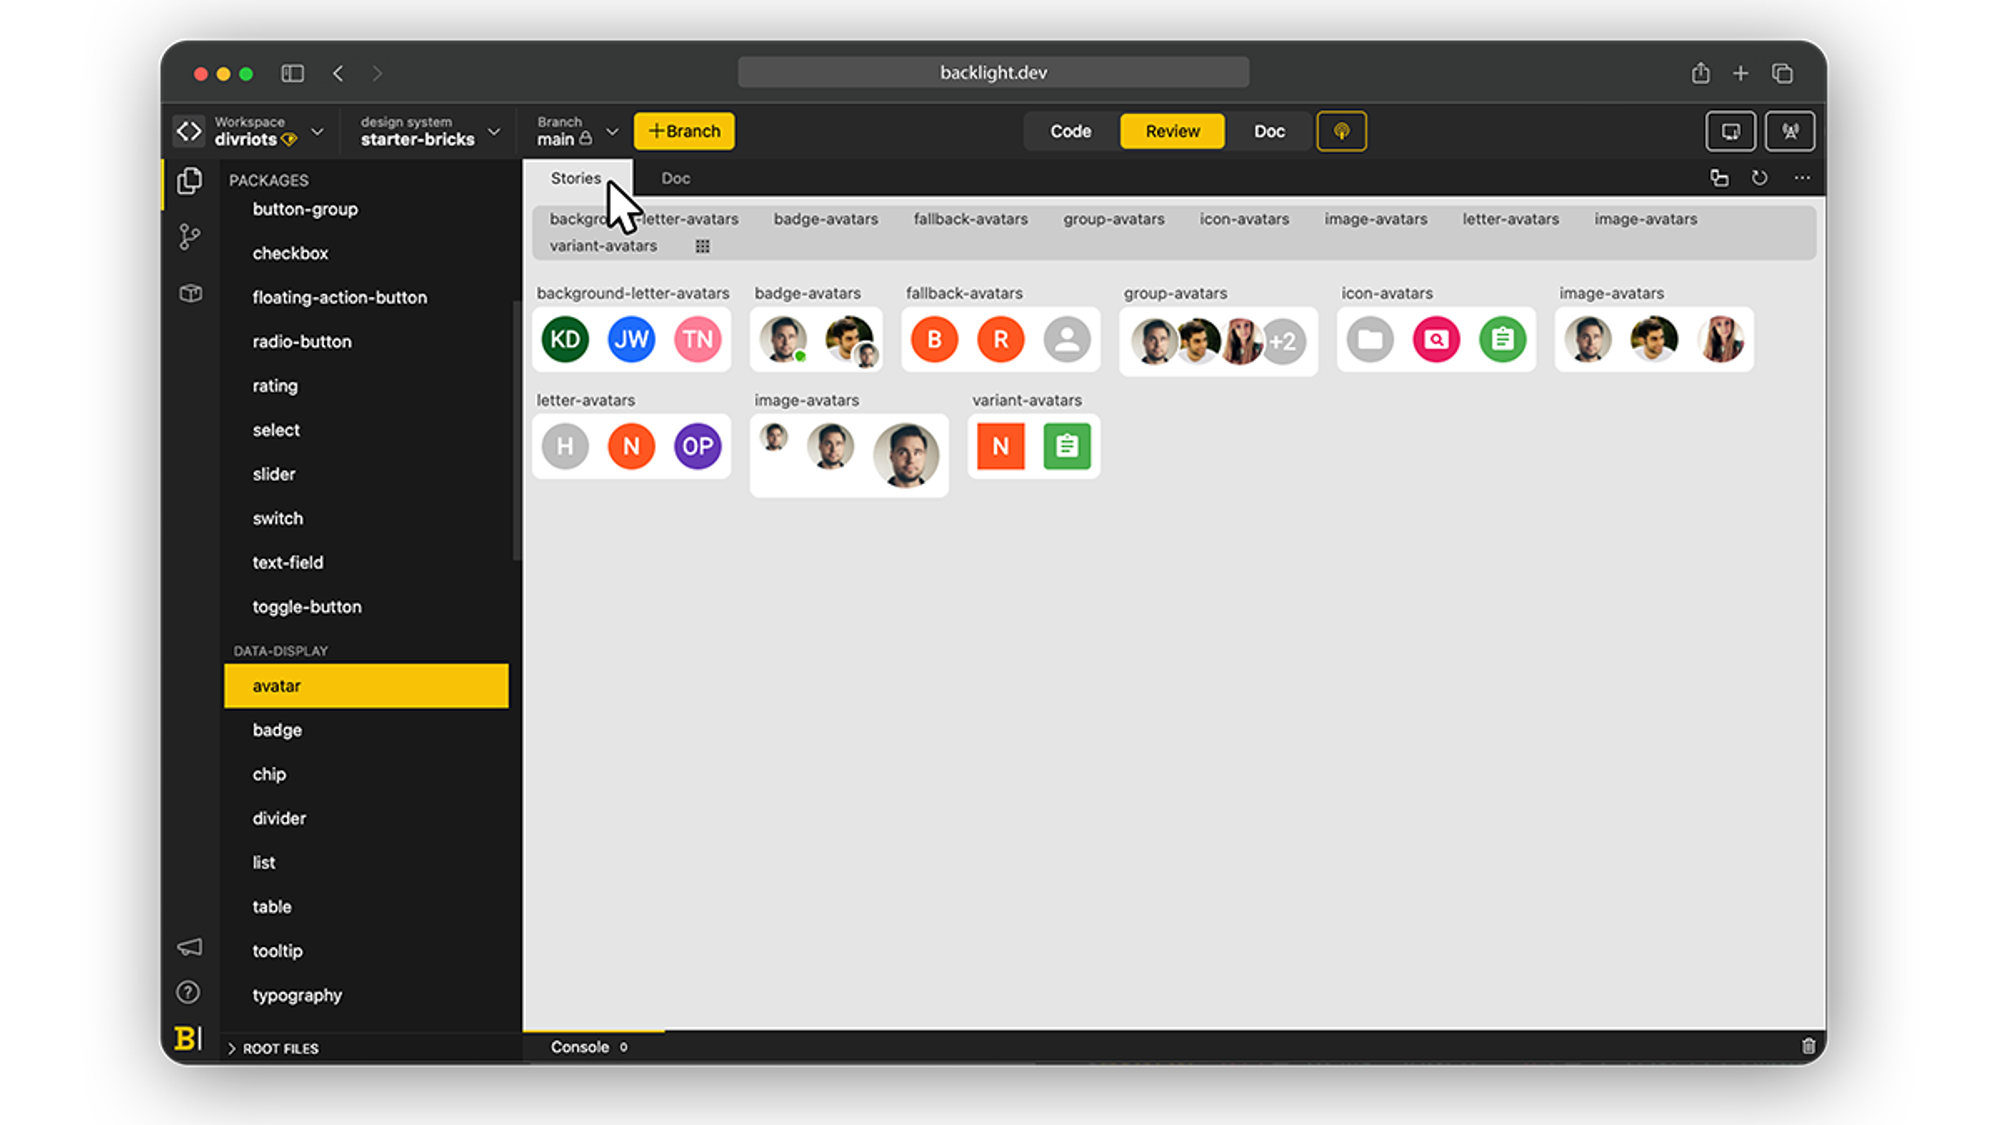
Backlight natively supports Storybooks’s story files. Stories are visual representations of a state of a UI component given a set of arguments, and one of the best ways to visualize a Design System or simply get a quick overview of a component iterations.
Stories can be coded directly into Backlight and displayed next to the documentation
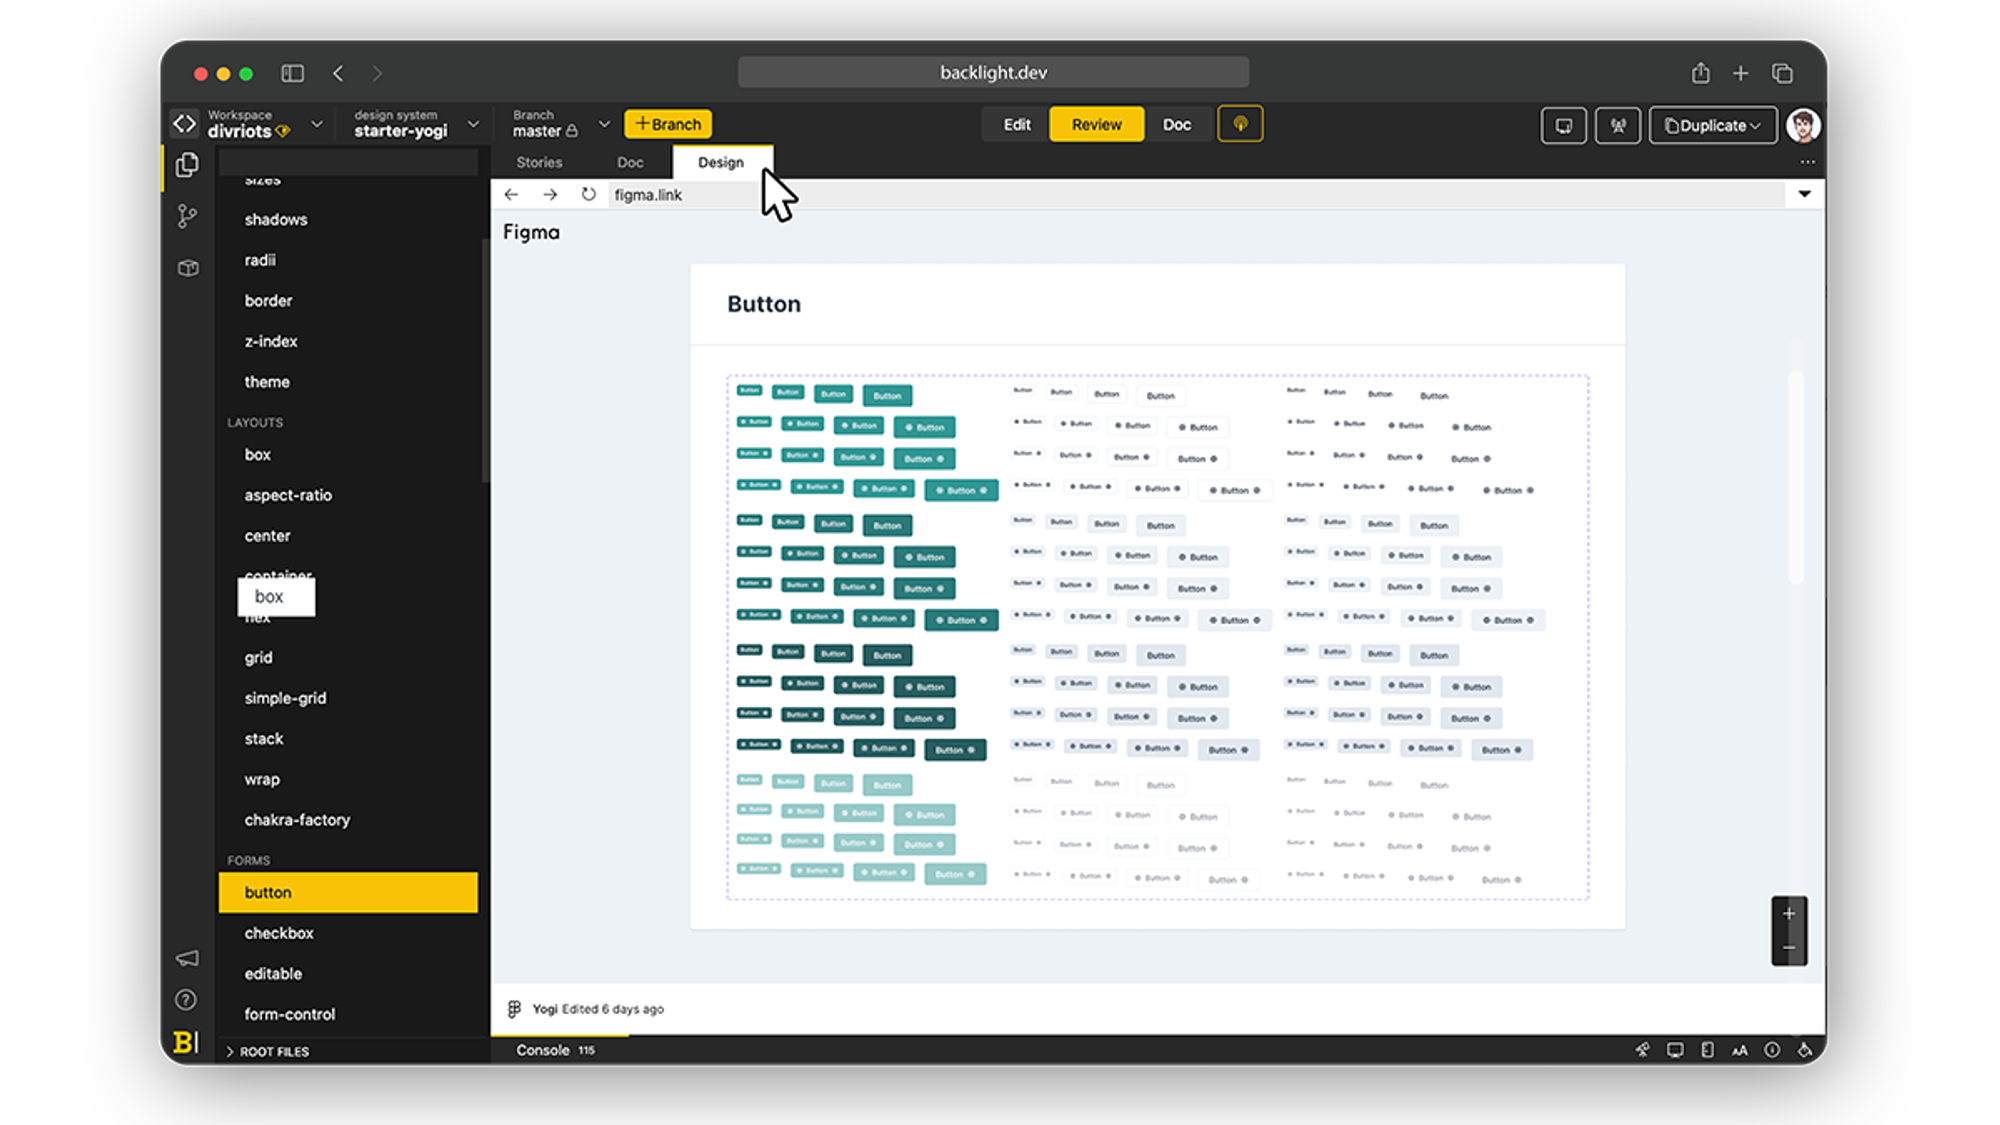
#5 Link your Design assets
If you already have design assets, Backlight support Figma as well as Adobe XD and Sketch. By embedding a link to the assets, Backlight will display them live within the interface along with the documentation and the code so developers can make sure that both are in sync.
- Figma libraries
Among Designer tools, Figma is often one of the go-to, and its libraries can be natively displayed within Backlight, giving Developers direct access to the visuals.
- Adobe XD
Next to Figma, Adobe XD hold a special place in the Designer community and it is as well supported in Backlight
- Sketch
By supporting Sketch links and allowing them to be embedded within the documentation, Backlight ensures once again proper alignment between Designers and Developers, removing the need for long back and forth as well as team members relying on tools they are not comfortable with.
#6 Generate the Documentation
A Design System is only as great as its documentation. The core of your system, the documentation has multiple facets but will mostly be able to:
- Facilitate the adoption of the design system among the product team thanks to visual preview and concise how-to.
- Ease the maintenance, a well-documented system is like a documented code, knowing the how and why of every bit, it gets easier for the team to scale or adapt parts.
- Ensure the survival of the Design System, an easy-to-digest documentation of your system will avoid team members taking shortcuts and ending up not using it.
Backlight supports multiple technologies to build your documentation, MDX, MD Vue, mdjs, or Astro, you can pick the one that suits you best. If you are wondering what technology to chose, this article will be able to guide you. However keep in mind that the best practice is to use a technology that can embed your real component, thus ensuring that the documentation has the latest visual iteration of it, at all times.
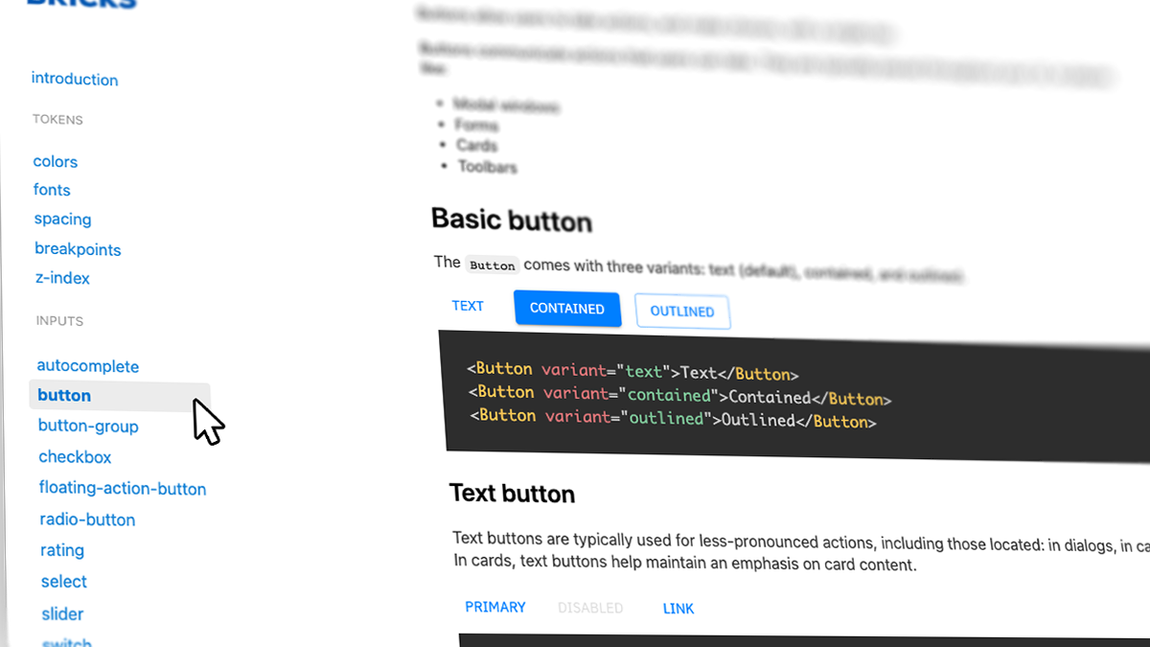
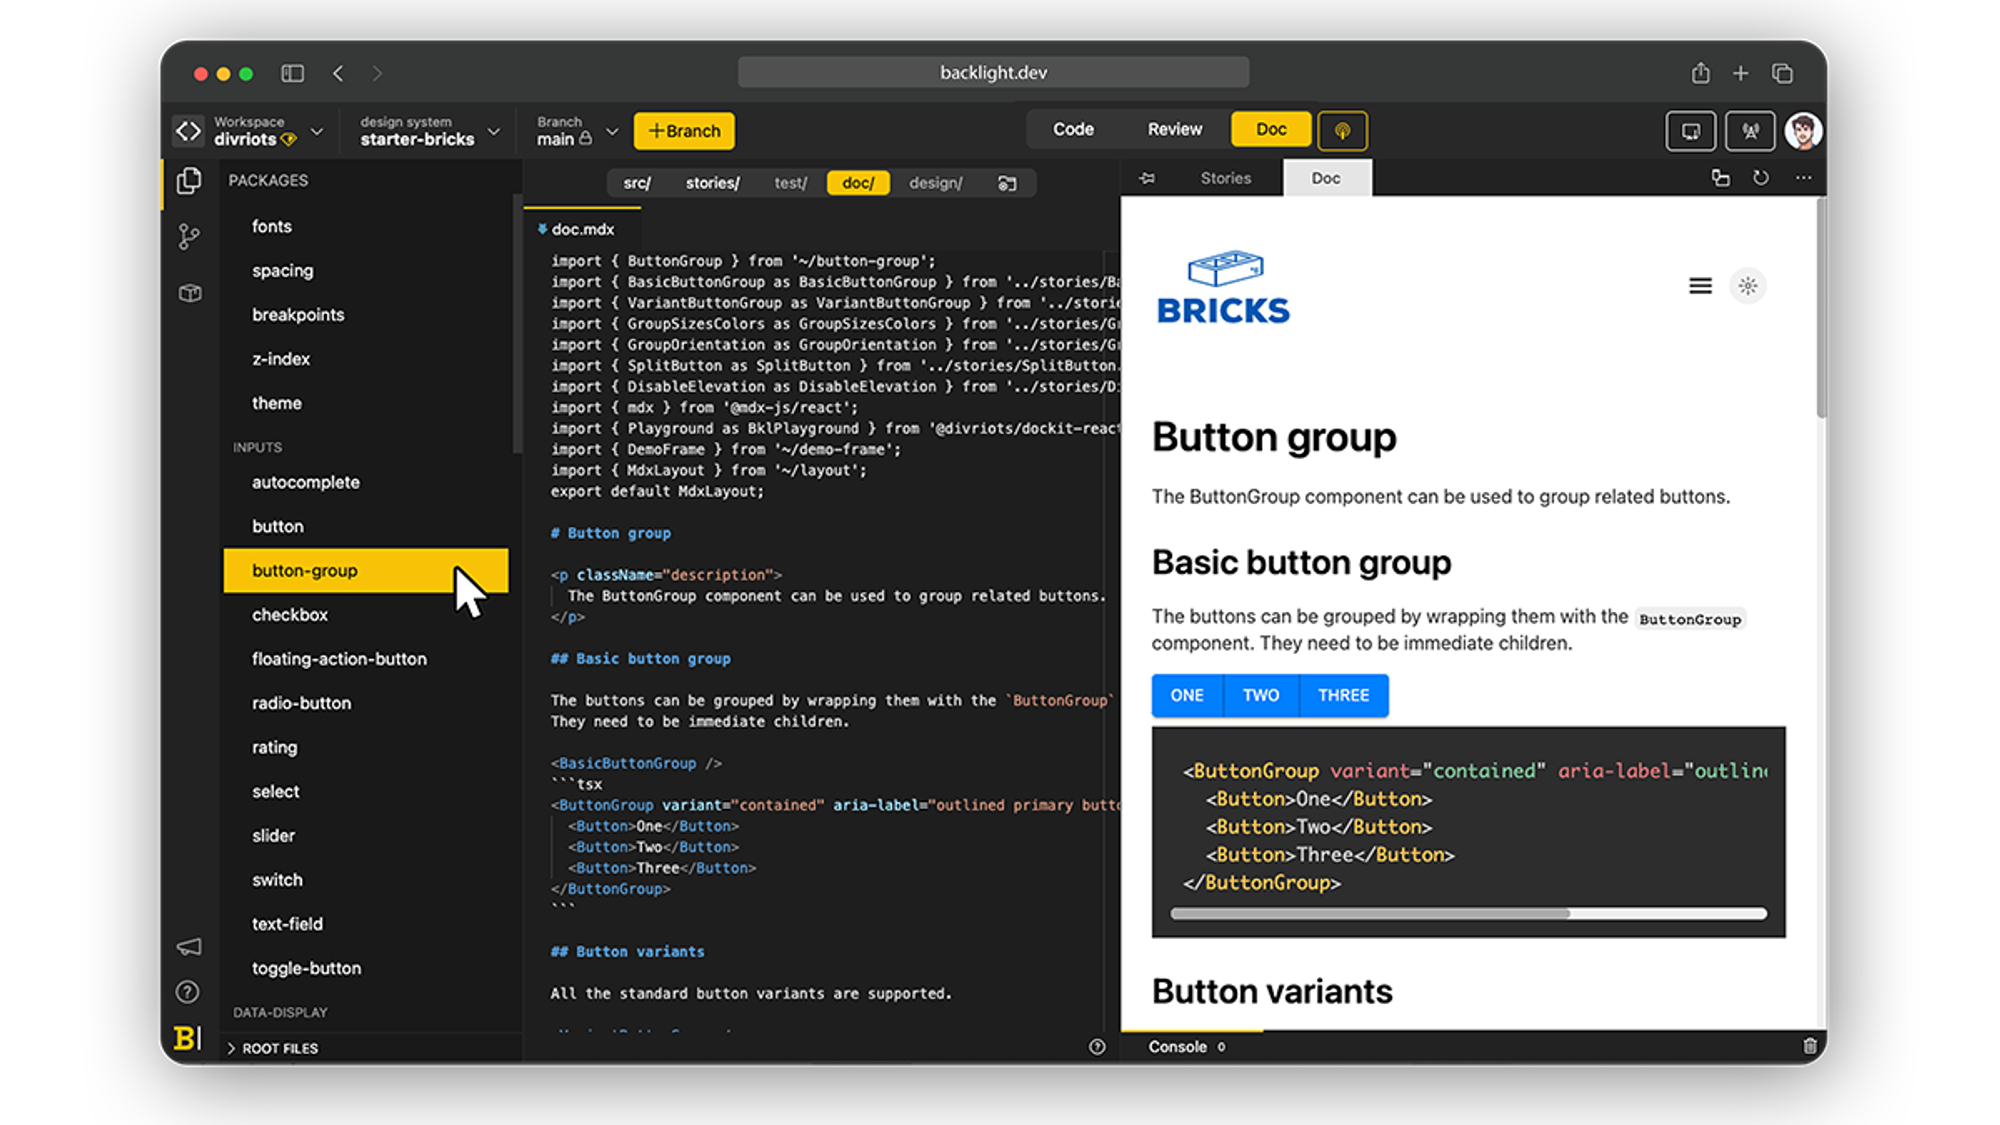
Backlight allows for users to build interactive documentation, with menu, dark and light mode, live code sandbox, components preview, and more.
Like for the rest of the Design System, the code is displayed next to the preview to have visual feedback at all times.
For inspiration purposes, here is a list of the best Design Systems document sites to date.
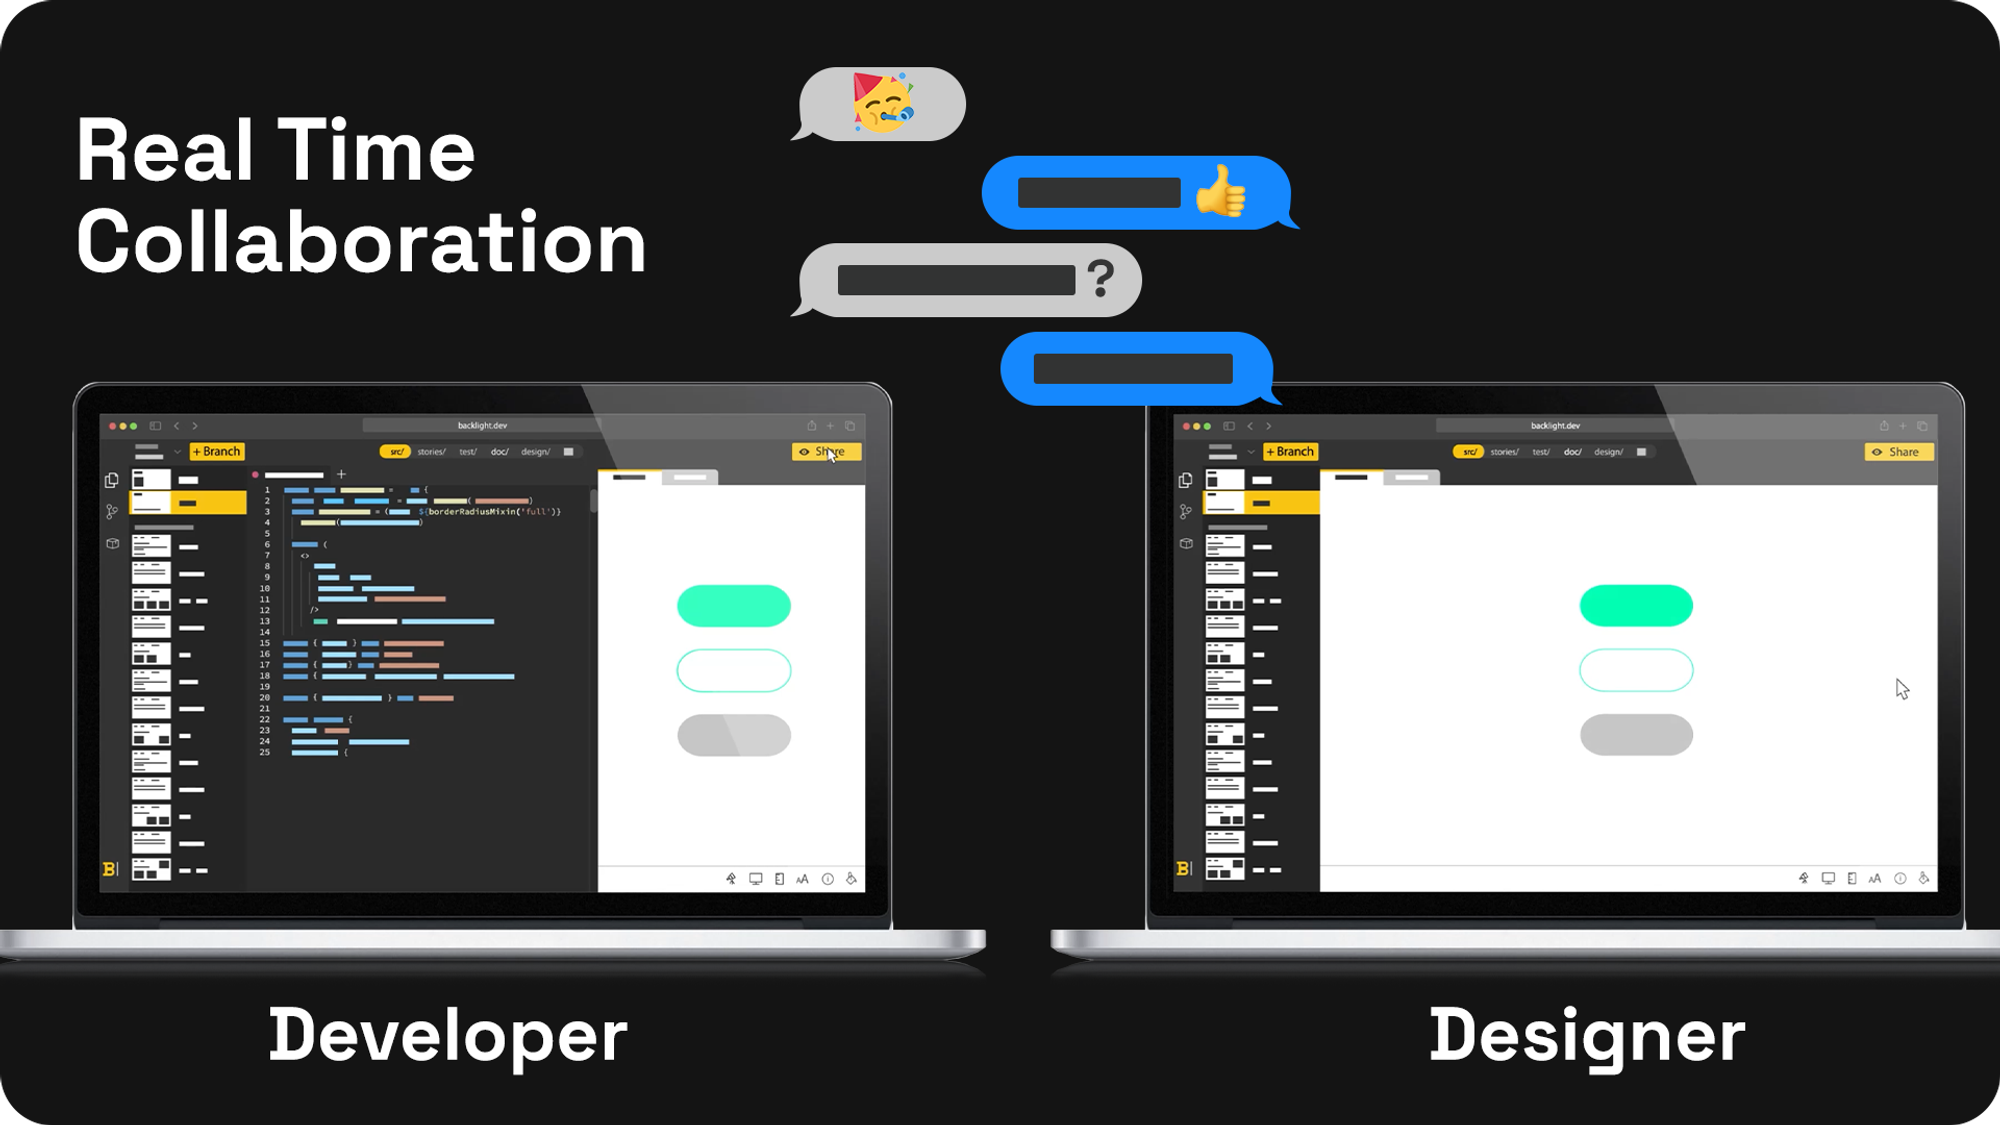
#7 Gather feedback from the team
One, if not THE, main bottleneck front-end teams encounter while building a Design System is communication between Developers and Designers. Both sides are living within their own tools, and it often ends up with teams creating multiple asynchronous Design Systems, which are costly to maintain and often sources of mistakes.
Backlight offers a platform that non only regroups everything under a single roof, but that outputs documentation and visuals that are easy to share to entire teams.
- At any time a Developer can share a live preview of what he’s working on, and edit the components as he receives feedback. Each edit will be pushed to the live preview and the other side can directly see the results.
- Designers can update a Figma or Adobe Xd library, it will be automatically shown in the respective tabs inside Backlight for a Developer to update the impacted components.
- Thanks to the live preview panel, Designers that know code can quickly update any component or token to their liking, which then can be reviewed by a developer before pushing for release.
#8 Ship your Design System
Once you have a proper Design System, tokens, components, and the documentation that goes with it, it is now time to use it which means generating the outputs of the Design Systems (code, documents site…) for the team to consume it.
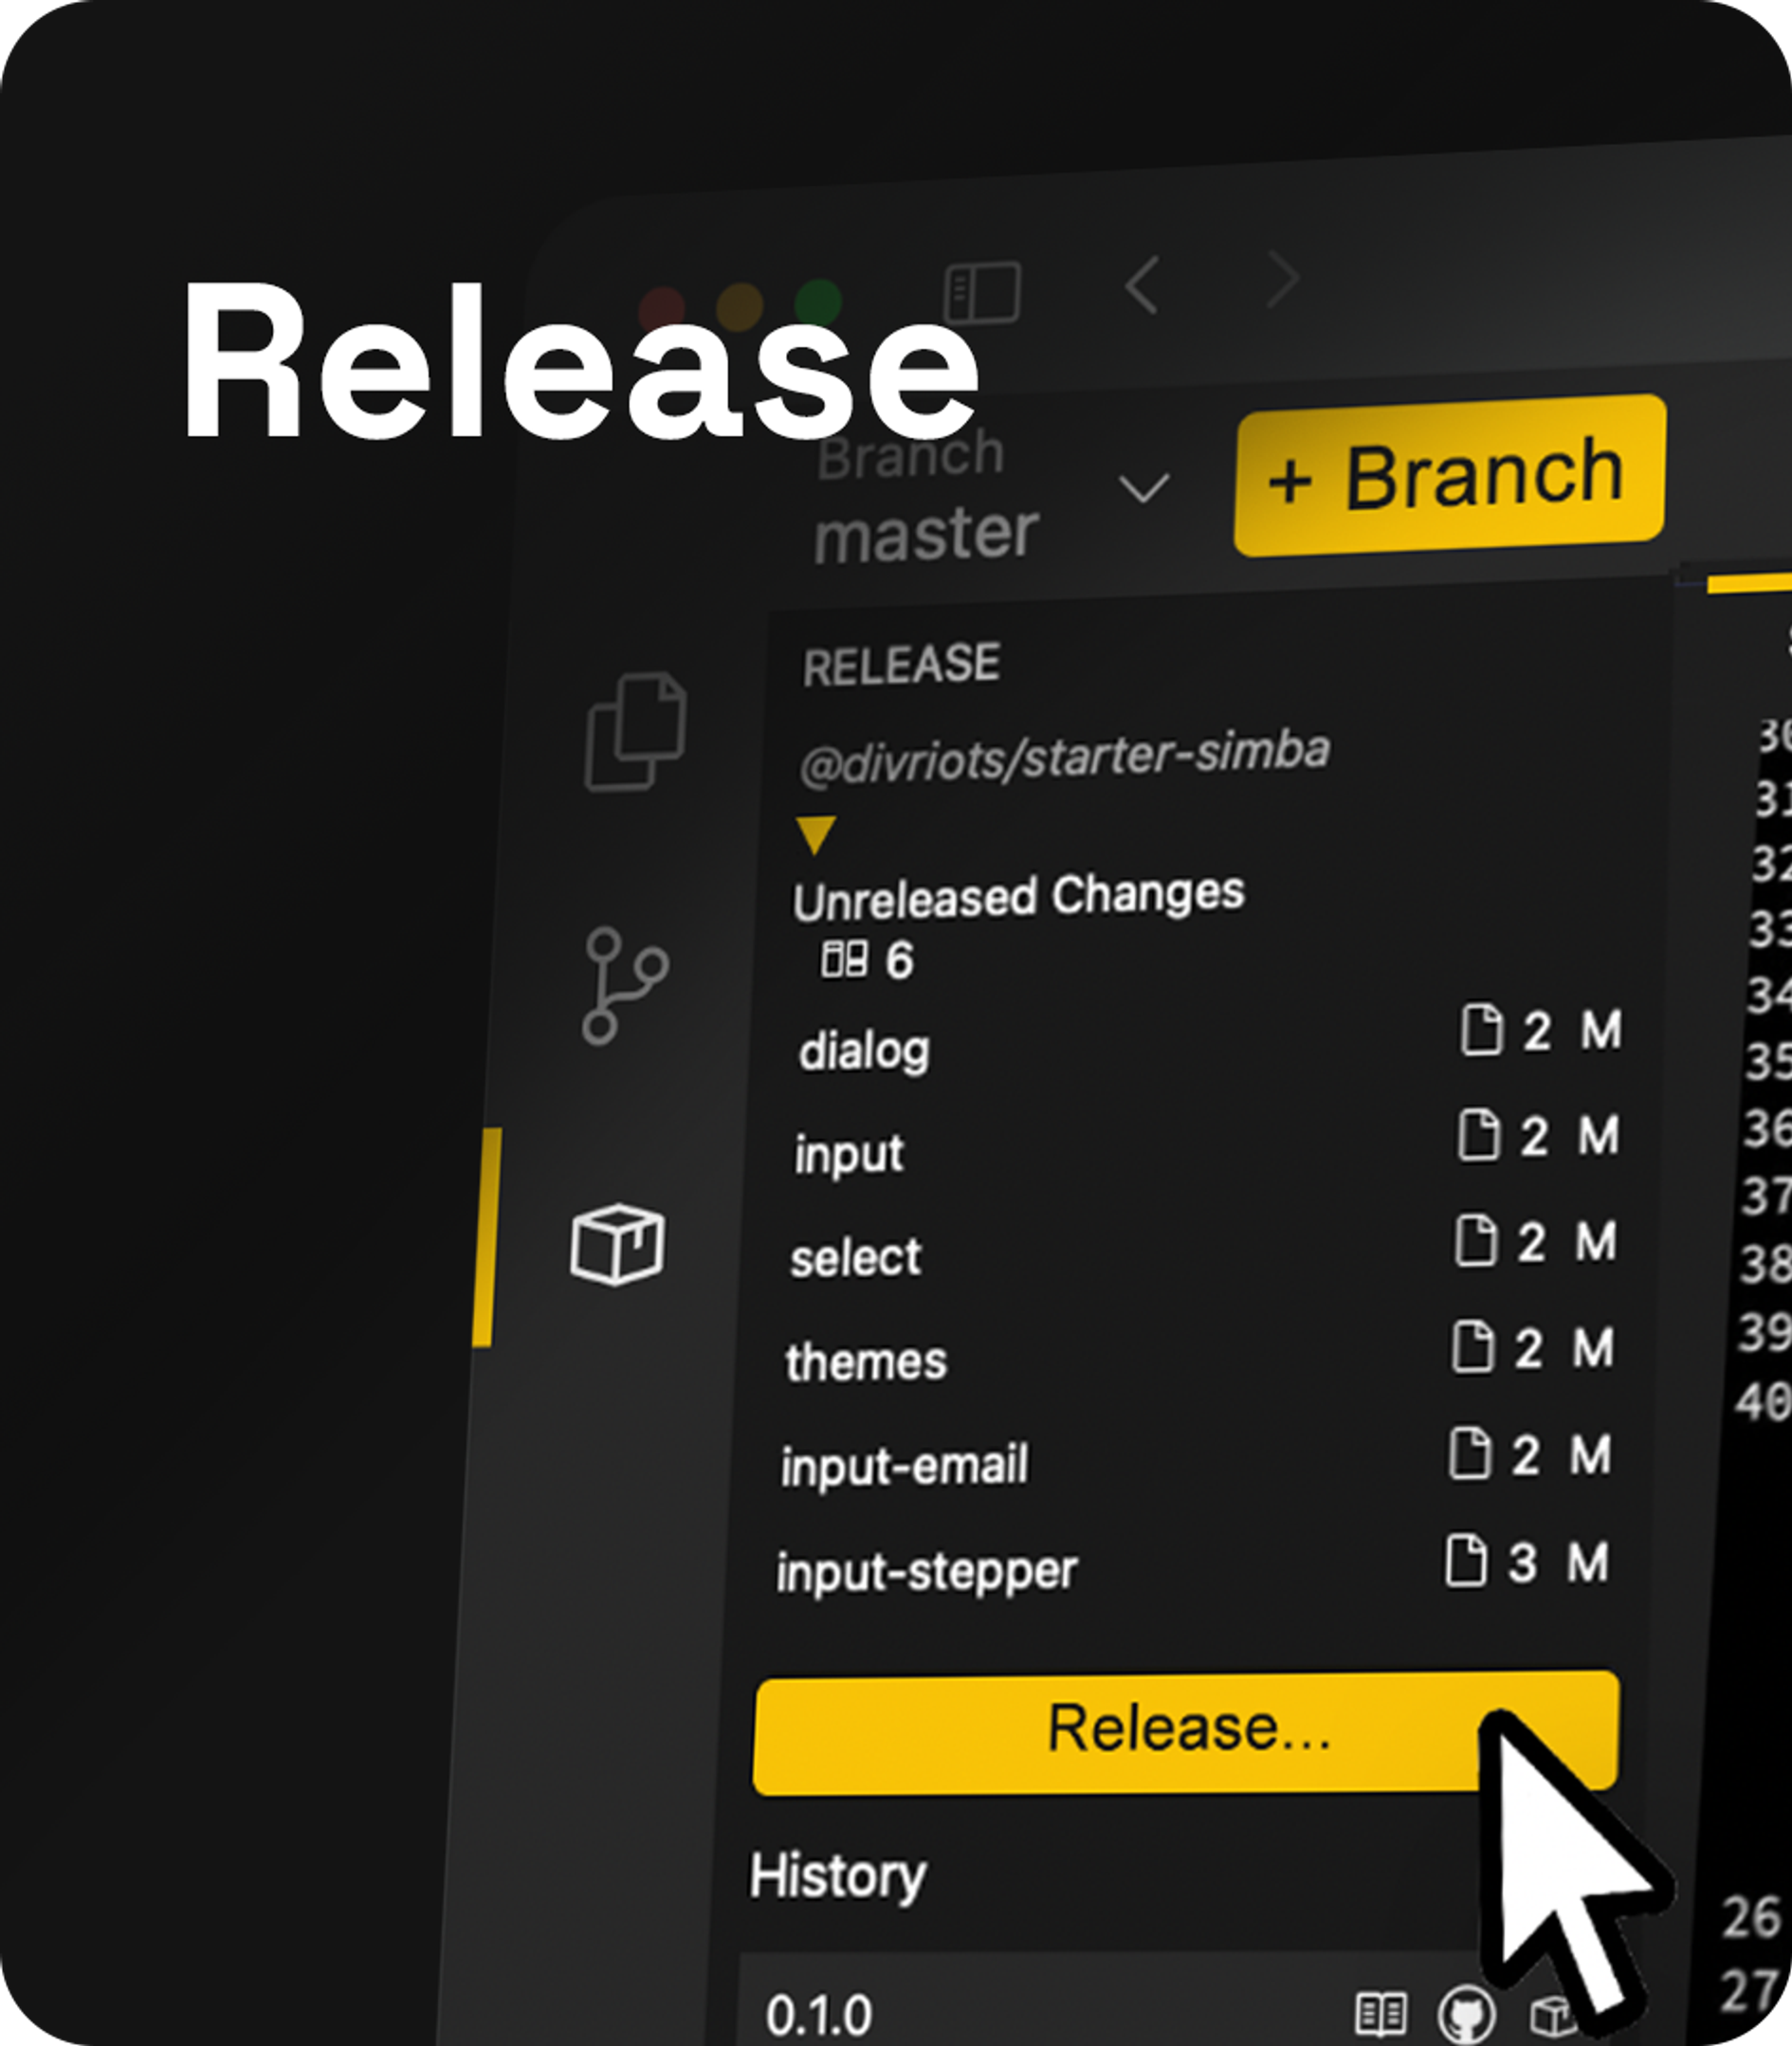
Before releasing you can double-check unreleased changes at a glance, using the built-in visual diff panel, and even automate testing.
Once everything is properly verified, to facilitate the release Backlight has a baked-in npm package publisher, so you can compile, package and version your Design System on demand.
Once published, you will be able to see the history of previous releases and access every corresponding package directly from the release panel.
Kickstart your own Design System
By simplifying every step and keeping it all under the same roof, Backlight makes Design Systems affordable for every team, no matter their size.
Sound promising? Wait until you learn that there are a LOT more built-in features and that you can start your own Design System now! More than a product, Backlight is a community that will set the starting blocks for you and guides you through the finish line.