How to Remove an Object in Photoshop (Step by Step Guide)
One of the most common uses of Photoshop is removing objects from photos. In fact, it’s one of the reasons the software was so popular back in the day.
If you’ve just bought a subscription to Photoshop, removing objects is a trick you must learn right away. In this quick guide, we’ll show you how.
Photoshop has come a long way over the years and removing objects in photos is now much easier thanks to advanced AI-powered technologies. You can easily remove most objects without any effort.
Let’s dive in and see how.
How to Remove Objects in Photoshop
There are several different methods you can use to remove an object in Photoshop. Most methods are very easy and you don’t need any design experience to get it done.
Method 1: Content-Aware Fill (Easy)
Let’s start with the easiest method. It will only take a few clicks.
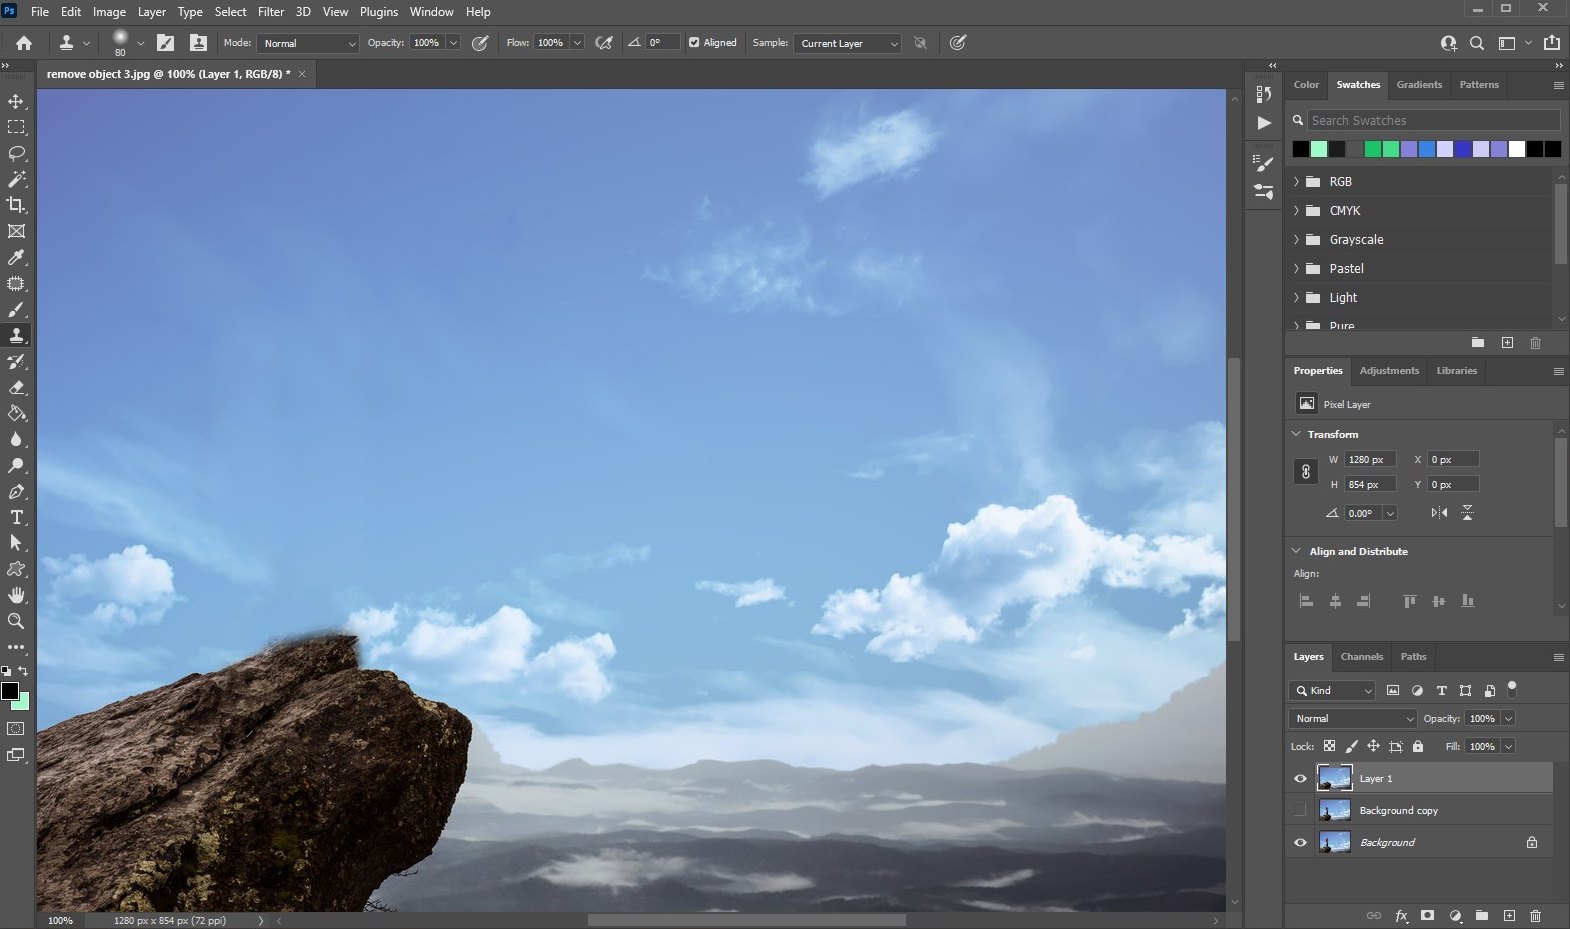
After opening the image in Photoshop, first, create a duplicate layer of the image. You can do this by pressing the Control + J keys on the keyboard. Or by right-clicking on the image layer and selecting the Duplicate Layer option.
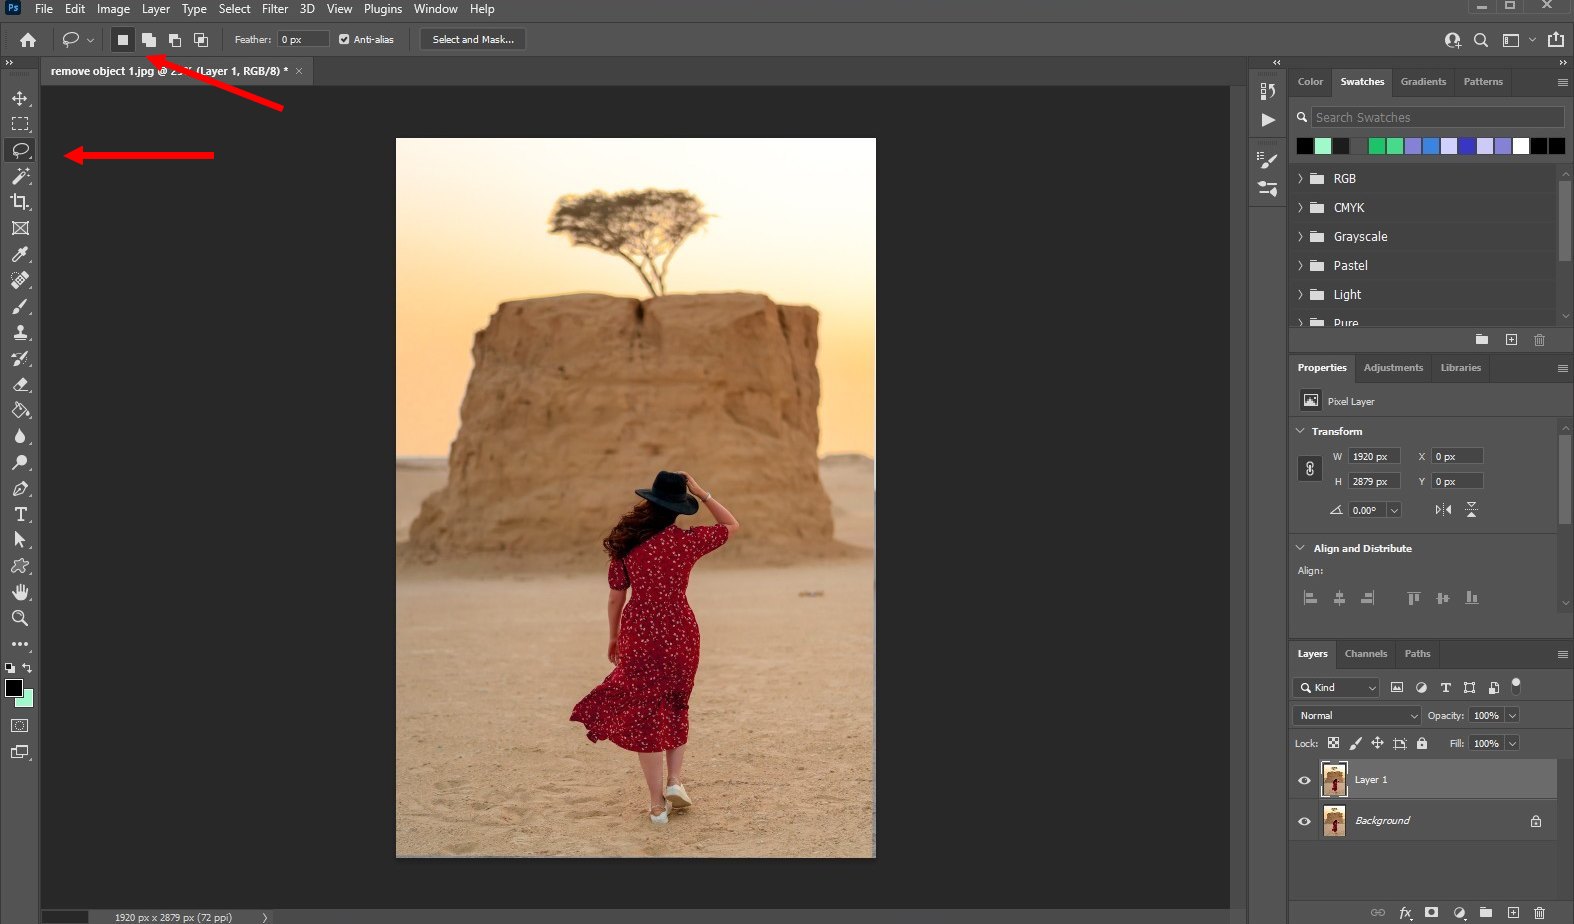
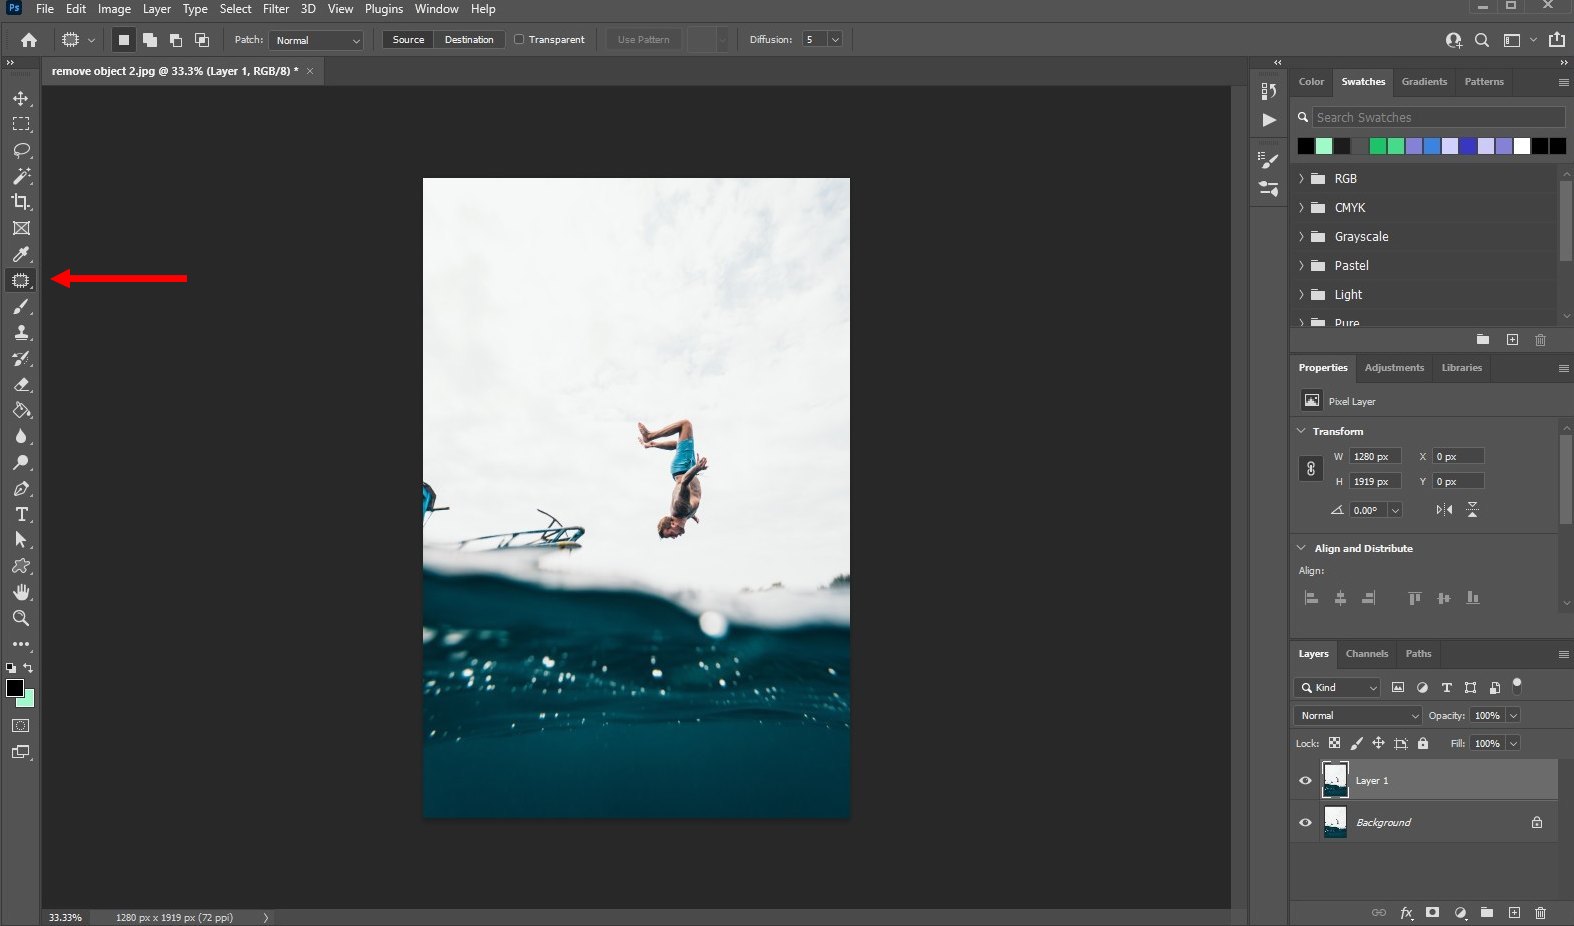
Then choose the Lasso tool from the tools panel. Make sure it’s set to the New Selection option and keep Feather at 0px.
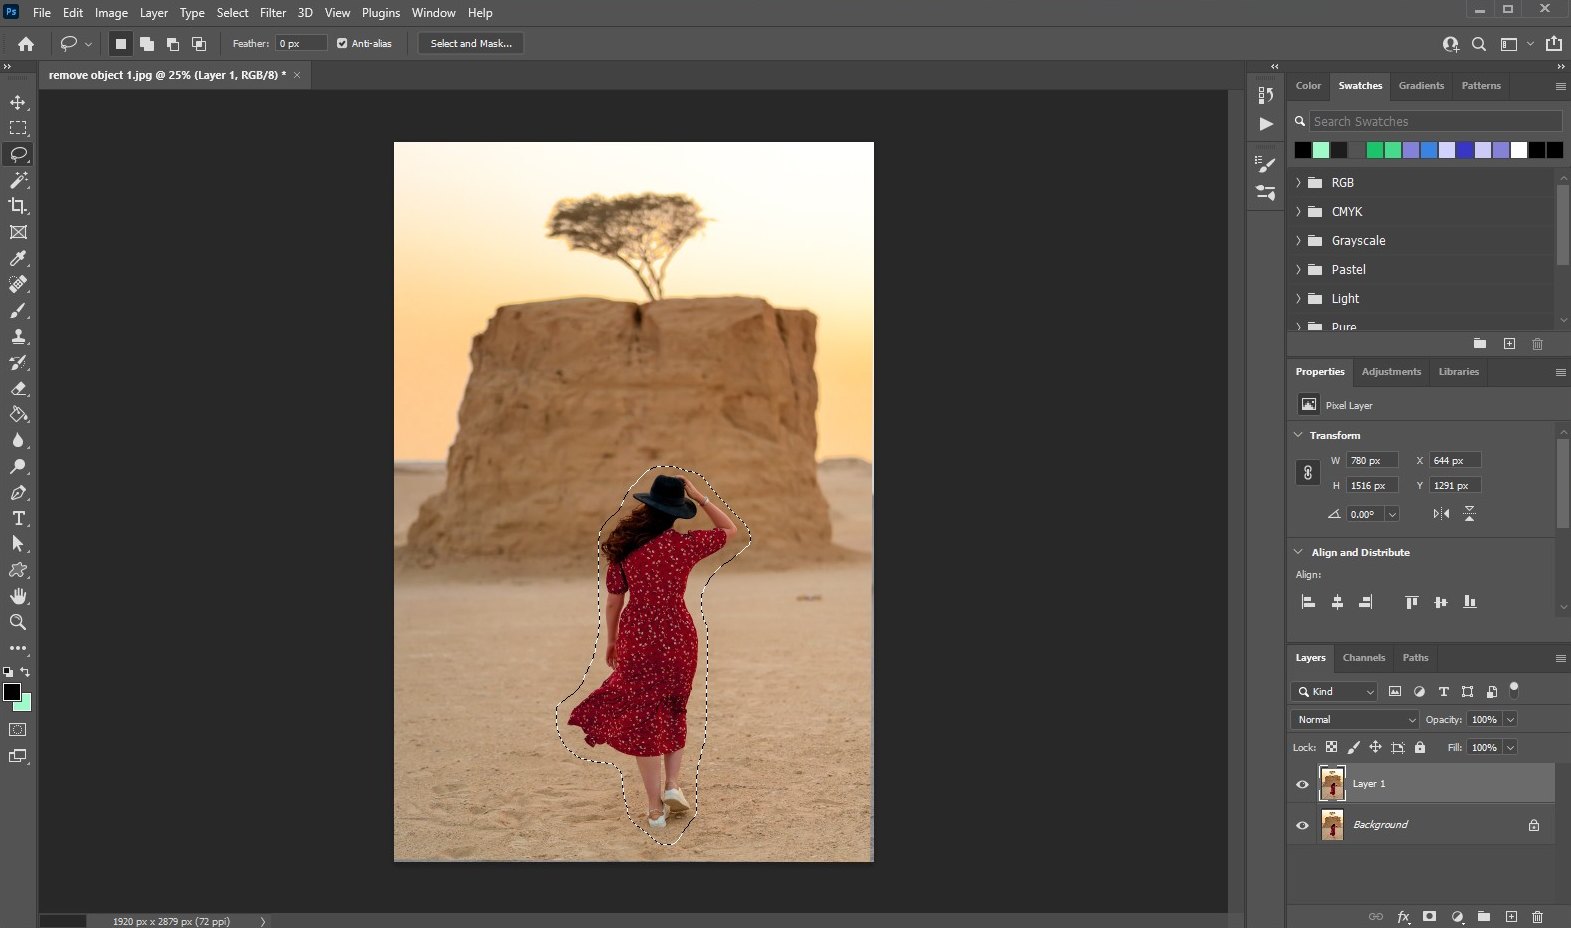
Now make a simple selection around the object you want to remove. It doesn’t have to be a careful selection. Just a simple selection is more than enough.
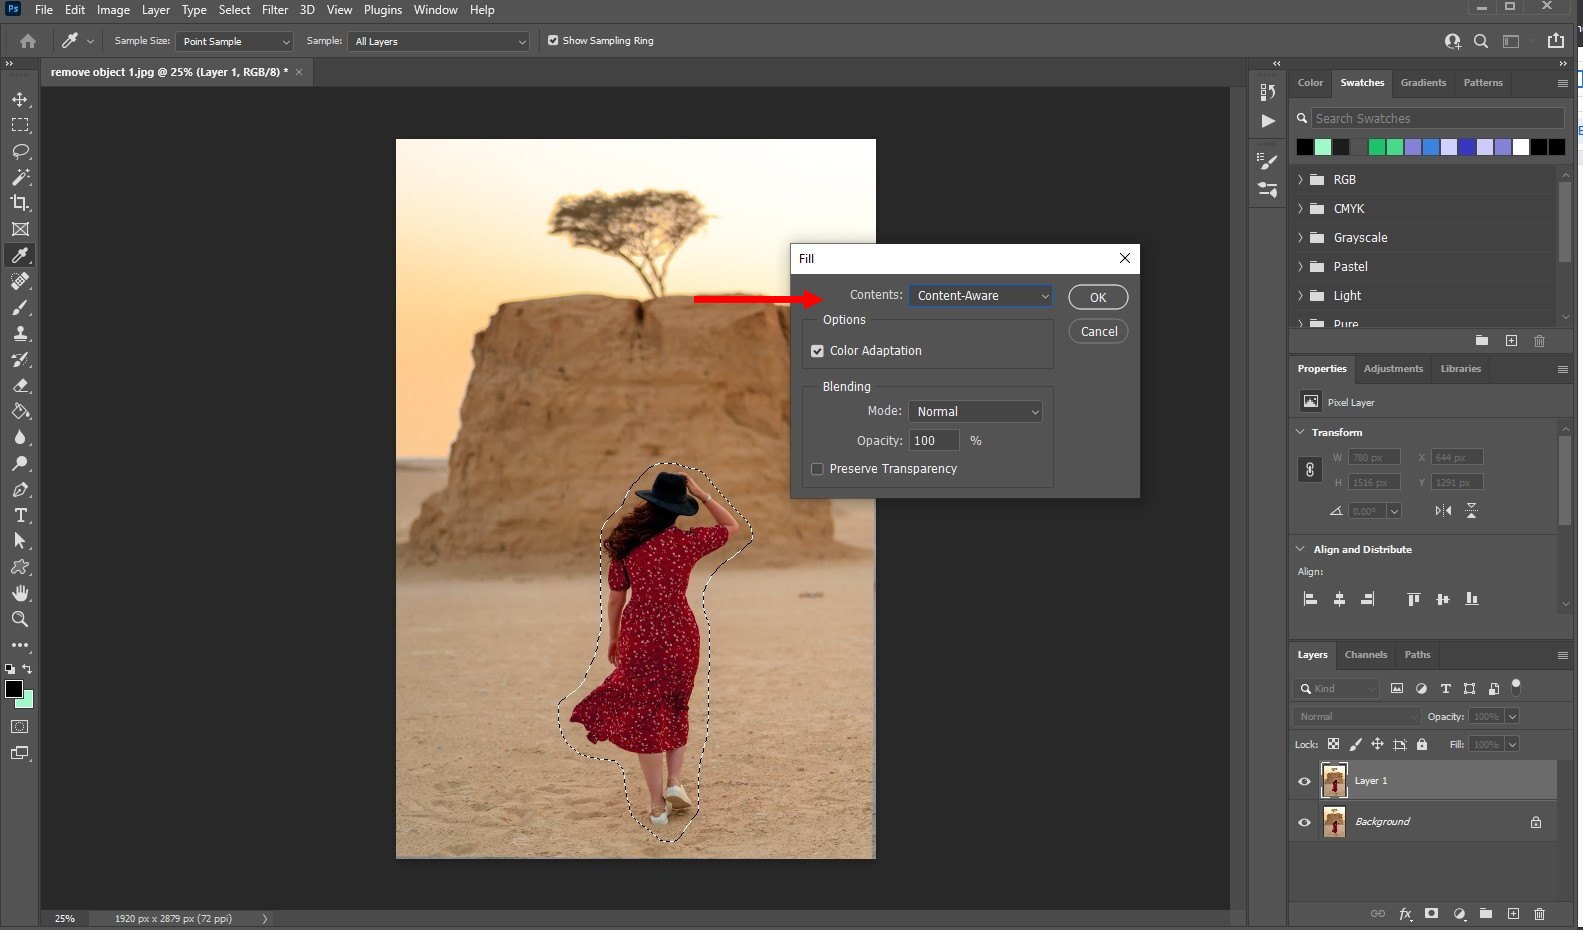
Go to the Edit menu and select Fill. In the Fill window, select Content-Aware as the fill mode. Make sure the Color Adaptation box is ticked. Keep blending mode at Normal and 100%. Then click the OK button.
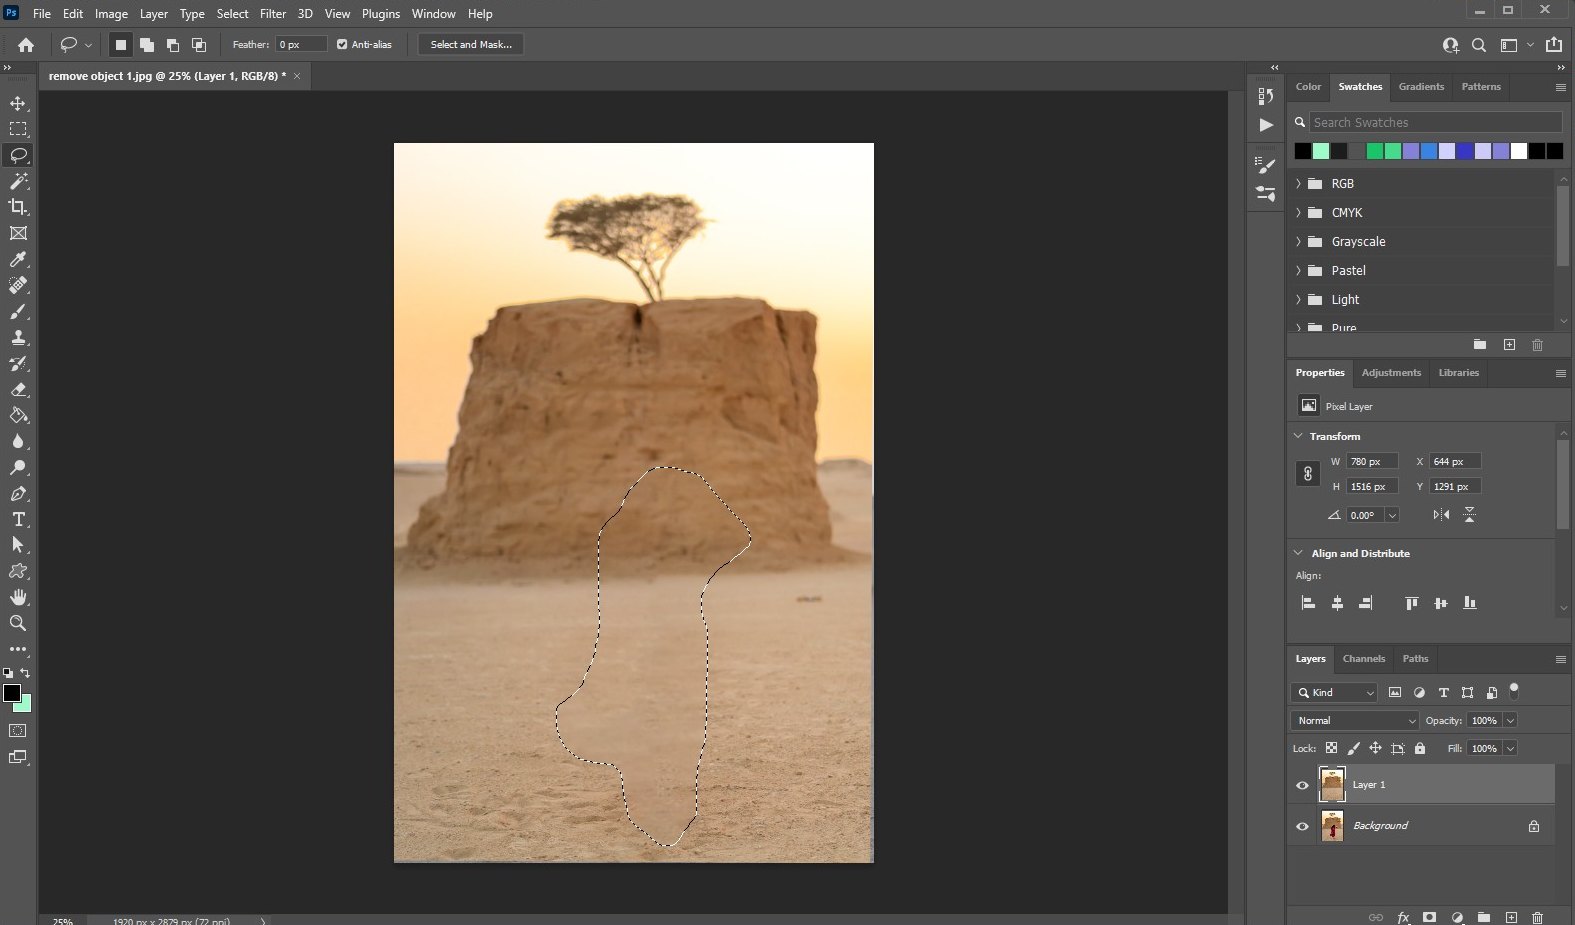
Et voilà! The object is gone. It’s that easy.
This will usually leave out some abnormalities in the image. You’ll have to fix those up. Use the Healing brush tool to patch those up. Check Method 4 for a tutorial on that.
Method 2: Patch Tool (Easy)
Another easy way to remove objects is to use the Patch tool.
Same as before, open the image and create a duplicate copy of the image. Then choose the Patch tool from the tools palette. Make sure it’s set to New Selection, Patch Mode Normal, and selection Source.
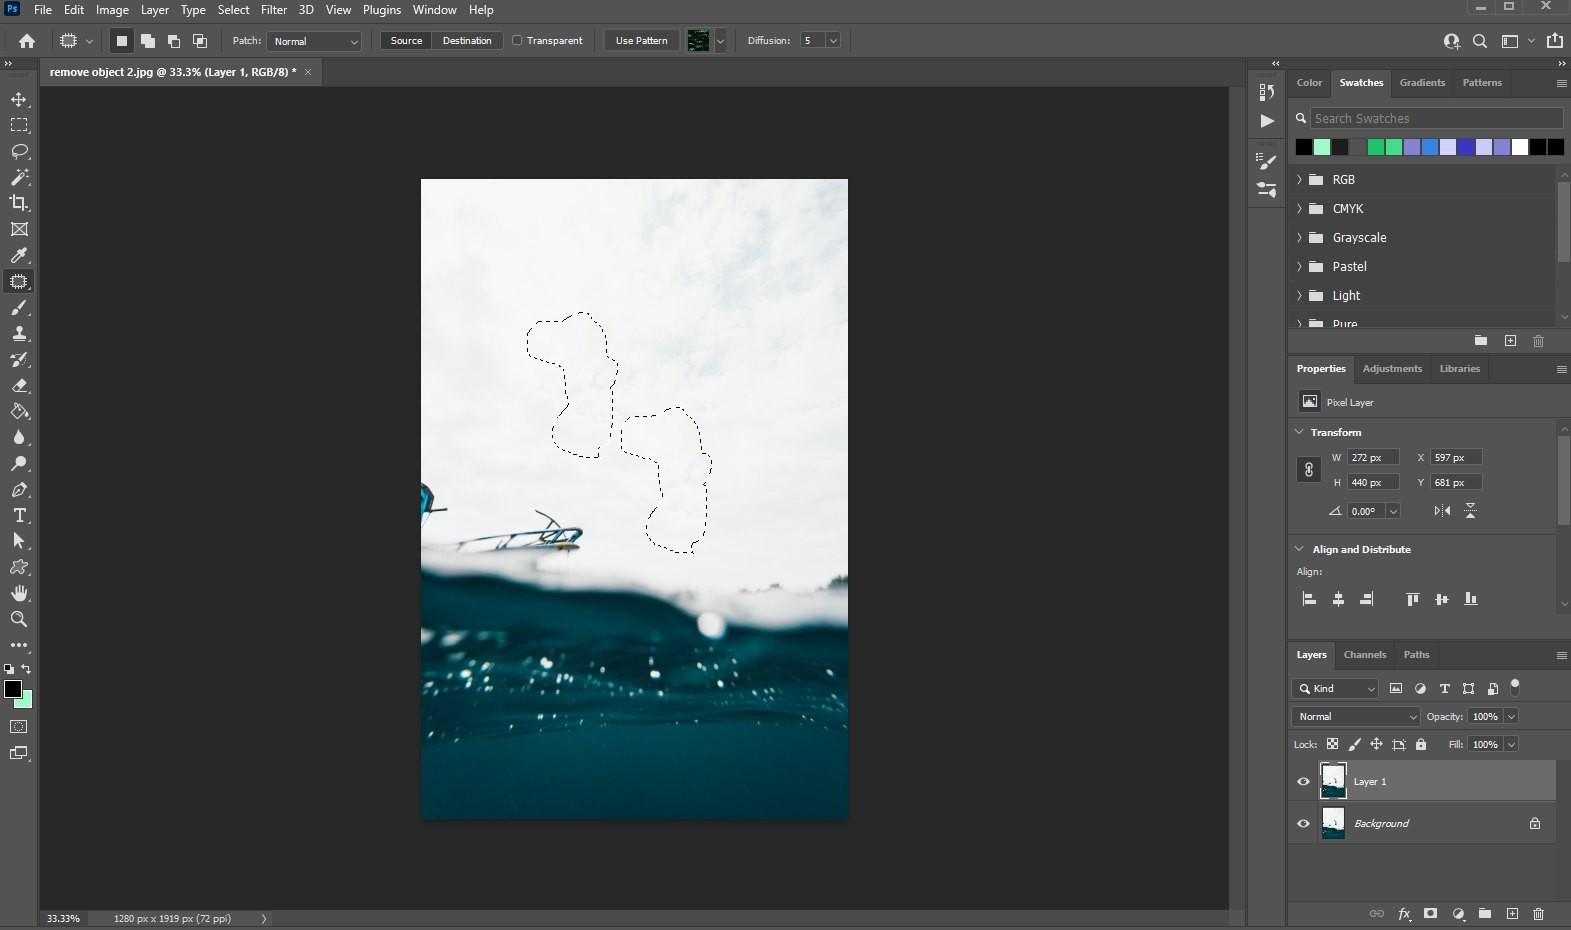
Make a simple selection around the object you want to remove. After making the selection, move the cursor inside the selection. Then left-click and drag the selection to a different area of the image.
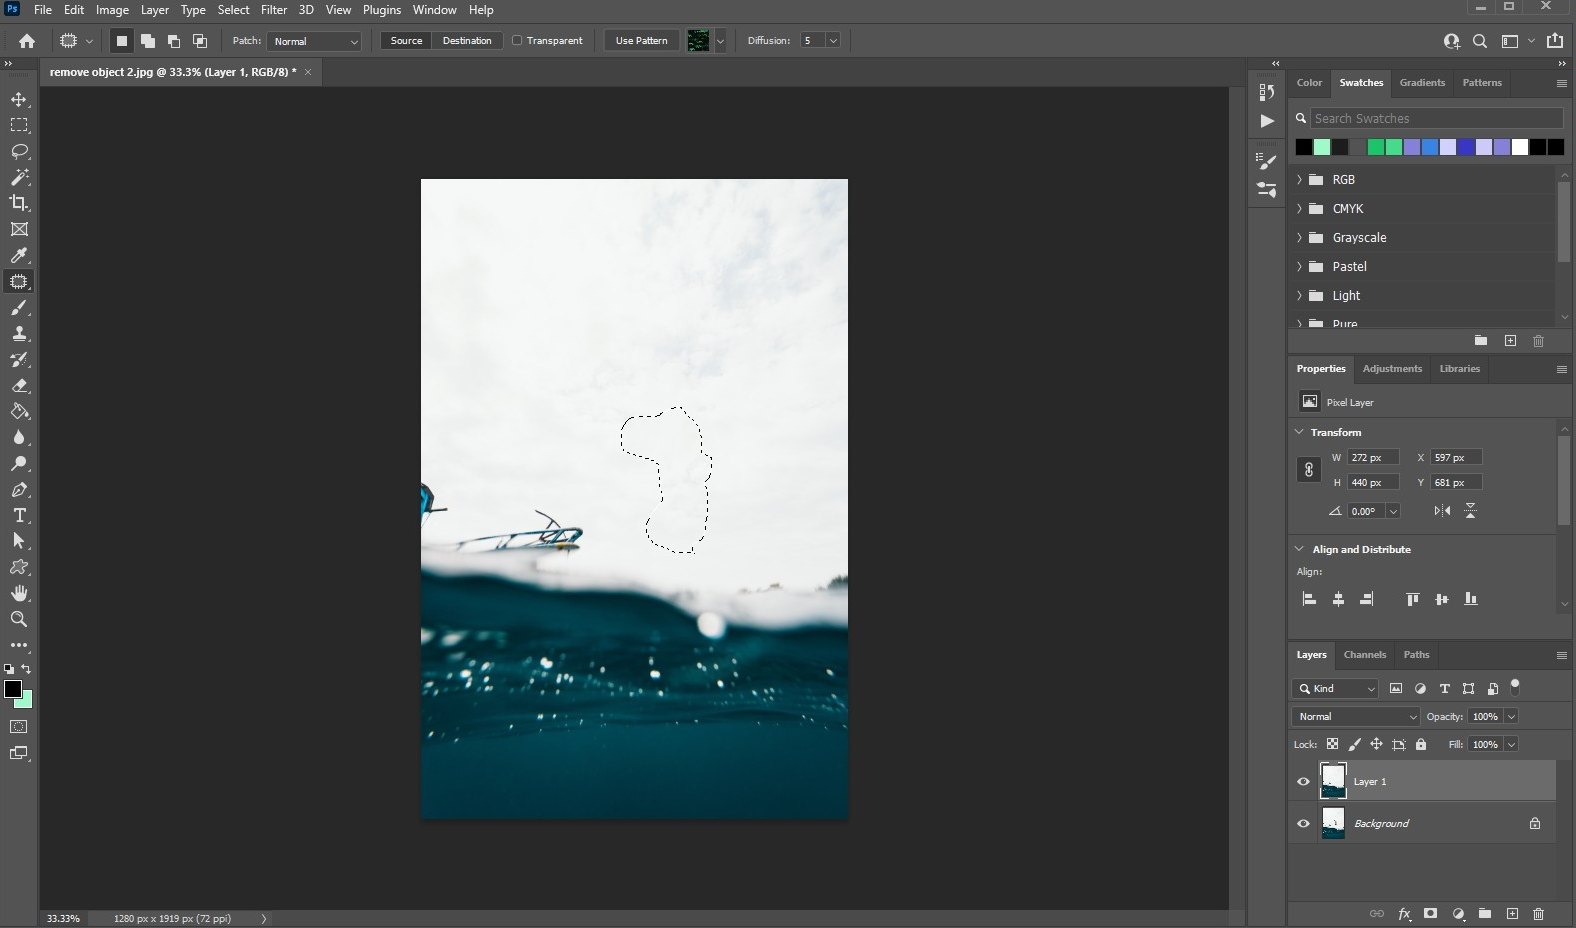
While you’re moving the selection, you’ll see the object being replaced by copying an area of the image. When you see a suitable copy location to replace the object, let go of the left button on your mouse. That’s it!
Method 3: Clone Stamp Tool (Hard)
Both methods we mentioned earlier are great for removing objects from simple images. But, you’ll have to use the old-school Clone Stamp tool to remove objects from complex images.
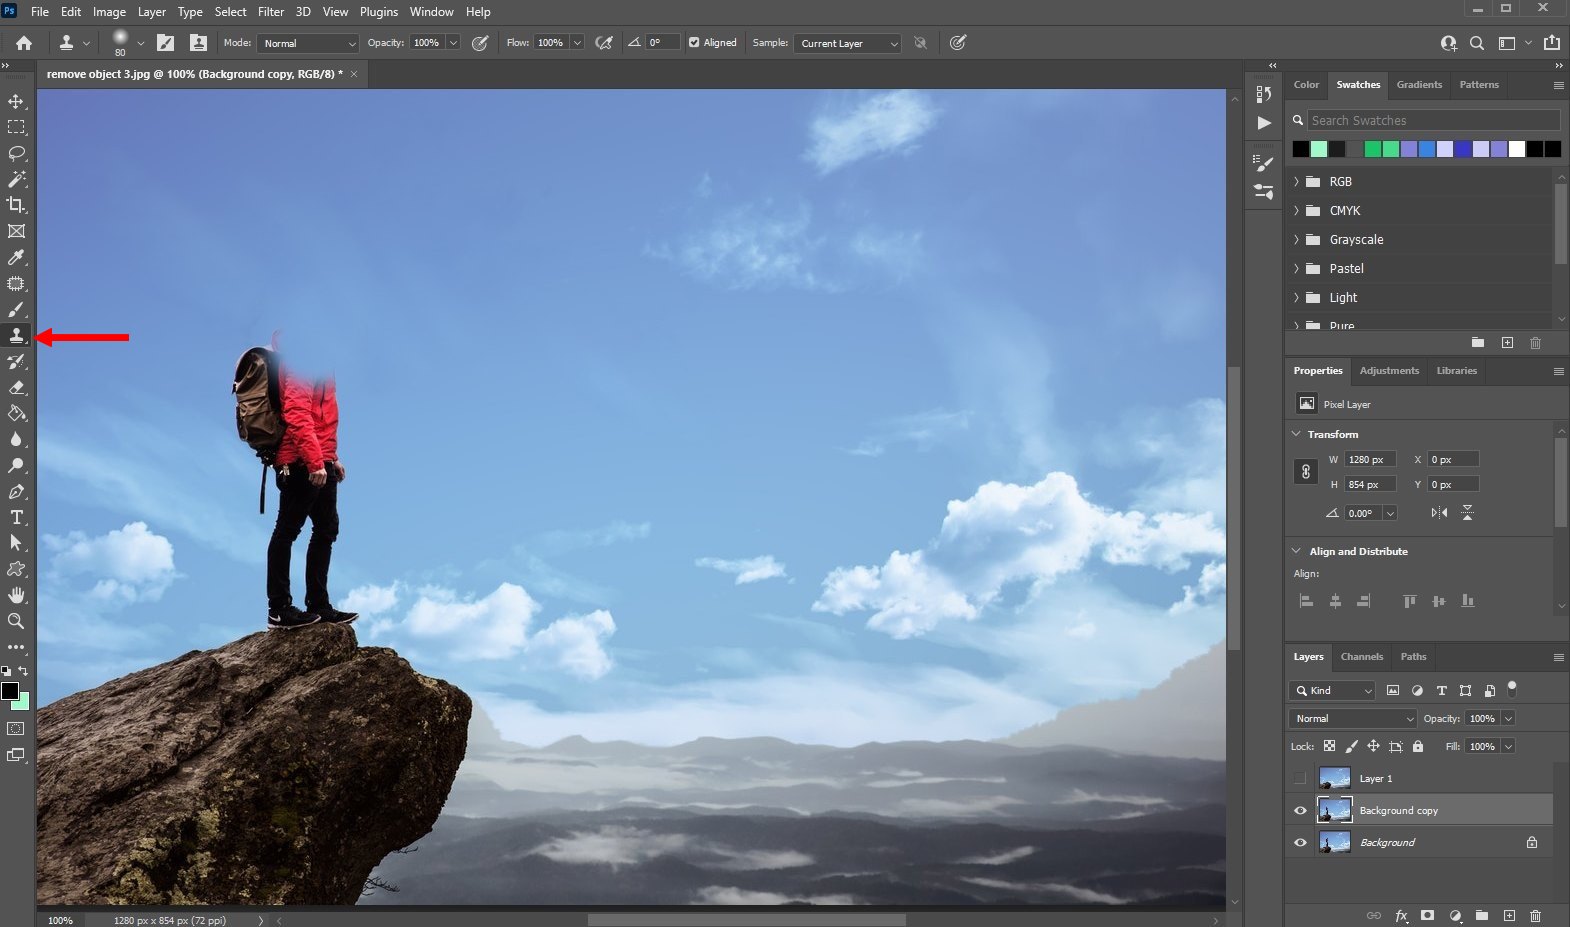
Create a duplicate layer of the image and grab the Clone Stamp tool. While holding the Alt key on the keyboard, left-click somewhere near the surrounding area of the object you want to remove.
Then start brushing over the object. You’ll notice that when you brush, the object is being replaced by copying the area next to the object. Keep repeating this process until you get rid of the entire object.
This method takes more time and precision. And you’ll have to spend more time touching up after removing the object as well. But it’s the most effective method of removing objects from complex backgrounds. As you can see, we managed to remove the person from the image, but there’s more touch-up to be done.
Method 4: Healing Brush Tool (Easy)
The Healing brush is a great tool you can use to get rid of smaller objects in an image.
For example, it’s often used to remove blemishes and pimples when retouching portrait photos.
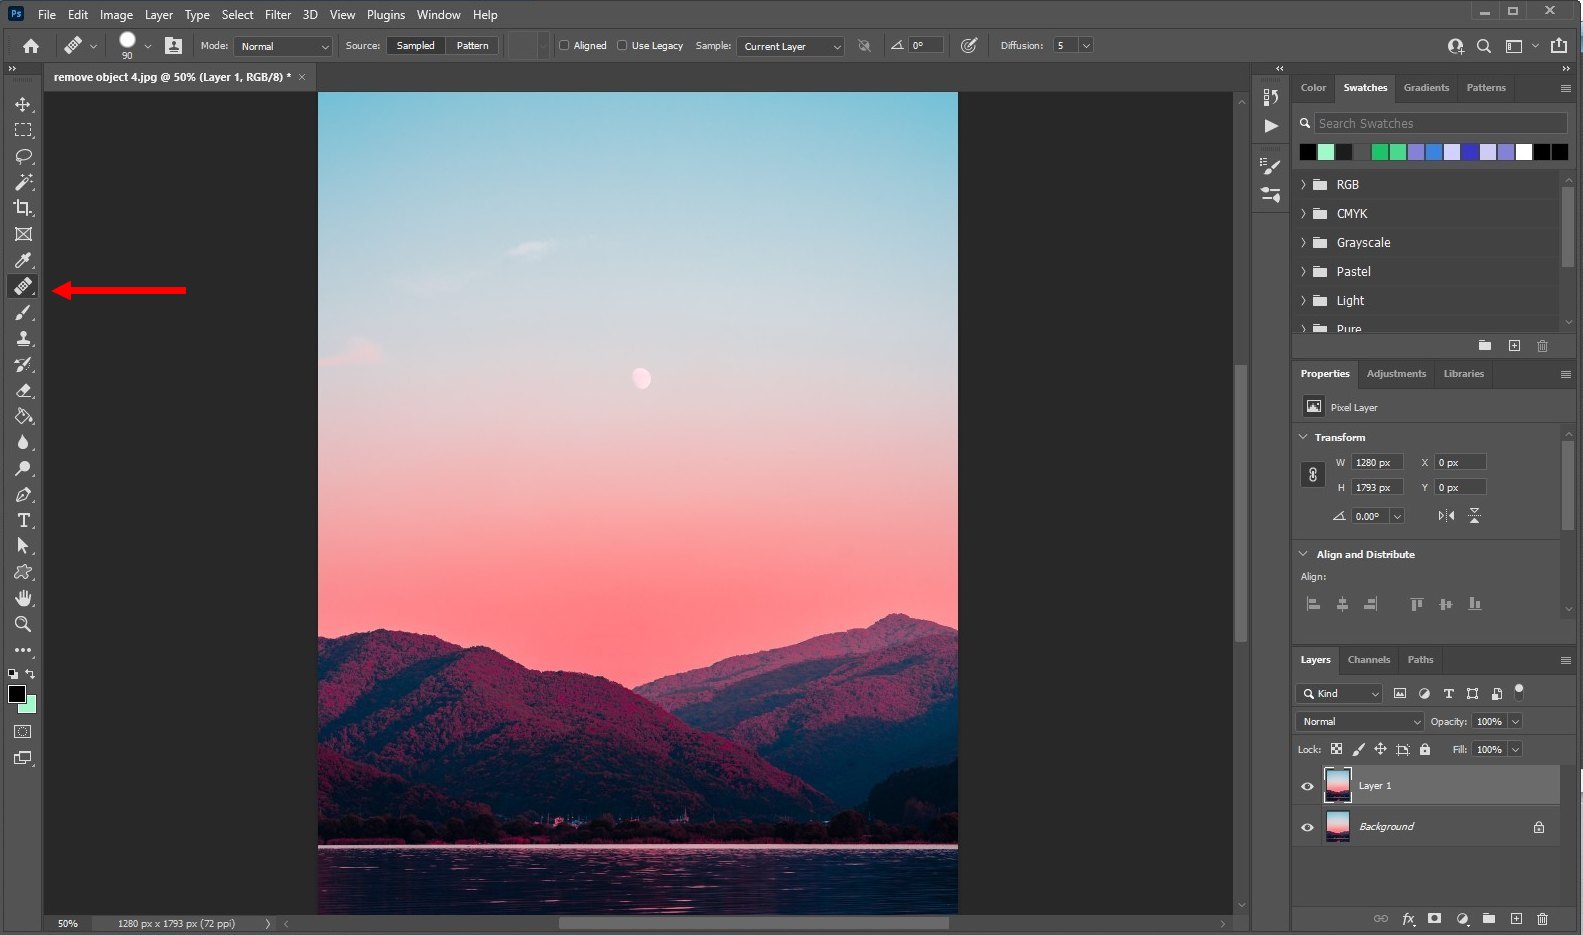
The tool works similarly to the Clone Stamp tool. Grab the Healing Brush tool, while holding the Alt key select an area on the image and then single click on the image to get rid of it.

The Spot Healing Brush tool is much quicker and it uses AI to remove objects in just one click. No need to select a source.
In Conclusion
Objects in some images are easier to remove while others take more work. Sometimes you’ll even have to use a combination of these tools to achieve the best results. Keep practicing and you’ll get better in no time.
To learn more Photoshop tricks, check out our guide on how to vectorize an image in Photoshop.