How to Create a Design Portfolio: 7 Steps from Start to Finish
Showcase your work, present your talents and expertise, attract new clients and recruiters – that’s what a design portfolio is all about. But here’s a problem: there are many portfolios on the market, but very few do their work well. If you’re reading this, you surely want your work to stand out.
- What should you add to your design portfolio?
- Where to publish your works?
- What to include if you don’t have any experience?
- What do recruiters want to see in your portfolio?
These and many other questions we’ve got answered in this article. You are seven steps away from creating a design portfolio that defines your style and helps you share your artistic journey.
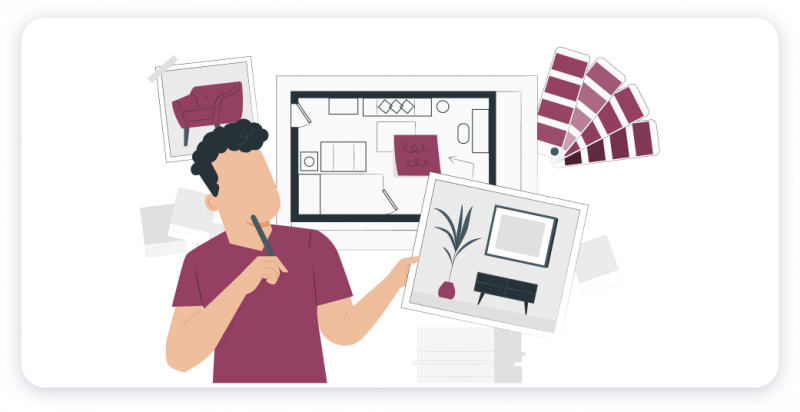
Step 1: Define Your Focus
It may be hard, especially if your creative career hasn’t started yet – it seems like you want to be an expert in everything. And yet, it is too much to grasp, so you should figure out your focus. Exploration is a key that opens your future specialization.
Start with asking yourself these questions:
- What do I like to do in design?
- Which niches am I good at? (Pick only those you like)
- What are my strong sides? (What do I do better than the others?)
It is the foundation of everything, including your portfolio. If you want to be successful, you can’t get everywhere at the same time. 1-3 branches are enough to define your professional priorities.
Now let’s dig into the works you have on hand.
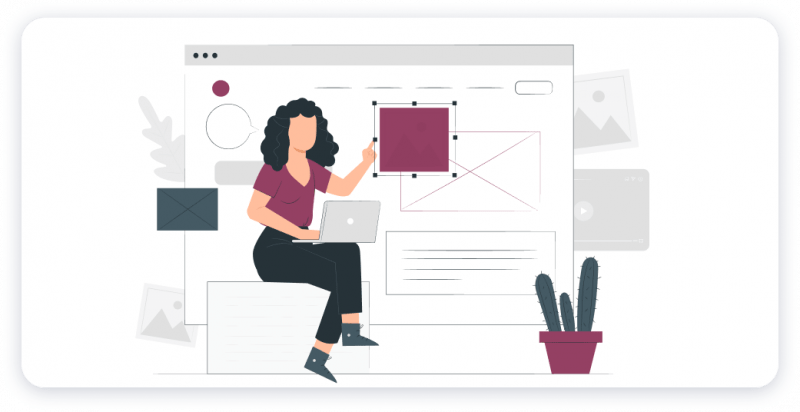
Step 2: Pick Out Projects
Gather everything you have in one place. Good projects, bad projects – all of them will help you decide what to add to the portfolio. It should be up to 10 works that reflect your expertise and artist statement.
Remember that people interested in your skills don’t have all the time in the world, so it’s okay not to include everything you have.
And here is another hint. Review the projects one by one and answer these questions:
- What works brought the biggest business value?
- What works am I proud of?
- What projects were the most challenging?
Note! After answering these questions, make sure your portfolio is versatile. If you are good at UI and logo design, add examples from both categories.
Also, avoid adding outdated designs. You grow as a professional with time, so your work from a long time ago won’t demonstrate your expertise as of now. Is it 3 years older? Then you should better keep it in your private archive.
What if I don’t have any experience?
We’ve all been there: starting off without any real-life experience and opportunities to present ourselves. We’ve got your back! Use any of these ideas:
- Personal projects: create a design of your dream, add all necessary elements, and tell its story to the public.
- Redesign: recreate an already existing idea (maybe a brand you use daily) by changing or improving its design.
- Logo interpretation: If you notice logos of famous brands that you would like to transform, make your ideas real and include them too.
- Non-profit companies: share your talent with someone who needs it now. Charity organizations would appreciate your help while you are getting a priceless experience.
- Hackathons: These are events where people somehow involved in software development gather to create a brand new solution by the end of the event. It’s very challenging but exciting for any beginner.
Note! By the way, including some non-profit projects in your portfolio is a good idea for experienced designers as well. This way you demonstrate your passion for the craft and add more diversity to the projects’ list.
Step 3: Present Each Design Properly
Rich visuals are a great start, but it’s not enough. Your work means something, and everyone who sees your portfolio should know the whole story. It’s time to frame your designs with a strong description.
Note! Each design task is not only about beautiful images — a story behind it also matters. When creating something, you help clients to solve a problem or add unique traits to their corporate style. With the project description, you bring value to everything you’ve done before.
This is what you should include:
- The project’s name and main goal: Share why you were doing this work in the first place.
- Duration: How much time it took you to finish this project.
- Process: Points describing what you were doing step by step.
- Contribution: If you were a team member in this project, describe your part and responsibilities.
- Results: If you know that your work made a difference, it’s the most valuable information for the potential client, so you should include any metrics proving your expertise.
- Recommendations: It is a valuable piece to have. If you got feedback from your clients, don’t hesitate to share it at the end of the case study.
Moreover, there is a lot of work behind every step of the design process. Share more expertise with this additional information:
- Research process. Tell viewers why the project’s problem was important, provide evidence. For example, you can add excerpts from client interviews or statistical data.
- Concept development. Now tell how the idea was born: brainstorming results, user journey variations, and first rough sketches.
- Testing. Did you show your designs to potential users? Share testing results and design decisions you made afterward.
- Prototype. Add anything that makes your work real: the final user flow, real-life photos (for example, for interior design projects), or an interactive prototype.
Step 4: Pick the Format
Depending on your final goals, your portfolio can be of different formats. These are the main three:
- Website: If your portfolio is web-based, your work is always easily accessible for clients and recruiters.
- PDF file or presentation: You can customize a portfolio separately for every job opportunity, but this file won’t be seen by the general public.
- Physical design pieces: Obviously, you can’t share it over the Internet, but this is the best option for some design niches during a face-to-face interview.
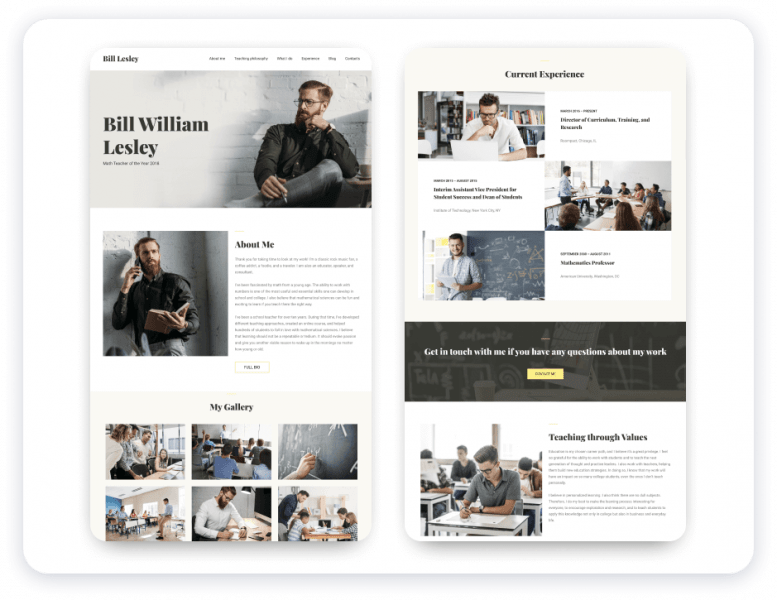
As you can see, web-based solutions are the best if you want to present yourself in front of a big crowd. Plus, you have several sections (and enough space) to tell about yourself and share contact details. But at this moment, many designers have a disturbing thought: how will I create a website myself?
No coding, the lowest prices, and no time needed for the development process – all of it is possible if you use a ready-made template. Yes, it is that simple.
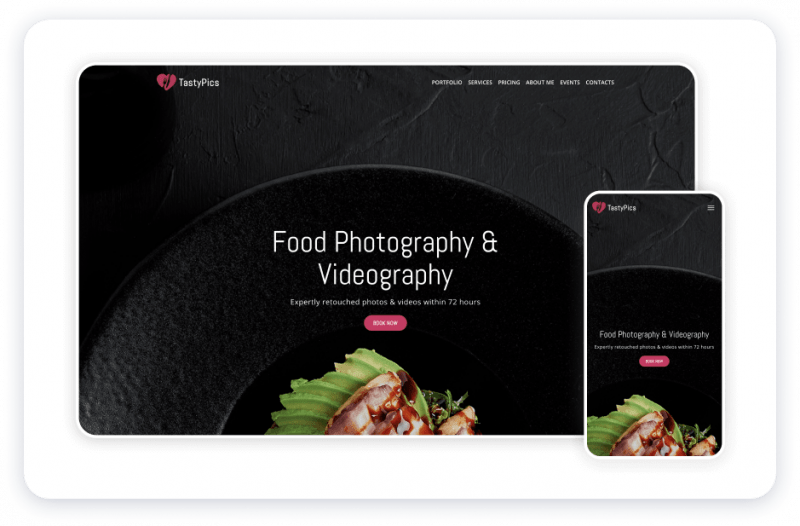
Check here the solutions offered by Weblium: we have design portfolio templates tailored for specific designer skills (for example, graphic and interior design portfolios).
A huge bonus to all that is mobile-friendliness: your portfolio will be optimized for smartphones. Often your potential clients don’t have much time in the day, so they check the candidate’s portfolio on the go.
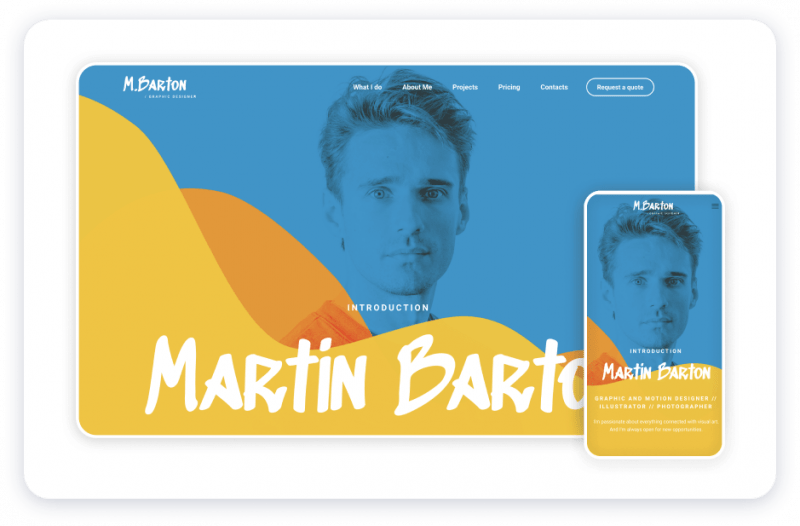
View this template in full.
Note! It’s easier to form your brand with a ready-made template because you will get a tool with a cohesive style out of the box.
Step 5: Optimize and Make It Perfect
Several optimization rules make your design portfolio website easy to understand and pleasing to the eye. Let’s put some finishing touches:
- Make a plan. Draw a rough plan of the future portfolio before adding any content to the website. Here you decide on the number of images and their placement on the screen. Remember that the general layout should be simple and straight to the point.
Or you can check ready-made templates created by the Weblium team and find some inspiration there. Every template was created by professional designers – they sure know how to help you demonstrate all of your creative strengths.
It’s one of the 280+ ideas you can start using right now.
- Pick the project’s hero image. Adding too many images will do no good, they will just overwhelm viewers. It’s better to pick a hero image first and add several high-quality images below.
A hero image is a first and biggest image to present the project. It summarizes the whole work and creates an incentive to learn a case study in more detail. - Compress every image. The heavier images you use, the more time it will take to load a website. But web users won’t wait long – they will skip a good part of the content and leave the page.
- Optimize information for a quick check. Make your website easy to read and understand. Add the most important information in the beginning, use subheadings and bullet lists, divide the text into paragraphs, and avoid long descriptions.
You have all the necessary template blocks out-of-the-box.
- Avoid overwhelming color schemes. If you want to attract someone’s attention to your experience, no need to use screaming colors on the portfolio’s front page. Also, stick to basic typography and minimalist animation.
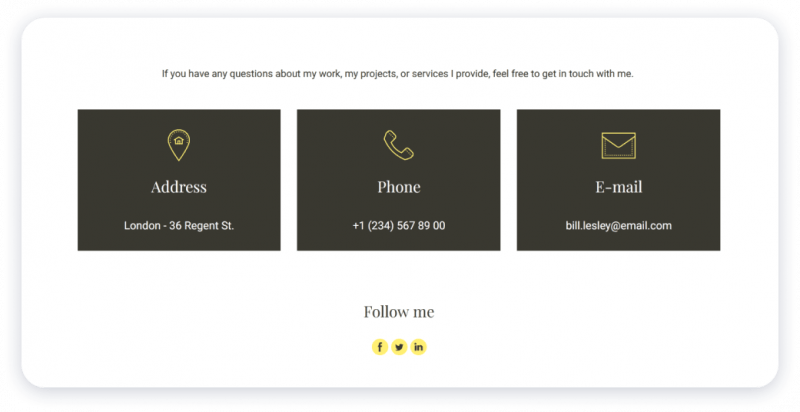
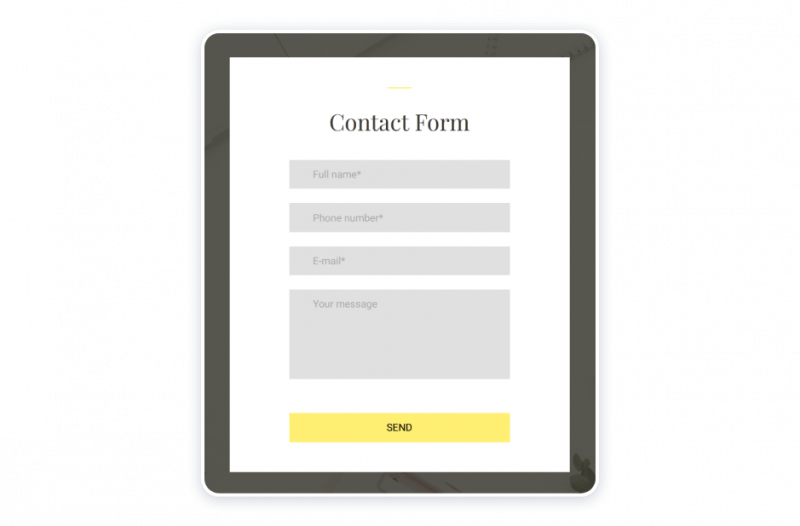
- Make it easy to contact you. And the best way to do that is to include a call-to-action button with a simple contact form. Make sure to add it on every portfolio page.
You can customize Weblium contact forms according to your website style and color palette.
You can customize Weblium contact forms according to your website style and color palette.
Step 6: Double-Check and Review
Now get an opinion on the portfolio from as many people as possible. It can be friends, family members, colleagues, industry experts (if you can reach them). These insights will allow you to look at your portfolio from a different angle and help you improve the final version.
The critical points to check are grammatical errors or misspellings, comprehensible interface and navigation, and information availability (complete project descriptions, contact details, finished “About me” section, etc.).
Note! Your design portfolio is always a work in progress. You should schedule the next review in six months, come back, and check all the points we’ve described above.
What clients and recruiters are looking for:
- Clear communication. Being able to present your work from start to finish is vital. Recruiters would ask you to share the story verbally, and you should be ready for that. Try to practice this skill in front of a friend.
- Product thinking. This is how you see the big picture. What will a product look like? What features will it have? This is your feeling of the final result.
- UI design. Essential design principles should go hand in hand with the overall aesthetics in your portfolio. Show how you see the product’s beauty.
- UX design. This is how your clients achieve their goals using your designs, what actions they make, and what you do as a designer to make user flow easier.
Step 7: Promote Your Work
Now when you know how to make a design portfolio, we can move a little further. Let’s make your efforts count and share your work presentation with others. You have a higher chance to get noticed if you promote your portfolio.
Social media
The easiest way to begin is to set up social media accounts specifically for your services and regularly update it. Facebook and Instagram are the must, also consider creating Pinterest and LinkedIn accounts.
Become a part of the design communities, be active in discussions, collaborate with other experts in the niche – networking and the word of mouth are the most effective marketing instruments.
Niche-Specific Forums
In case you’re aiming to find a client from a certain niche, do small research and find relevant communities on the web. People there surely discuss their problems and pain points, and you can offer your services right when your potential clients need them the most.
SEO (Search Engine Optimization)
And finally, optimize your portfolio for search engines so anyone could quickly find you on the Internet. No worries, we have an SEO guide for the very beginners, and you can do all the actions right in the Weblium account.
Now, Share Your Art with the World!
Every designer needs a portfolio, no matter what branch you work in or how many years of experience you have. With a decent portfolio, you share your creative stories and demonstrate skills – it is more important than a CV.
Before uploading all the files you have, take some time for consideration picking the niche and works you are proud of. These moments of silence are important – now you are defining your professional image.
Weblium is here to make your work easier. While you are busy picking the right projects for your portfolio, we are offering you ready-made templates for website creation. It looks like a perfect collaboration, right? Follow the link and leverage your design career.