How to Use a Hanging Indent on Google Slides
Looking to add a professional edge to your Google Slides presentations? Applying a hanging indent, a formatting technique commonly used in bibliographies and reference lists, can lend your slides that polished, organized look. Although Google Slides doesn’t offer a straightforward button for this action, worry not! With a bit of clever maneuvering, you can achieve this effect, enhancing the readability and style of your content.
Whether you’re a Google Slides novice or a seasoned user, we’ll guide you through the process in simple, step-by-step instructions. By the end of this, you’ll have one more versatile tool at your disposal to make your presentations shine brighter than ever.
So, are you all set to discover this transformative feature? Let’s roll up our sleeves and explore the nifty tricks to apply a hanging indent in Google Slides together!
Understanding Hanging Indents
A hanging indent is a type of paragraph indentation where the first line of text aligns with the left margin and all subsequent lines are indented. This format is commonly used in bibliographies, reference lists, and works cited pages. It helps improve readability by distinguishing each new entry, making it easier to scan through a list of text.
Why Use Hanging Indents?
Hanging indents offer a neat and organized appearance to your slide content, particularly when you’re listing detailed information. They help to break up text-heavy slides, making the content easier to read and understand.
f you’re citing sources or creating a bibliography for a research presentation, using hanging indents will help you adhere to citation style guidelines, such as those laid out by APA, MLA, and Chicago style.
How to Create a Hanging Indent in Google Slides
Creating a hanging indent in Google Slides is not a direct process like it is in Google Docs, but it’s certainly possible. Follow these steps:
- Open your Google Slides presentation and navigate to the slide where you want to add a hanging indent.
- Select the text box that contains the text you want to format.
- Click on the ‘Format’ tab at the top of the screen.
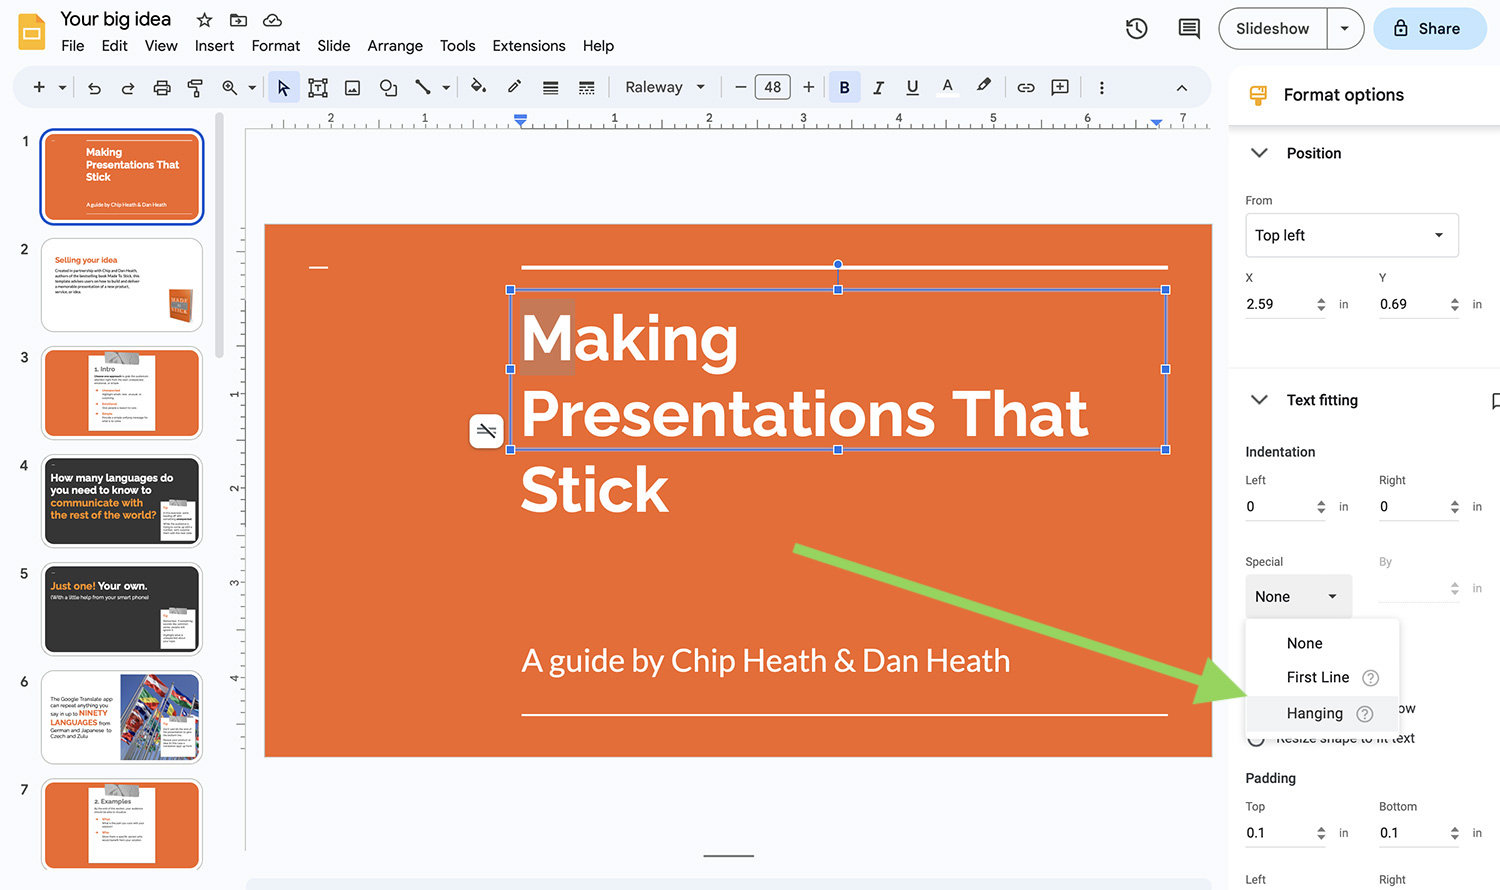
- Hover over ‘Align & indent’ in the dropdown menu and select ‘Indentation options’. This will open a dialog box.
- In the dialog box, adjust the ‘Before text’ and ‘First line’ values under ‘Special indent’. The ‘Before text’ value will control the indentation of the entire paragraph, while the ‘First line’ value will control the indentation of the first line only. To create a hanging indent, the ‘Before text’ value should be less than the ‘First line’ value.
- After setting the values, click ‘Apply’ to create the hanging indent.
Tips for Using Hanging Indents
Hanging indents can make your slides look more professional and organized. Here are a few tips for using them effectively:
- Consistency is key: If you’re using hanging indents, make sure you use them consistently throughout your presentation. Inconsistencies can make your slides look sloppy and unprofessional.
- Use for long lists: Hanging indents are most useful for long lists of information, especially when each item in the list is several lines long.
- Don’t overuse: While hanging indents can improve readability, overuse can lead to cluttered and confusing slides. Use them sparingly and where they make the most impact.
Conclusion
Creating hanging indents in Google Slides is a bit more involved than in other applications, but the steps are straightforward. With this guide, you
should be well-equipped to format your text with hanging indents, enhancing the overall readability and presentation of your information.
Whether you’re citing sources in a research presentation, itemizing complex details, or simply seeking a different way to format your content, hanging indents can be a valuable tool in your Google Slides arsenal. Don’t be afraid to experiment and see how this formatting style can enhance your next presentation. Happy creating!