How to Add a Watermark to PowerPoint
A watermark in PowerPoint is a semi-transparent image or text displayed in the background of slides, often used for branding, security, or stylistic purposes. It helps establish brand identity by incorporating logos or slogans, creating a consistent and professional appearance.
Watermarks also protect intellectual property by discouraging unauthorized use or distribution with copyright symbols or identifying information.They can convey confidentiality, labeling slides as “confidential” or “internal use only” when dealing with sensitive information.
In this article, we will discuss how to add a watermark to your PowerPoint slides using different methods.
Method 1: Adding a Watermark to the Slide Master
The easiest way to add a watermark to all slides in your presentation is by using the Slide Master feature. This method ensures that the watermark appears consistently throughout your presentation.
- Open your PowerPoint presentation and click on the “View” tab in the toolbar.
- Select the “Slide Master” option to access the Slide Master view.
- In the Slide Master view, select the top-most slide in the left-hand pane (the Slide Master).
- Click on the “Insert” tab in the toolbar, and choose either “Text Box” or “Picture,” depending on whether you want a text or image watermark.
- For a text watermark, draw a text box on the slide and type your watermark text. For an image watermark, locate and insert the image you want to use.
- Adjust the size, position, and transparency of the watermark as needed.
- Click on “Close Master View” to return to the normal view of your presentation. The watermark will now appear on all slides.

Method 2: Adding a Watermark to an Individual Slide
If you want to add a watermark to only one or a few specific slides, follow these steps:
- Select the slide where you want to add the watermark.
- Click on the “Insert” tab in the toolbar, and choose either “Text Box” or “Picture,” depending on whether you want a text or image watermark.
- For a text watermark, draw a text box on the slide and type your watermark text. For an image watermark, locate and insert the image you want to use.
- Adjust the size, position, and transparency of the watermark as needed.
- Right-click on the watermark, select “Send to Back,” and then choose “Send Backward” to move the watermark behind the slide content.
Adjusting Watermark Transparency
To ensure your watermark doesn’t distract from the slide content, you may need to adjust its transparency. Here’s how:
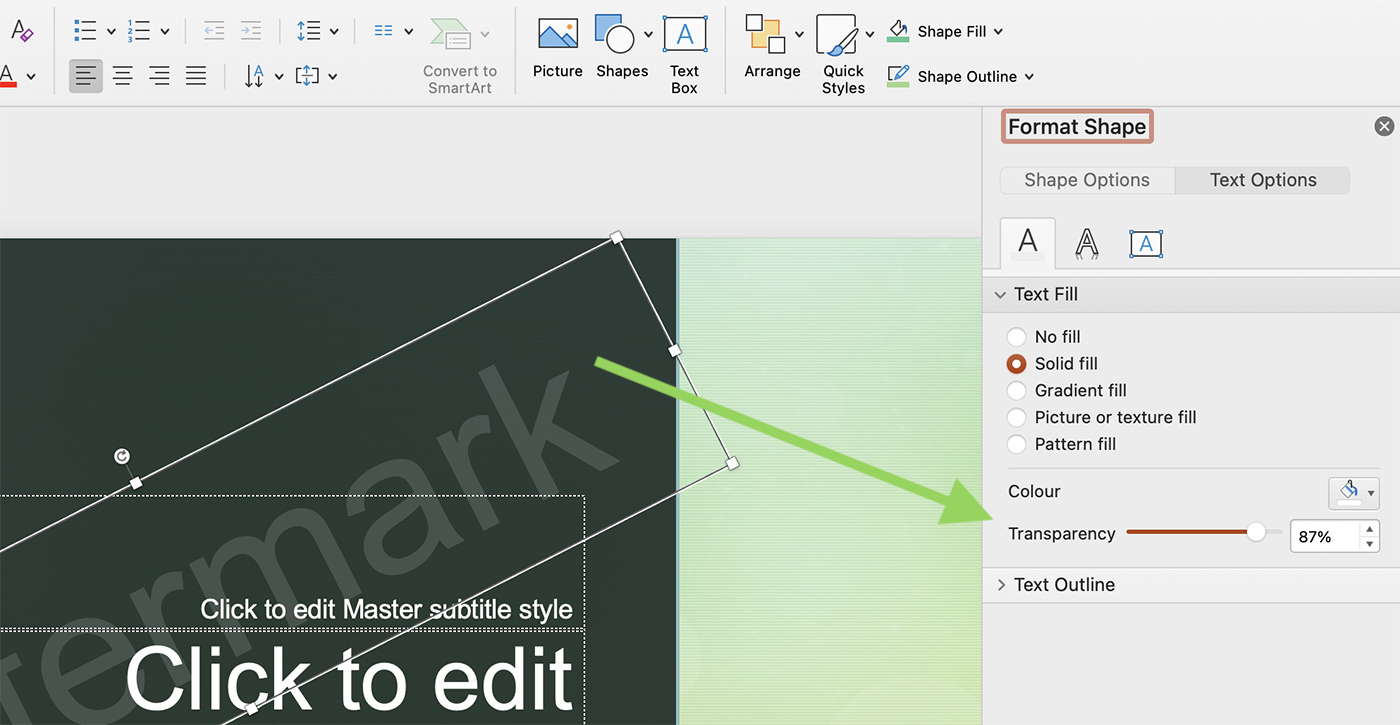
- Text Watermark: Select the text box, click on the “Home” tab, and then click on the arrow next to the font color icon. Choose “More Colors” and use the transparency slider to adjust the text opacity.
- Image Watermark: Right-click on the image, choose “Format Picture,” and then select the “Picture Transparency” slider in the “Format Picture” pane to adjust the image opacity.
Tips for Creating Effective Watermarks
When adding watermarks to your PowerPoint slides, keep these tips in mind to ensure your presentation remains visually appealing and professional:
- Keep it subtle: Use a light color and adjust the transparency so that the watermark doesn’t compete with the slide content.
- Choose a suitable location: Place your watermark in a location where it won’t interfere with the readability of your slide content.
- Be consistent: Use the same watermark design, color, and position across all slides for a cohesive and professional appearance.
- Consider your audience: Ensure your watermark adds value to your presentation and is relevant to your audience. Avoid using distracting or unrelated images or text.
- Keep it simple: A watermark should be a simple and unobtrusive element of your slides. Avoid using complex designs or large images that may draw attention away from the main content.
Removing a Watermark
If you need to remove a watermark from your PowerPoint slides, follow these steps:
- From the Slide Master: To remove a watermark added through the Slide Master, return to the Slide Master view (View > Slide Master), select the watermark, and press the “Delete” key on your keyboard. Close the Slide Master view to see the changes on your slides.
- From an Individual Slide: To remove a watermark added to an individual slide, simply select the watermark on the slide and press the “Delete” key on your keyboard.
Conclusion
Adding a watermark to your PowerPoint presentation can enhance its appearance and provide valuable branding or copyright information. By using the Slide Master feature or adding watermarks to individual slides, you can easily incorporate watermarks into your presentation. Keep in mind the tips provided for creating effective watermarks and adjust the transparency as needed to maintain a professional and visually appealing design.